I posted this on a few other forums and thought it might be useful to some folk here. I like axes. A lot. I have around 45 vintage American axes of different patterns. Handles run at least 10 bucks a pop and the majority of them are crap for one reason or another, so I started carving my own not only for frugality but for a better quality handle- in terms of strength, shape and thinness. I hope somebody can find it useful.
Sorry also for the whacky picture sizes.
-----------------------------------------------------
I told folks a while back I would do a little write up on the process of making an axe handle. I have had a cold of late so I couldn't get around to it until the last few days. Forgive me because I couldn't get the greatest of pictures with one hand in poor lighting, but I will try to remedy that by explaining and answering any questions that I can.
First I shall touch upon the tools I am going to use.
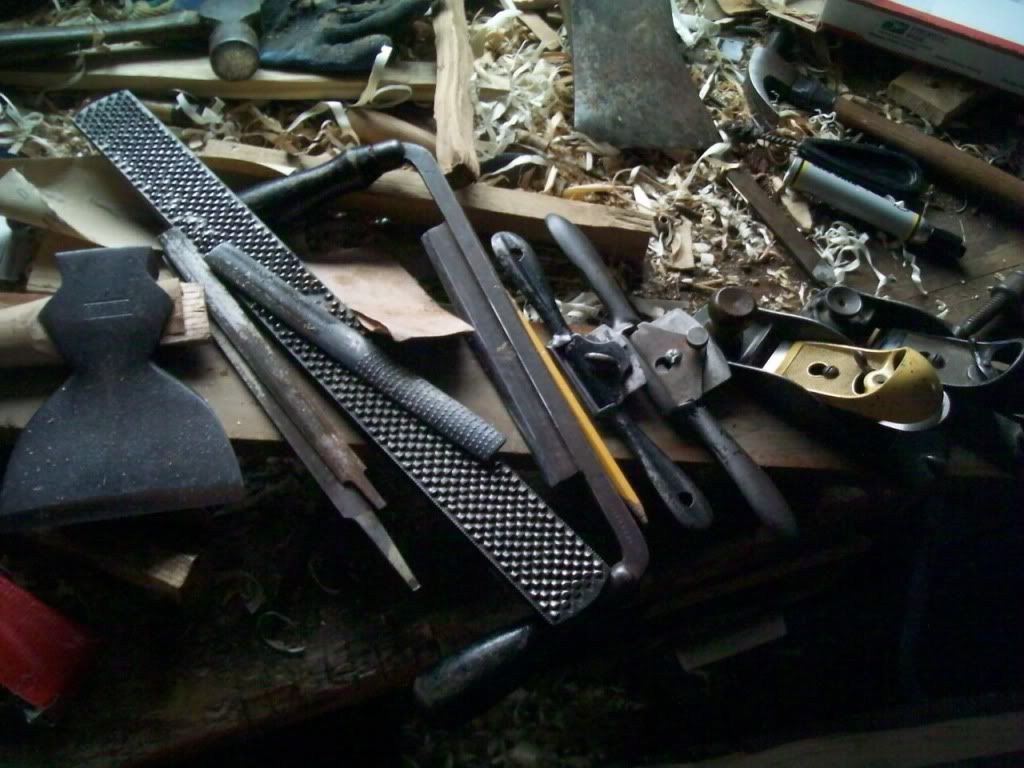
I have various rasps (mostly used in the finishing process, which I am not going to cover here), a side hatchet (for which a thin, sharp double bevel hatchet or small axe will suffice) for roughing out, a pencil for drawing centerlines and whatnot (these help a lot, especially for those new at this), a draw knife which tends to cover the gray area between the side hatchet and the planes, two spoke shaves, one with a convex sole and the other with a flat sole, and several block planes. A carpenters saw is also present but not shown.
A bench vise or a shave horse also makes it vastly easier. You can prop the stave against a short stump and hold it with the abdomen but its most uncomfortable for long periods.
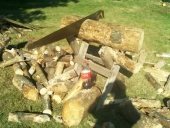
I am making this handle out of sugar maple I got from a neighbor a few weeks back. It was still very green and easy working today.
http://s213.photobucket.com/albums/cc31/aguineapig/?action=view¤t=Picture952.jpg
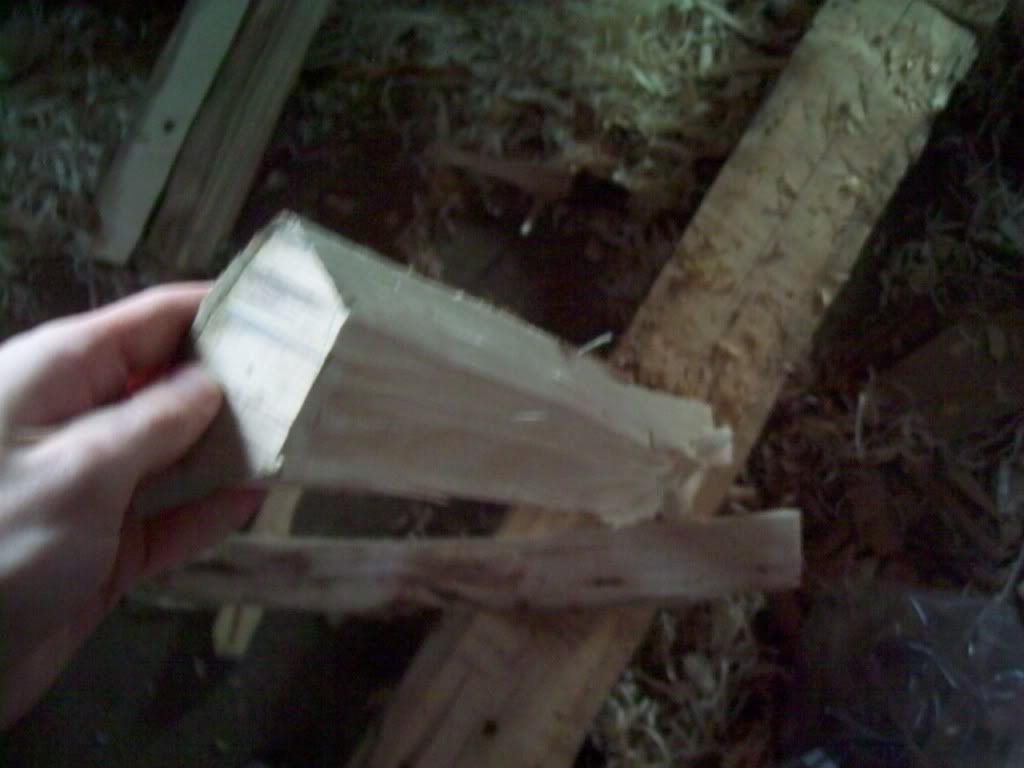
I sawed and rived it to different lengths for a slew of different handles. This piece ended up being 30" I think, for an old worn out Jersey that I think is around 3 1/4 pounds. Shown with wooden wedge and line scribbled on to mark where I am going to rive off the excess. This piece is straight grained, but I will touch upon the problem in the next step.
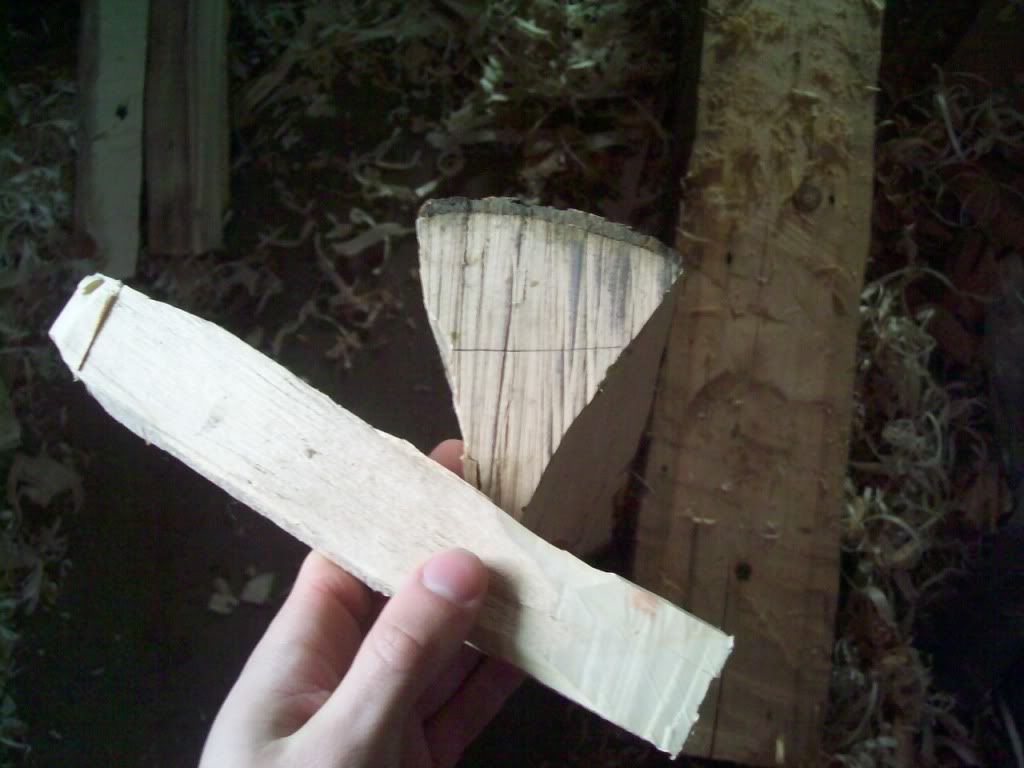
Aforementioned problem being that this piece has a slight bow to it. The result is that unless I were to make it with the grain running perpendicular to the direction of force, the grain is not as through running as it should be. The reason why straight grain is better is because the grain has a better chance of being through running in a curved handle, this is why I am often not phased by a double bit handle or straight handle with grain going the wrong way. As a result of this curve, I am not going to take this handle down as thin as I usually would (typically 3/4 of an inch thick for a dedicated chopper, or 7/8 inch give or take for a typical all-round axe).
(concave side is the bark side, convex in the split side. This picture is poor and does not illustrate the curve very well, my apologies)
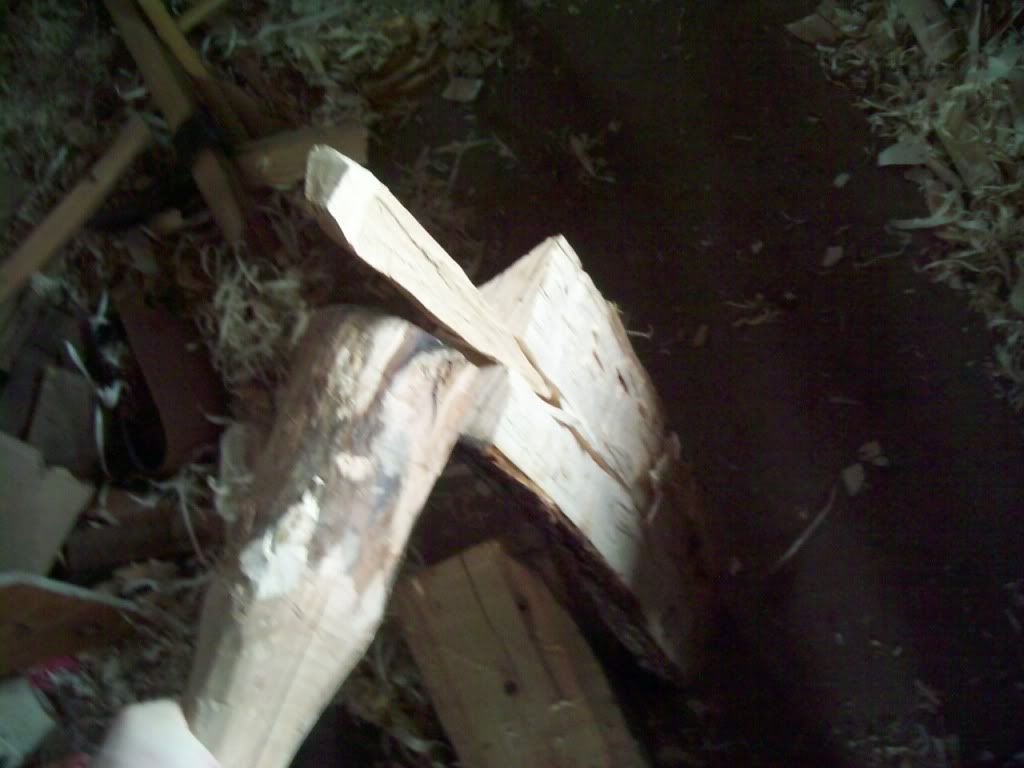
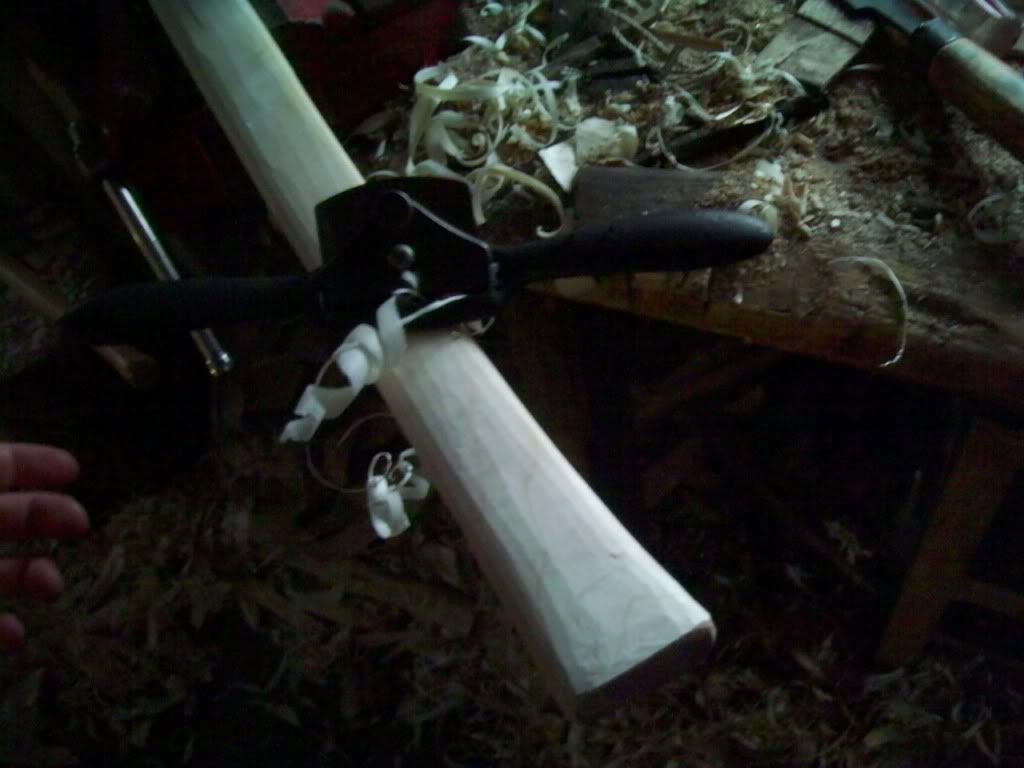
Now, grain structure aside, of course we want a straight handle. This is not a broad axe and must not be curved away from the line of the head and handle. To "fix" this natural bow, I am scoring and removing the middle of the stave on the convex side, and the ends of it on the concave side. Make sense? Flame me if it doesn't and I shall try again. I am also cutting out the shape or curve of the handle here, by cutting out the shoulder and the beginning of the swell knob. I prefer a straightish handle, as you will see later on.
I hold the stave with one hand (usually gloved, though not in this case) with the end perched firmly on a stump (higher than a splitting stump so as not to force me to bend over the whole time) and wail away. Careful, you are swinging within centimeters of your fingers. Be present.
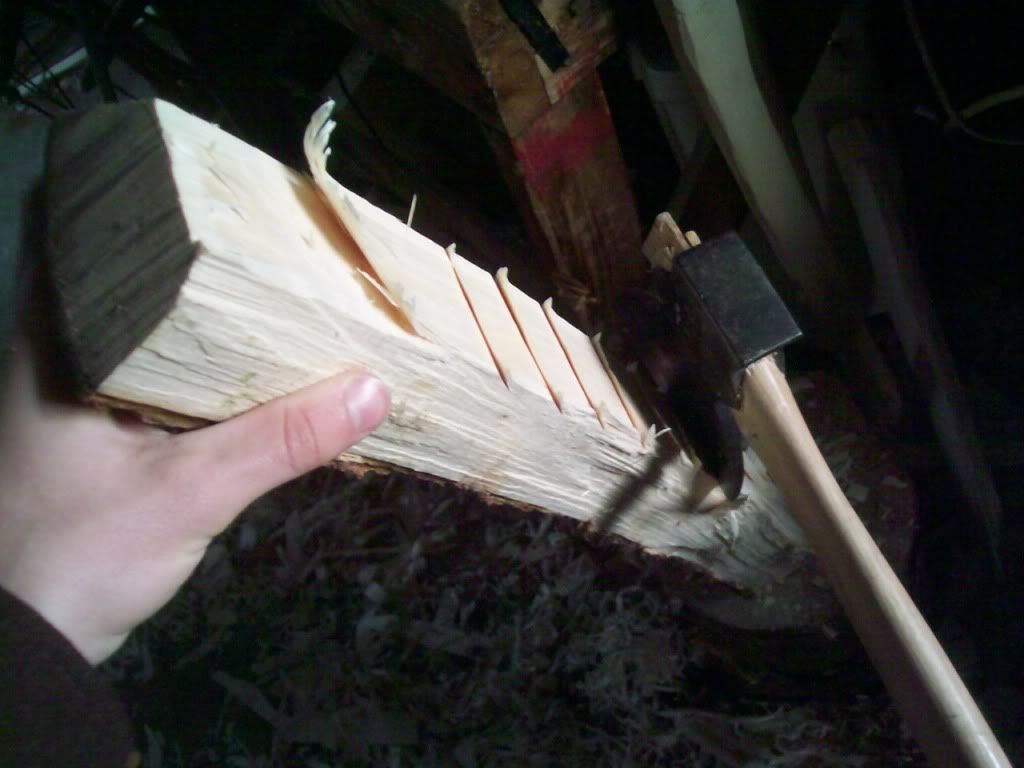
The general shape is cut out and the width parralel the direction of force is more or less right (sill oversize in way of thickness).
http://s213.photobucket.com/albums/cc31/aguineapig/?action=view¤t=Picture979.jpg
I switch to a draw knife when I think that I don't have much more to hog off. A little finer, though still easy to take too much off. Be careful.
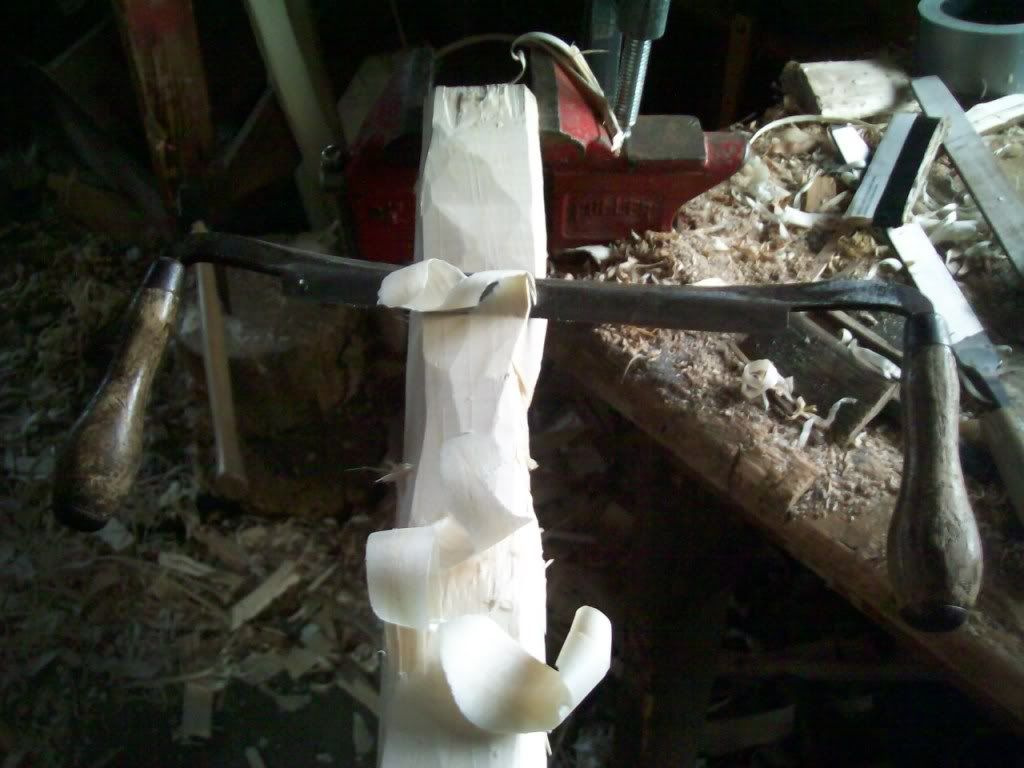
At this point I switch to the planes and spoke shaves. I use the block planes on the side and plane liberally, sighting up the handle OFTEN (this is the most important part of making a straight and true handle, its easy to lose track and take too much off one side). The spoke shaves are mostly to cut curves like the shoulder and the swell knob.
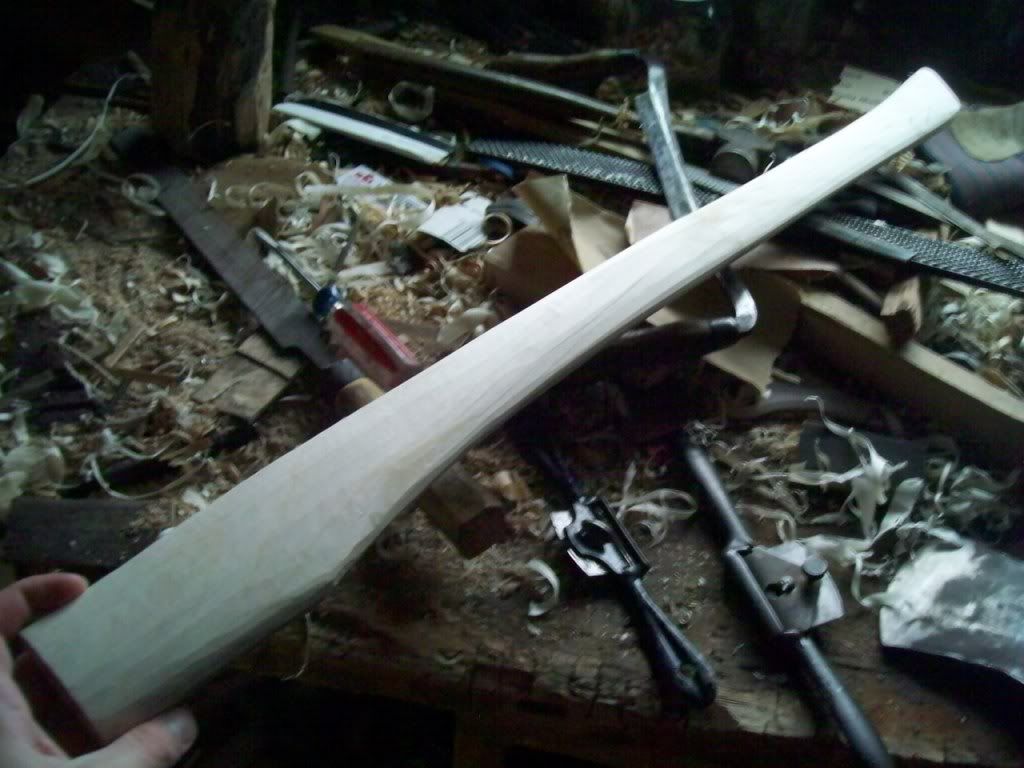
After a good 20 minutes of planing and trimming, I am left with this. Looks like an axe handle right? Still a bit thick on the shoulder at this point. fixed that later
There was some whacky grain on this piece because of the curve. In this shot I am planing in the opposite direction that I normally would at the swell.
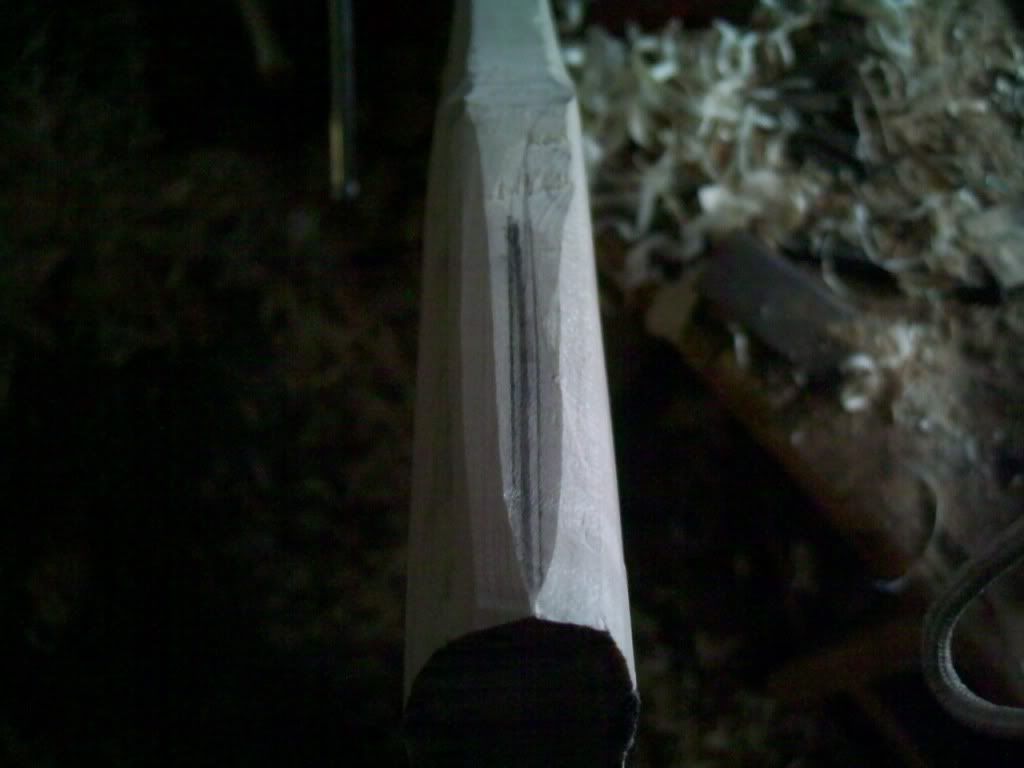
Drew a centerline on each side like this so when I go to shape the wood here to fit the axe I hopefully don't take too much off one side and render the handle useless.
Here is the handle mostly done (mostly, still some spots that need to be planed down) along with its eventual mate.
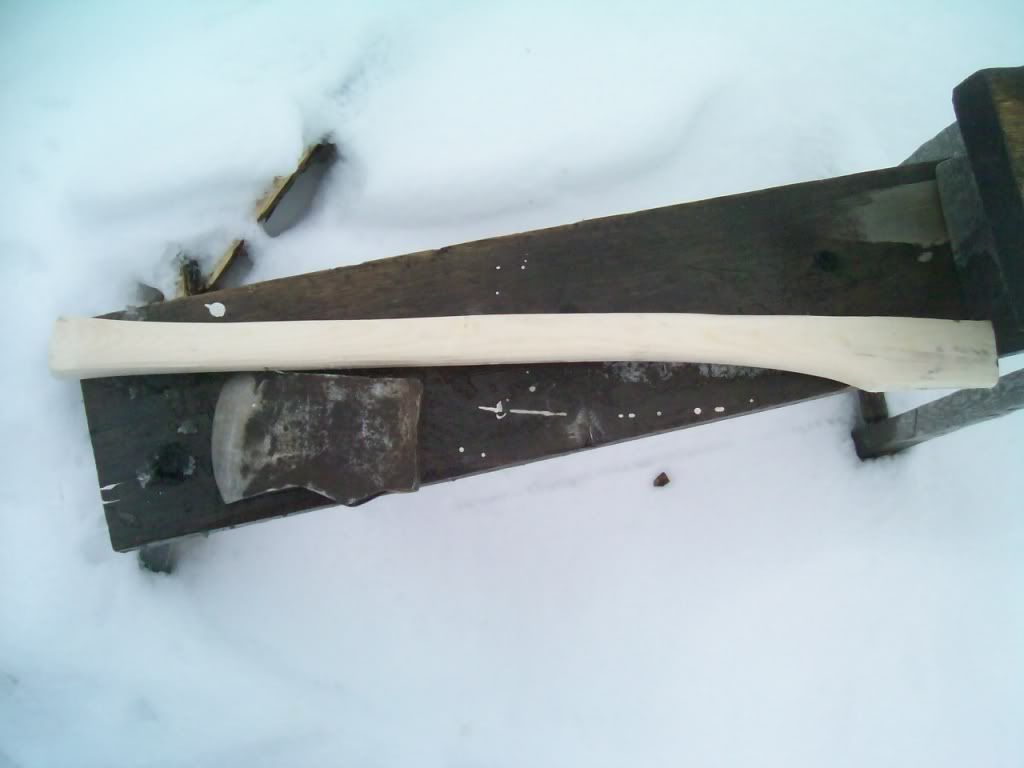
Total elapsed time was a little over two hours I think. When I first started, it would usually take me four. having the right tools and the right "rules" really helps to work faster and without fear of messing up. Very liberal use a block plane for thinning for example, removes lots of wood fast with relatively little risk since it cuts more or less straight.
Any glaring omissions (really, I'm sick and tired and I'm sure I left something out. Ask question)? Feedback? Flames? Have at it. Hope this is helpful to you all.


 1
1


 )
)
 .
.

Skill verified by Nicole Alderman")

Skill verified by Mike Haasl")