So first I had to gather all the wood I could find and put it in a single place. I found wood tucked away in every outbuilding and I started setting up a boneyard on a side of the house we hardly ever use. Once I could see what I was working with, I was able to figure it out as I went. I tried to copy a lot of the design from the
Wheaton Labs bailer but I had a lot more small pieces and not enough longer pieces to copy the design completely.
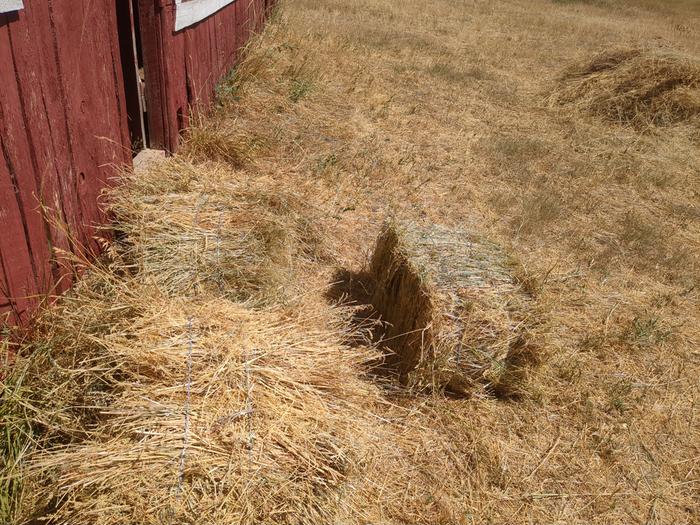
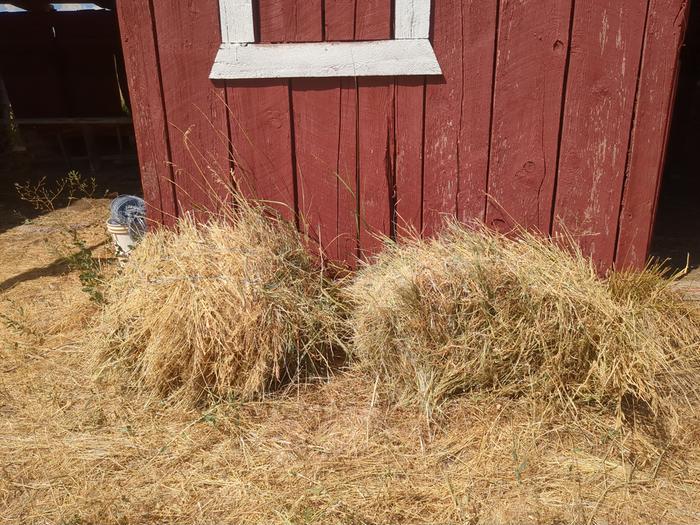
I looked up the standard size of a two-string hay bale and the most consistent answer I found was 35 x 14 x 18 inches, so that's what I went off of.
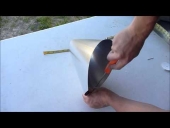
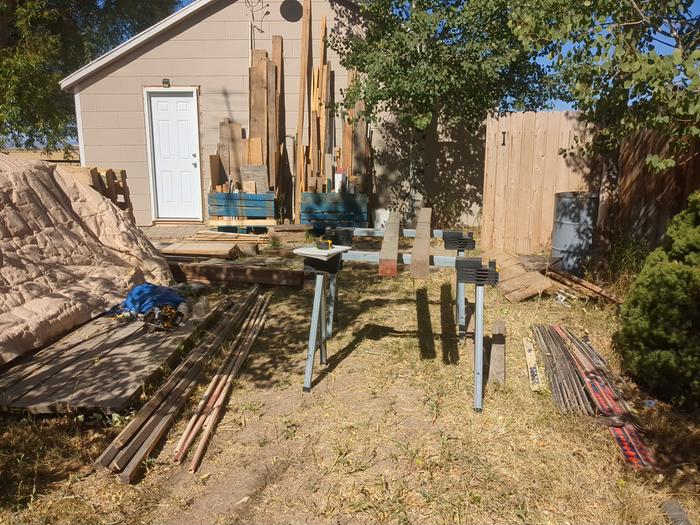
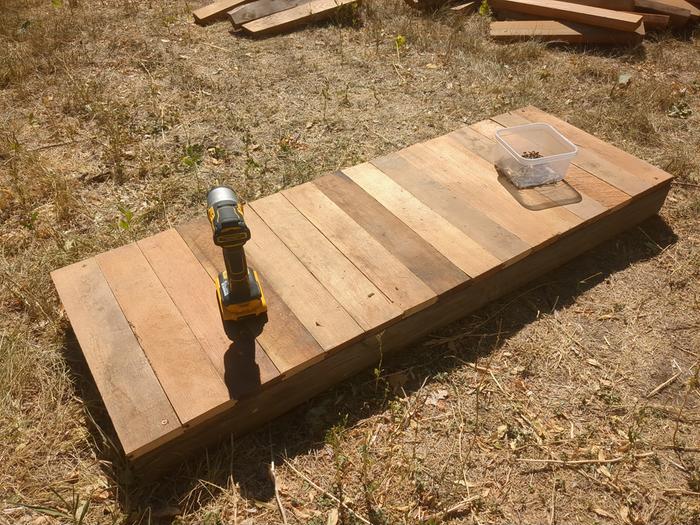
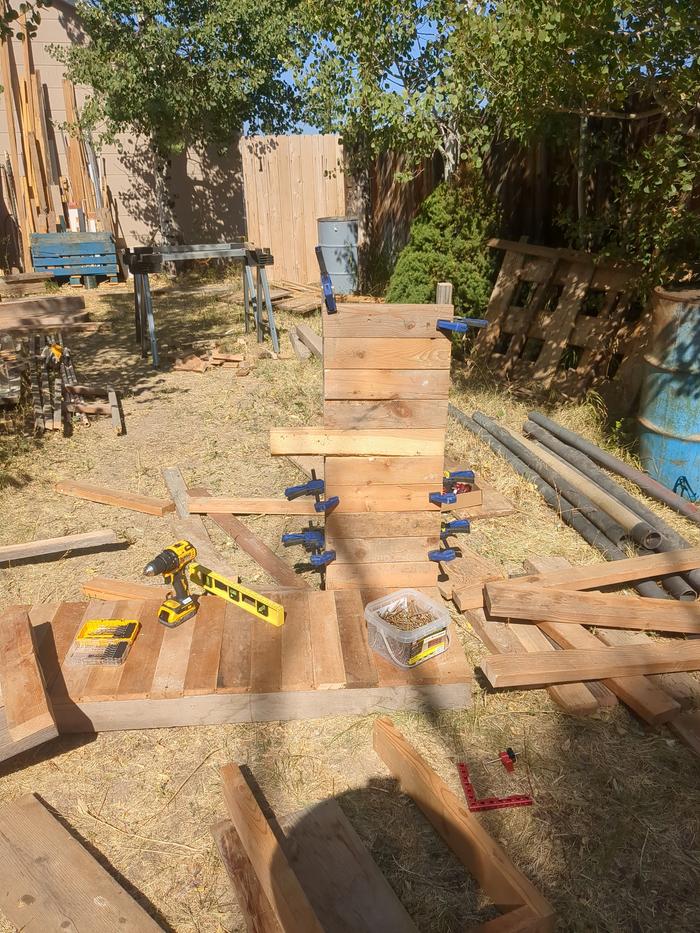
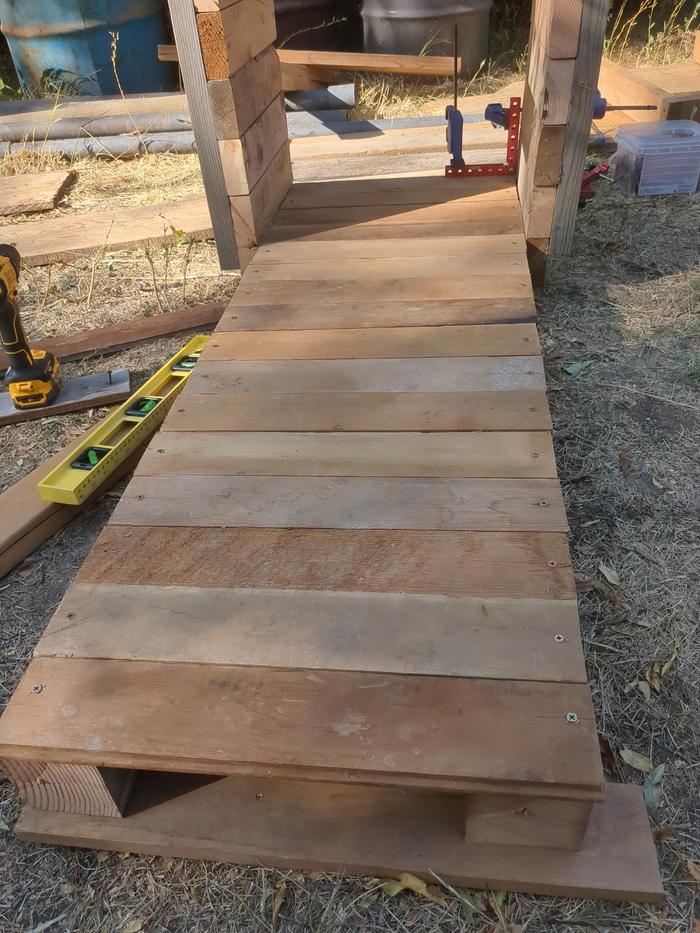
Here is my boneyard-in-progress along with the first two pieces that I built the whole baler on top of. These are two four-by-fours (3.5 x 3.5 inches) that I cut to be about 52 inches long. I'm going to call these the skids, although I think I need to shape the ends to be more like skiis to make it skid properly.
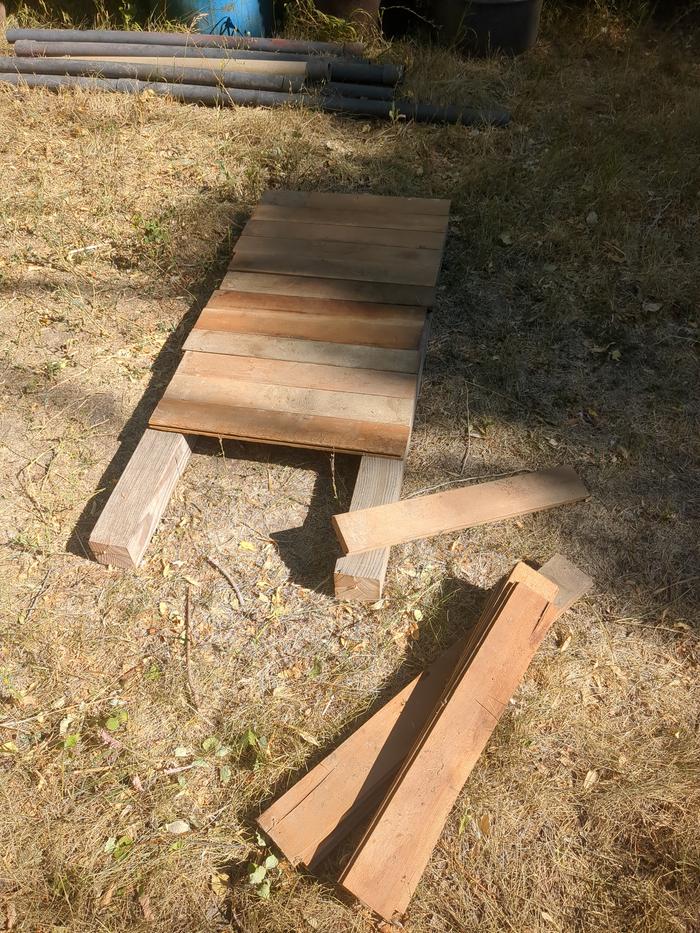
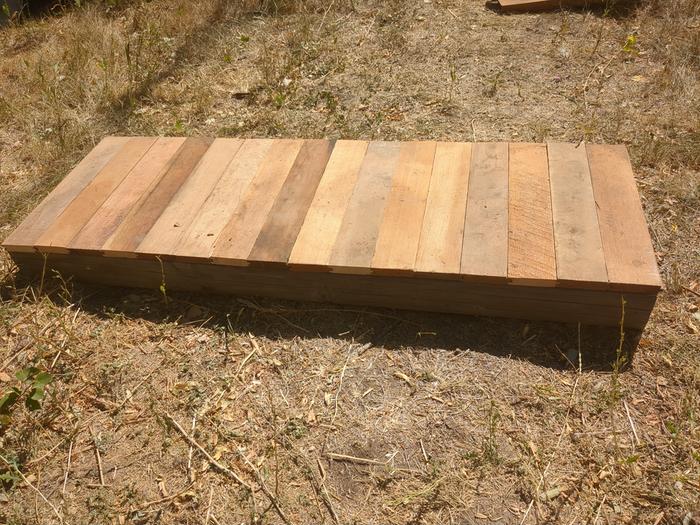
I don't know what these pieces are called but they have slots in them so they can interlock. I cut these to be 18 inches in width and then I laid them down over the skids and screwed them into place. At first I screwed them straight in and had them crack a little bit and then I learned that I should drill pilot holes first and that reduced the splitting in the wood. I ended up with a tiny little deck with 16 boards going across. The overhang the skids slightly on one end, which is the platform end that is not going to have anything else added to it. It's so pretty!
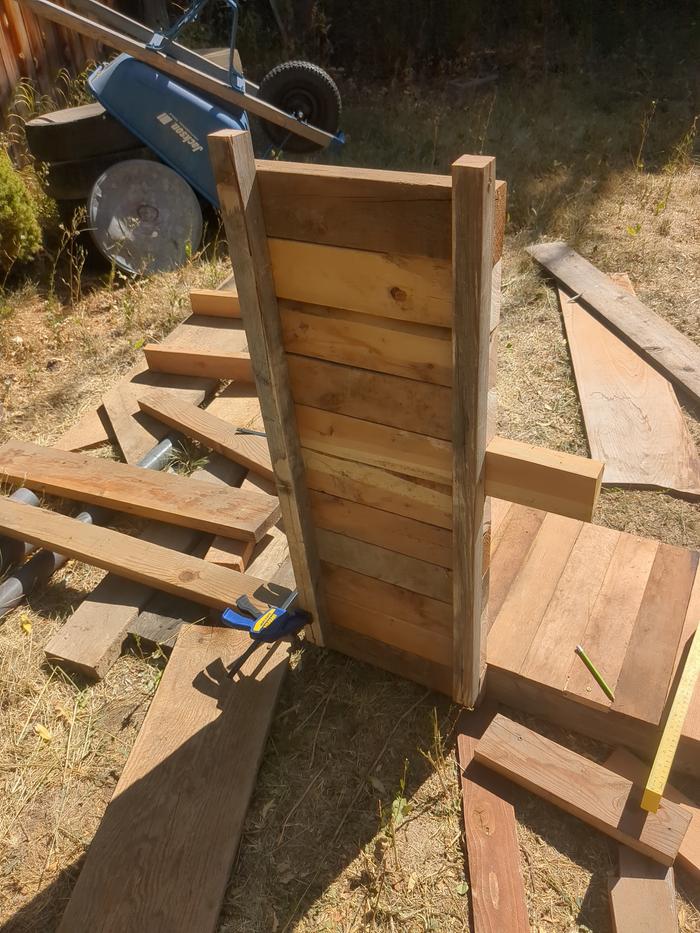
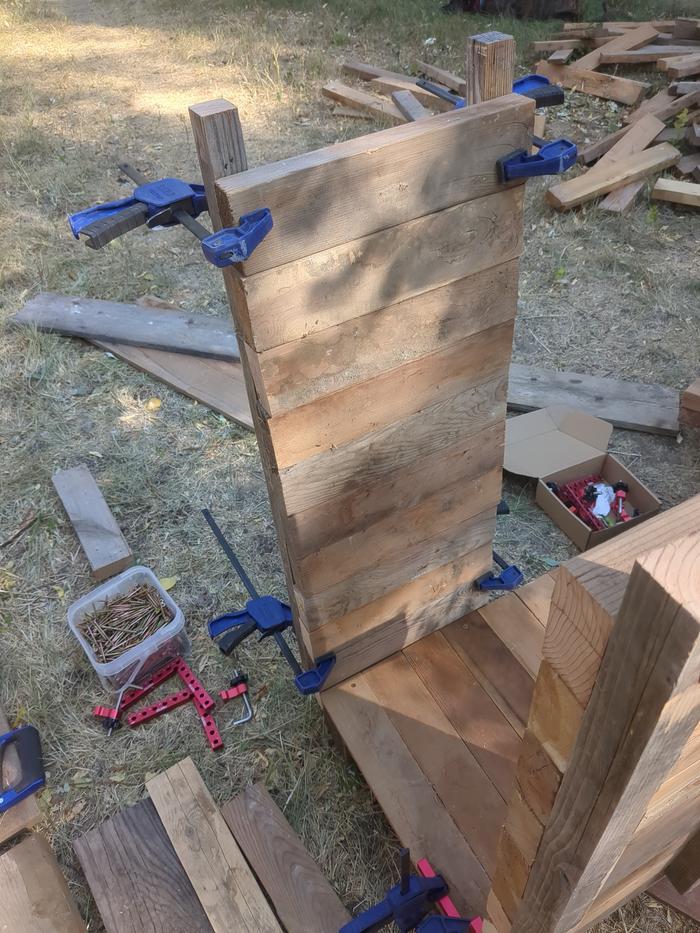
Next I started building the door. I took two horizontal two-by-fours (1.5 x 3.5 inches) and cut them to be 18 inches for the width of the door and then I put two vertical two-by-sixes (1.5 x 5.5 inches) on either side of one vertical two-by-four (1.5 x 3.5 inches) spaced about evenly across the 18 inches. The length of these vertical pieces was 35 inches. After I got the whole baler assembled, I realized that the door wouldn't open all the way and it made it very difficult to get the bale out, so I ended up chopping off a couple inches from the horizontal two-by-fours on the right side.
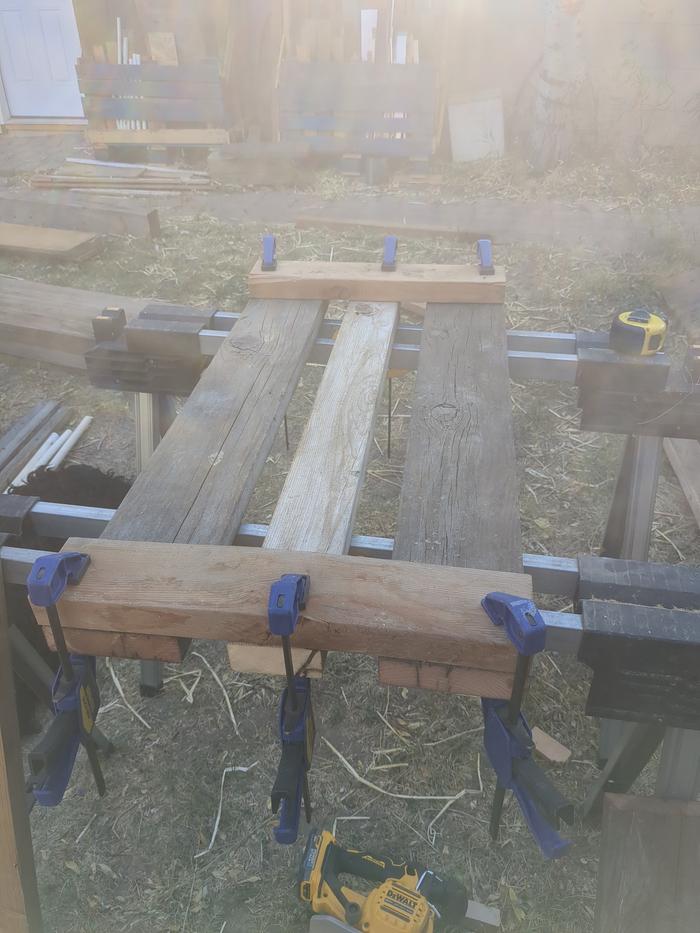

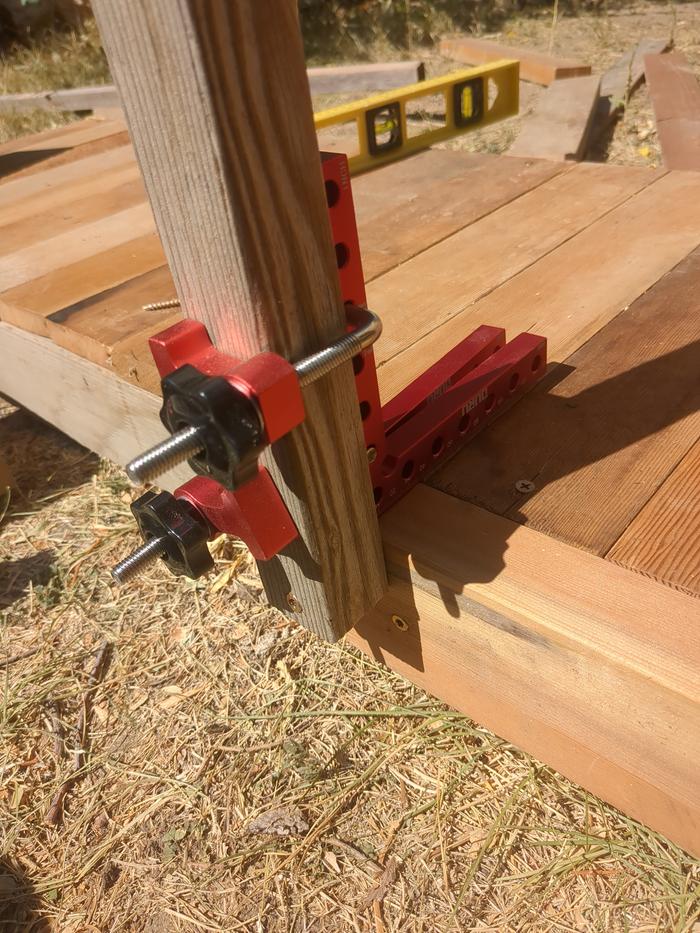
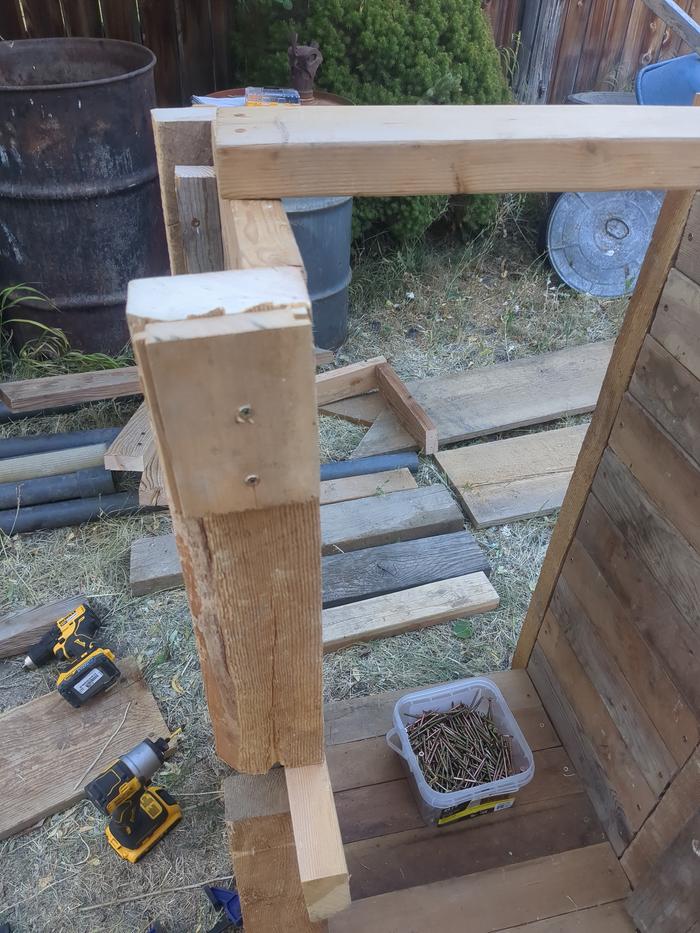
I placed the door approximately where I wanted it and started working on the sides. I got these cool right-angle clamps off of Amazon and discovered that in a lot of cases I could not get a perfect right angle either because the wood was slightly warped or I could not get a perfectly straight cut because all I have to cut the wood with is a circular saw and my eyeballs. Anyway, for the sides I started by mounting a two-by-four (1.5 x 3.5 inches) on the side of the skid that was 14 inches long.
I then cut two two-by-twos (1.5 x 1.5 inches) and screwed them to the outside of the 14-inch piece and then started stacking more two-by-fours on top of the first one. I didn't line up the bottom of the two-by-twos exactly with the two-by-four, I had some idea about how the tops of these pieces were going to fit together and I ended up changing my mind after I realized that I needed the sides to be sturdier because they were leaning outward quite a bit.
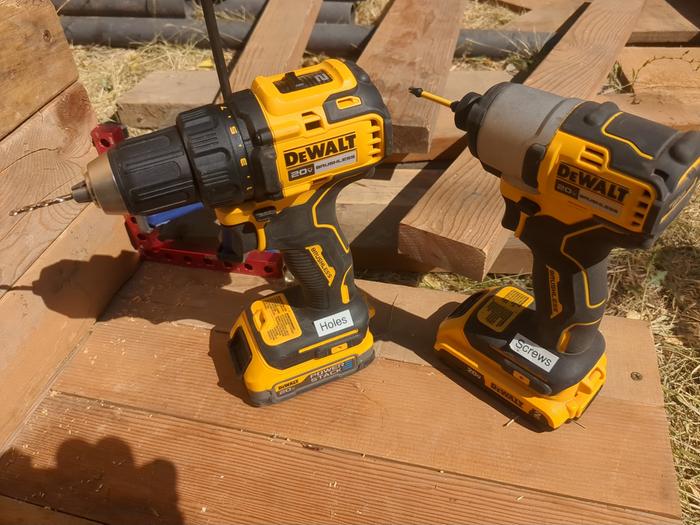
I labelled my drill "Holes" and my impact driver "Screws" because for most of my life I thought these were the same tool.
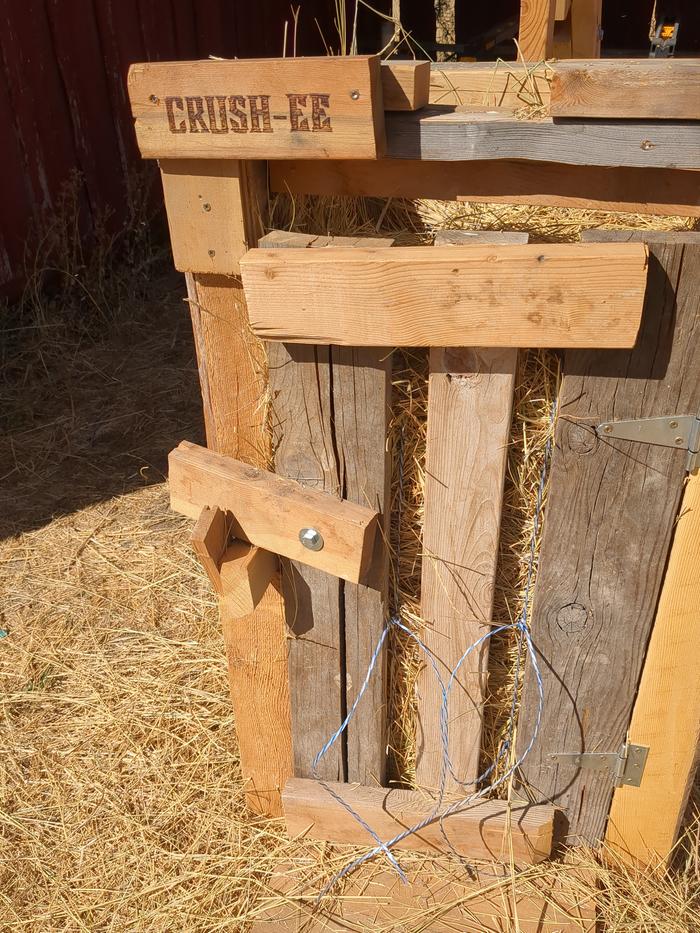
On the left side, I made one piece in a middle a few inches longer for the door latch.
And then I did the same thing for the other side.


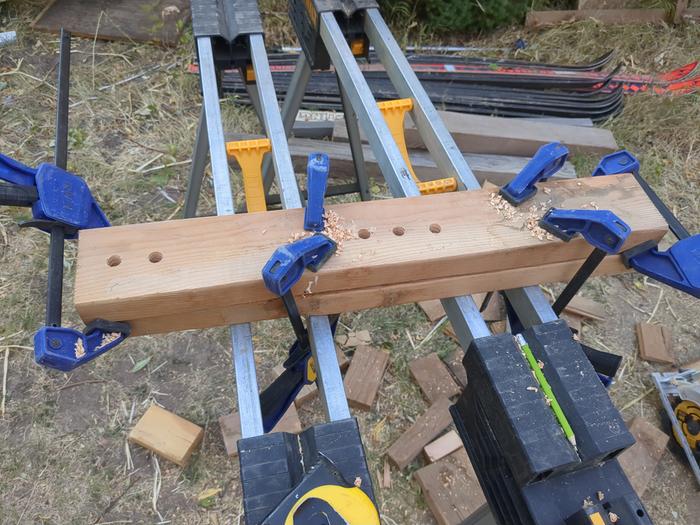
Here I am drilling the pilot holes to screw these boards in, like I learned for the platform.
https://permies.com/t/283212/a/272205/thumb-IMG_20250813_171327_717.jpg
Since I was figuring out what would fit together as I went, I did a lot of clamping and screwing things together in place instead of building the pieces in a normal way and then assembling everything at the end.
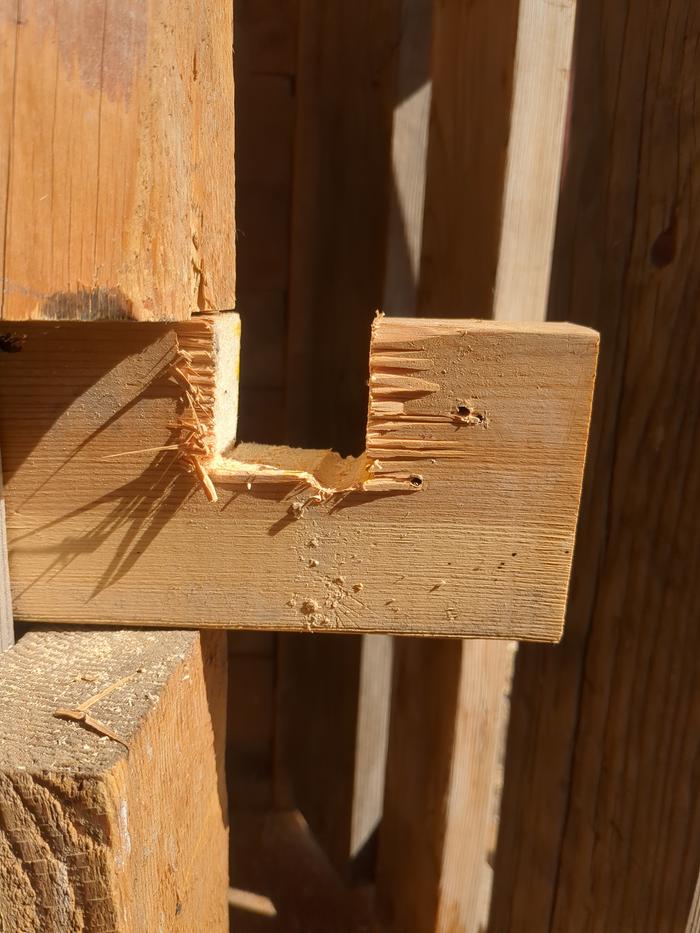
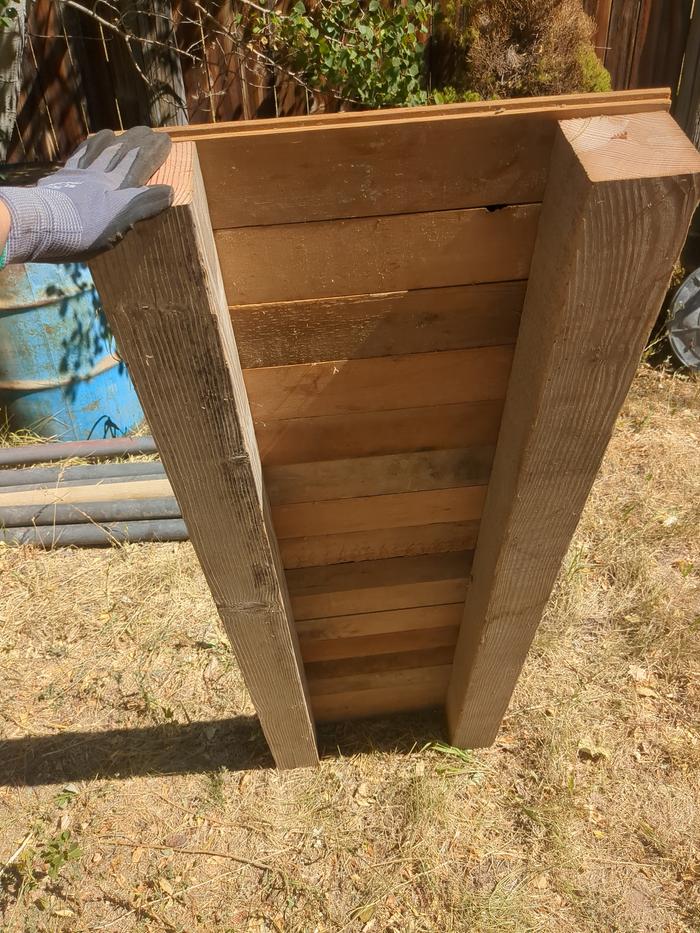
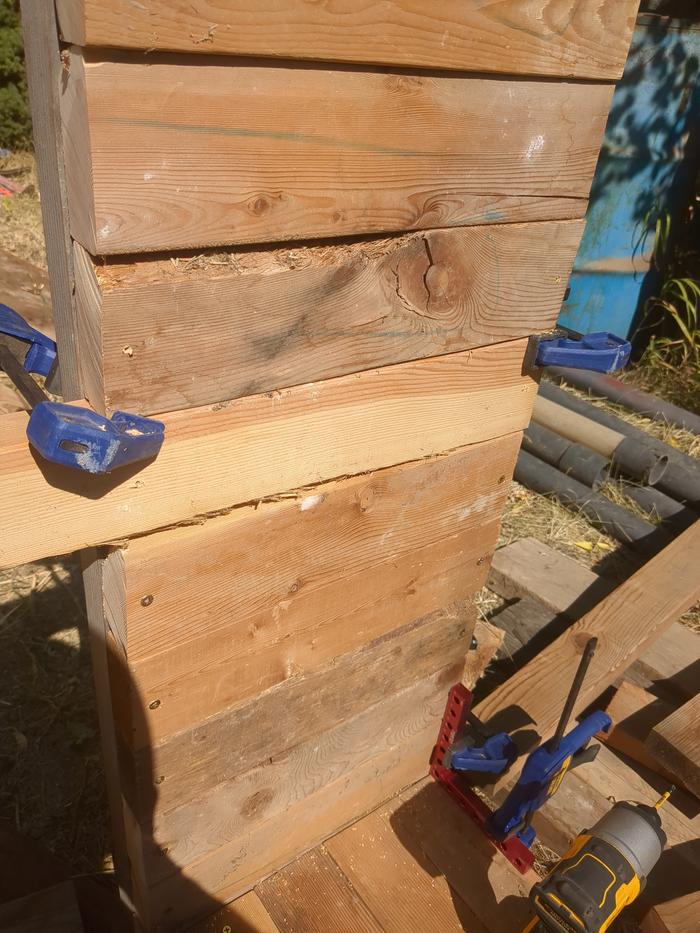
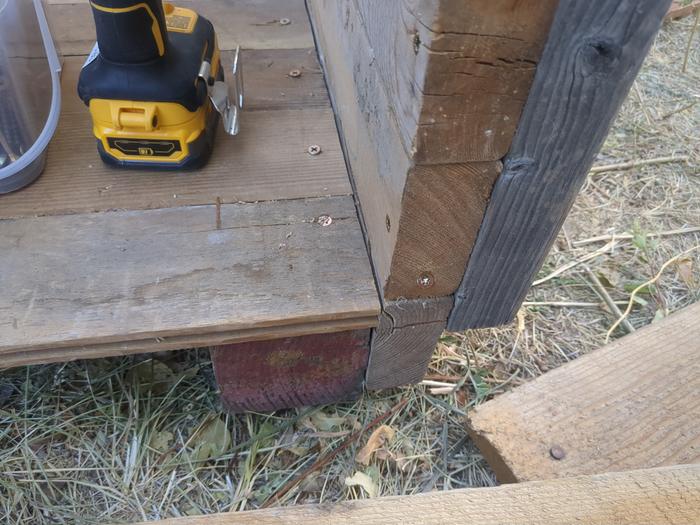
So once I realized that the sides needed to be sturdier, I placed these old, large two-by-fours (3.75 x 2.25 inches - maybe I shouldn't call these two-by-fours?) on the corners to try and add extra sturdiness. I cut these pieces 42 inches in length and I put one on each corner. I had to cut a chunk out of one of them to make room for the door latch. Having this extra piece on the right side also allowed for the door to have enough space so that the inside of the baler would still be 14 inches deep to make the bale the right size.
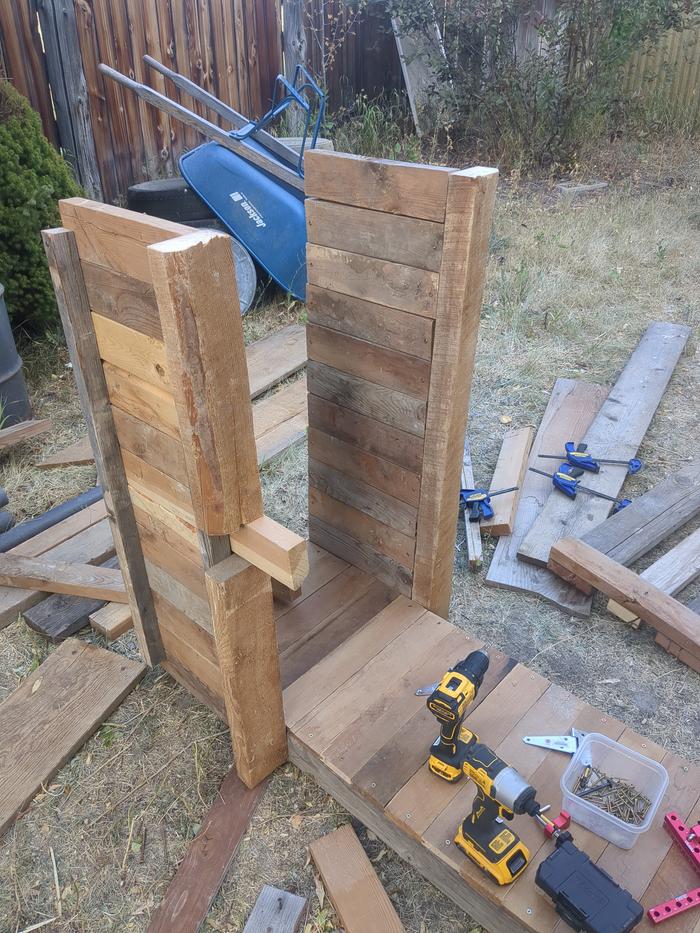
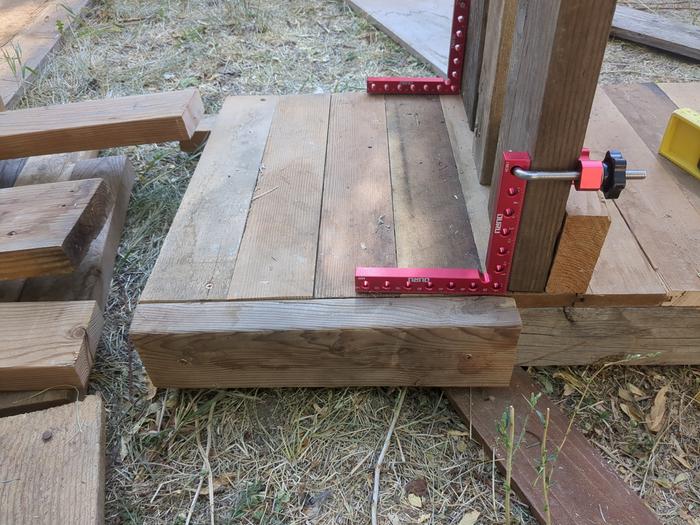
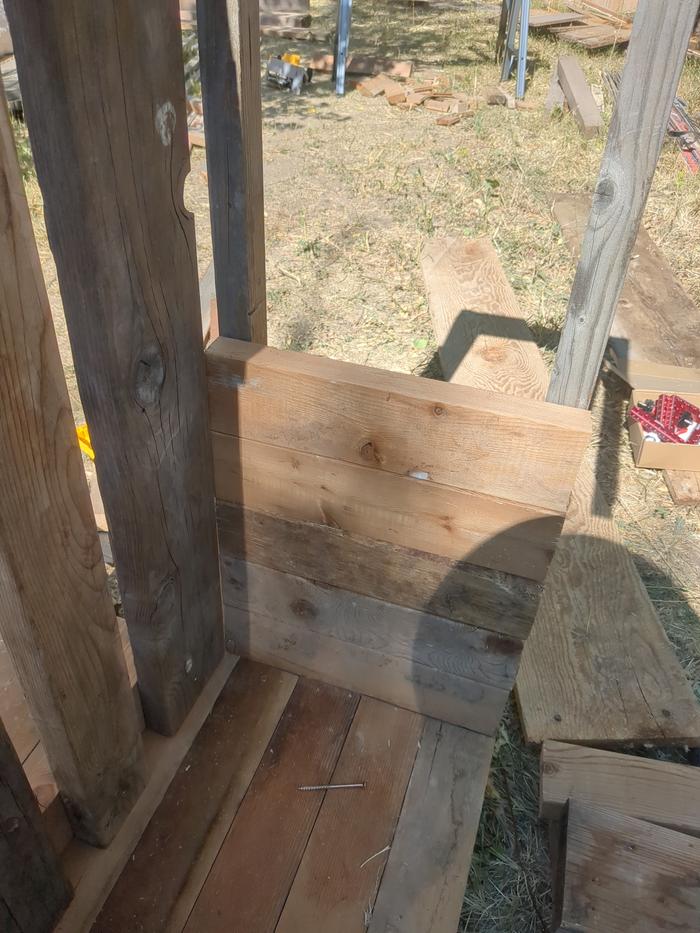
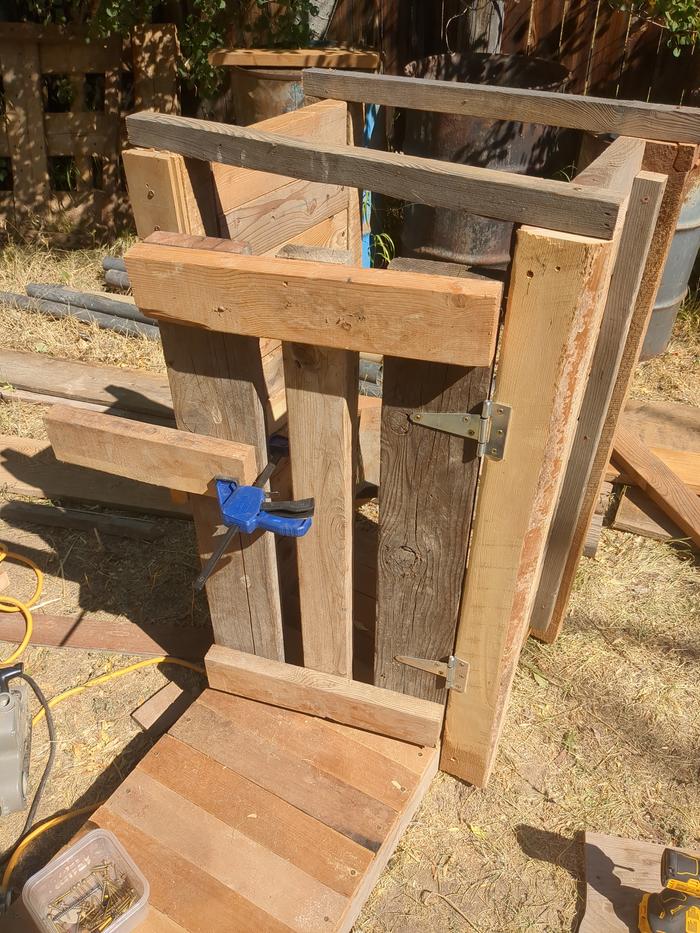
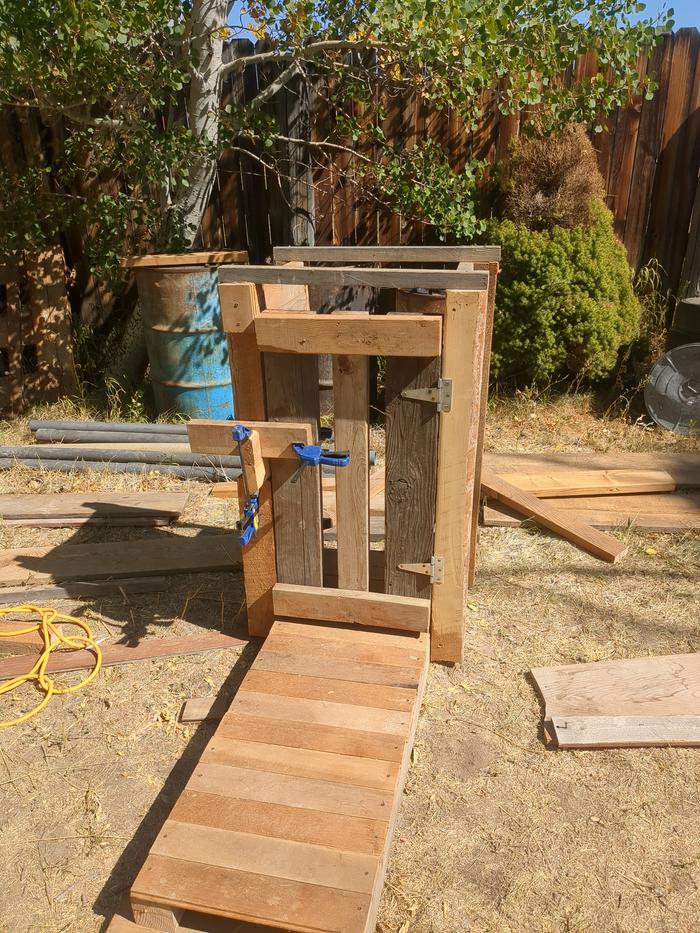
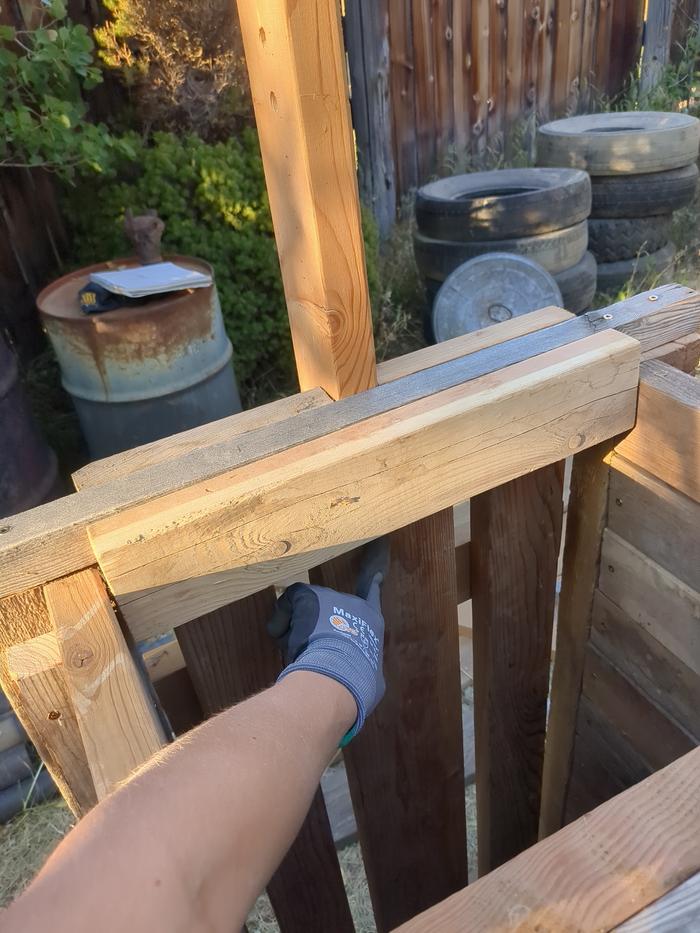
Here I am checking that the door is going to fit.
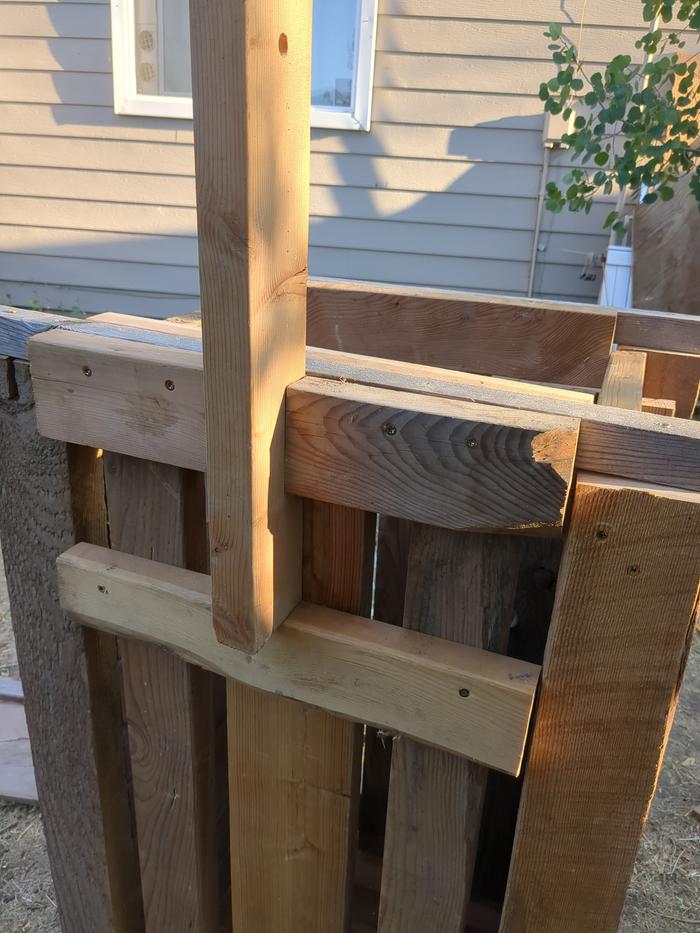
Here I realized that the two sides on either end of the door don't quite line up. If I put an extra piece on one side and try connecting them and forcing them into the proper box shape I can get them to line up enough for the door to fit right. This is where I started getting really discouraged about not making everything perfectly straight and lined up.
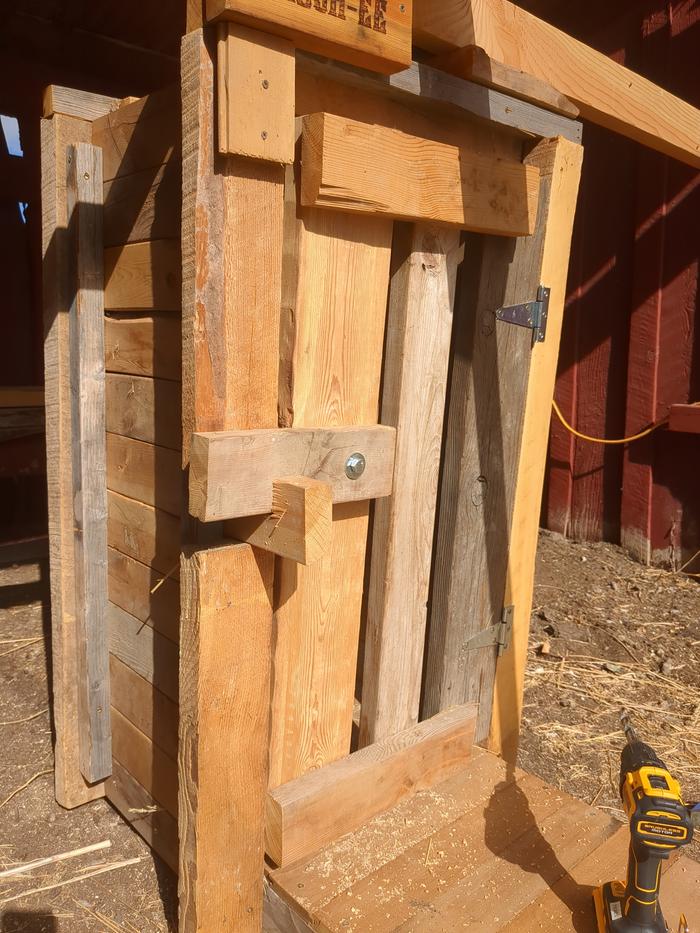
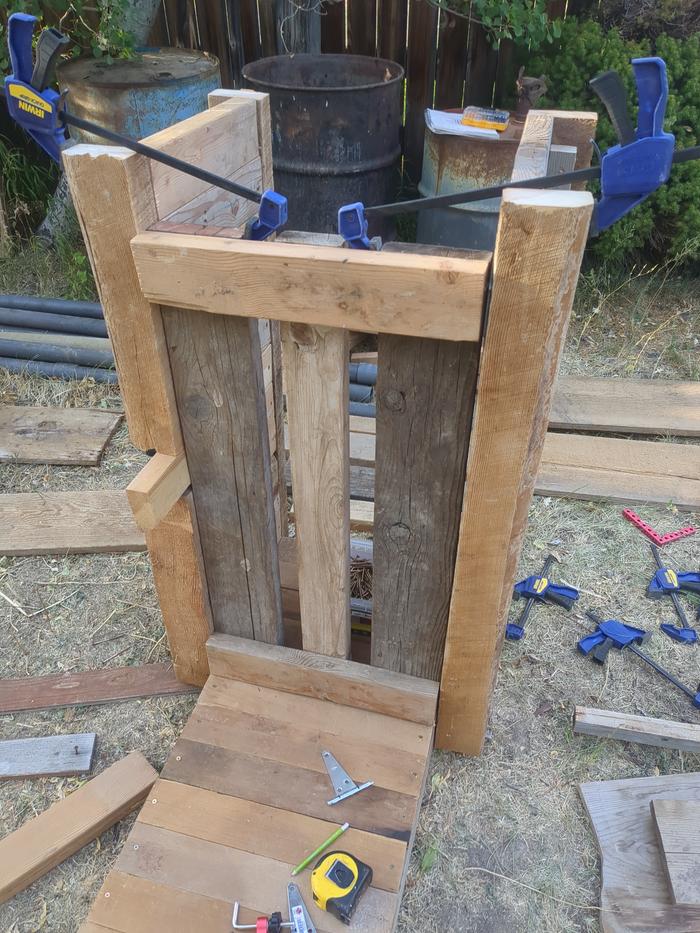
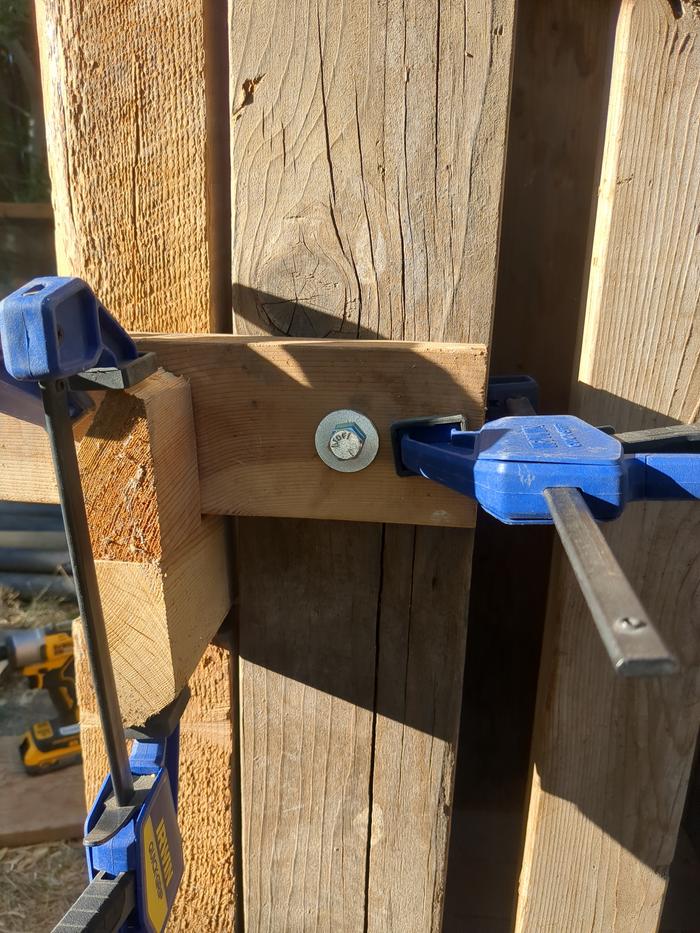
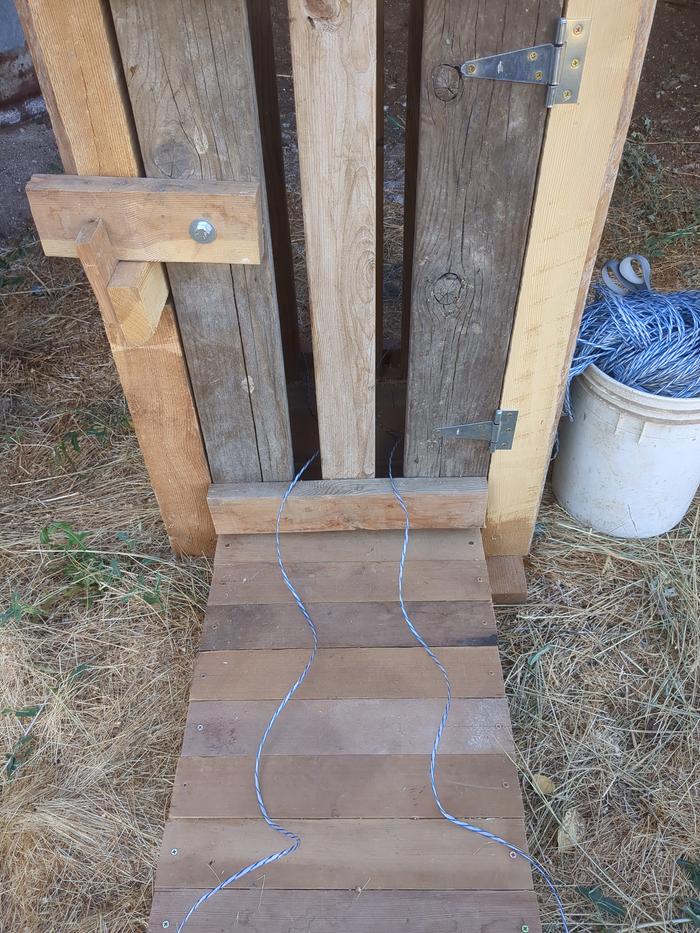
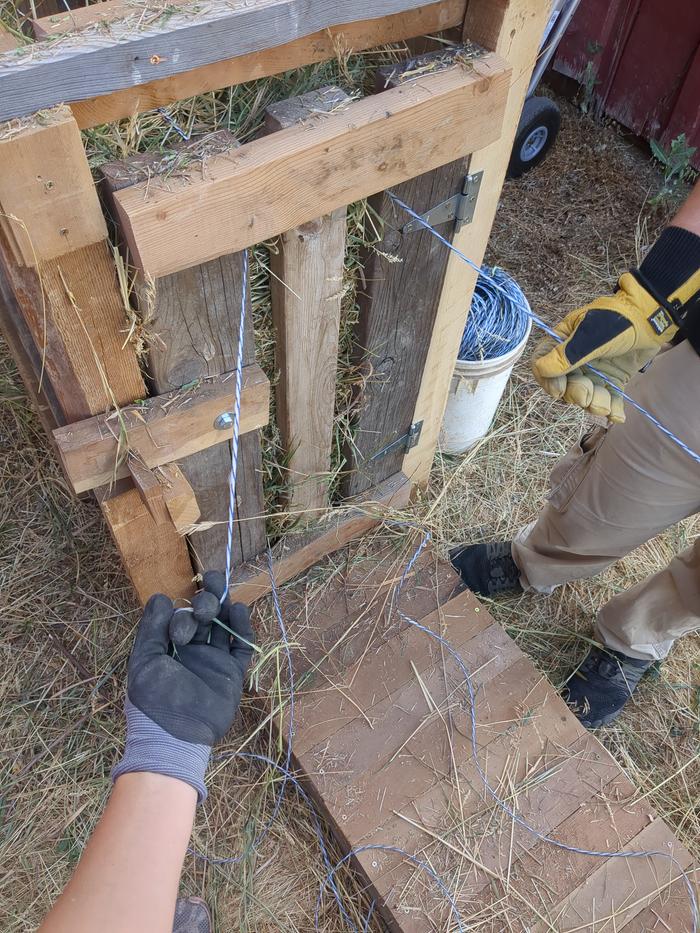
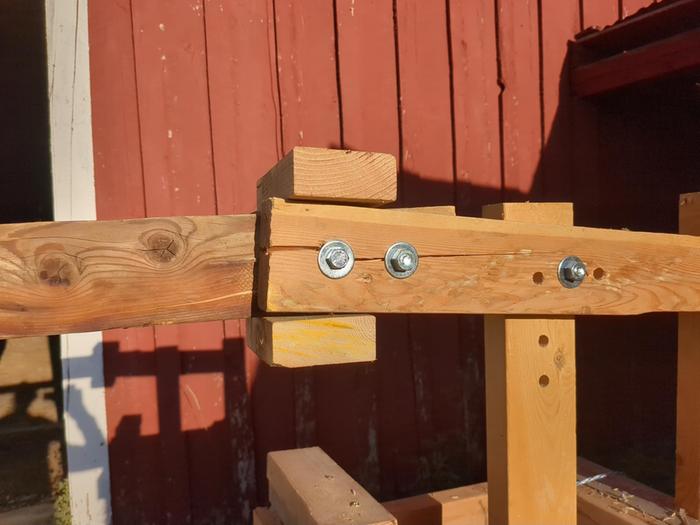
I eventually ended up screwing some two-by-twos (1.5 x 1.5 inches) into the tops of the corner pieces to hold the box together. You can see that they're not perfectly lined up. But I got the door on and clamped a piece onto the door to see where the latch would end up and it seemed to be good enough. I screwed a 1/2-inch hole into the door and the latch and put a 4-inch long 7/16-inch diameter bolt into the hole with washers on each side. I eventually attached another small piece to the latch for the door, although it took a couple tries to get a small piece that wouldn't split on me.
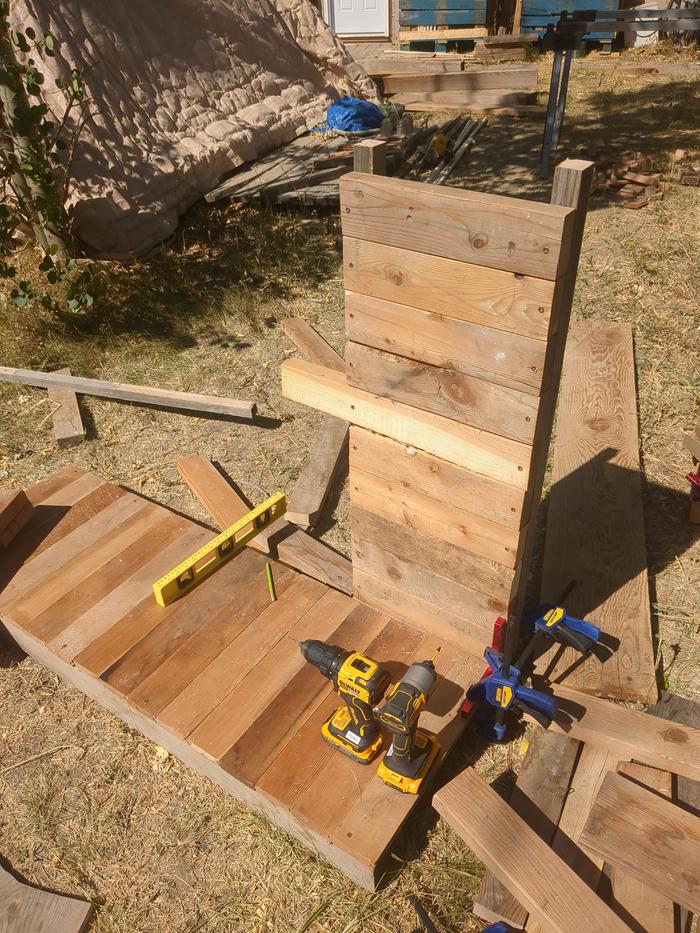
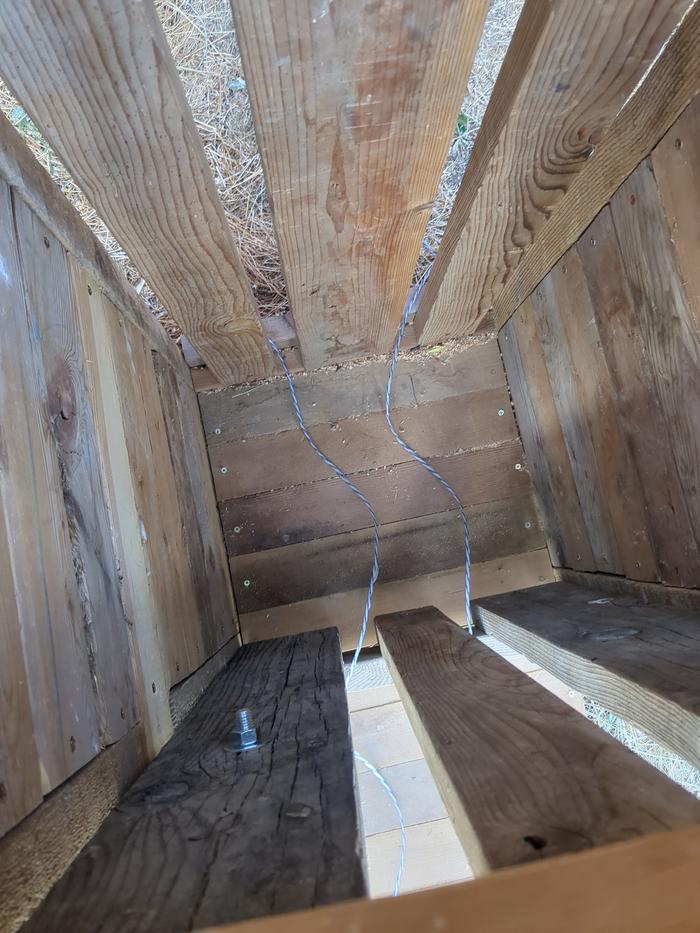
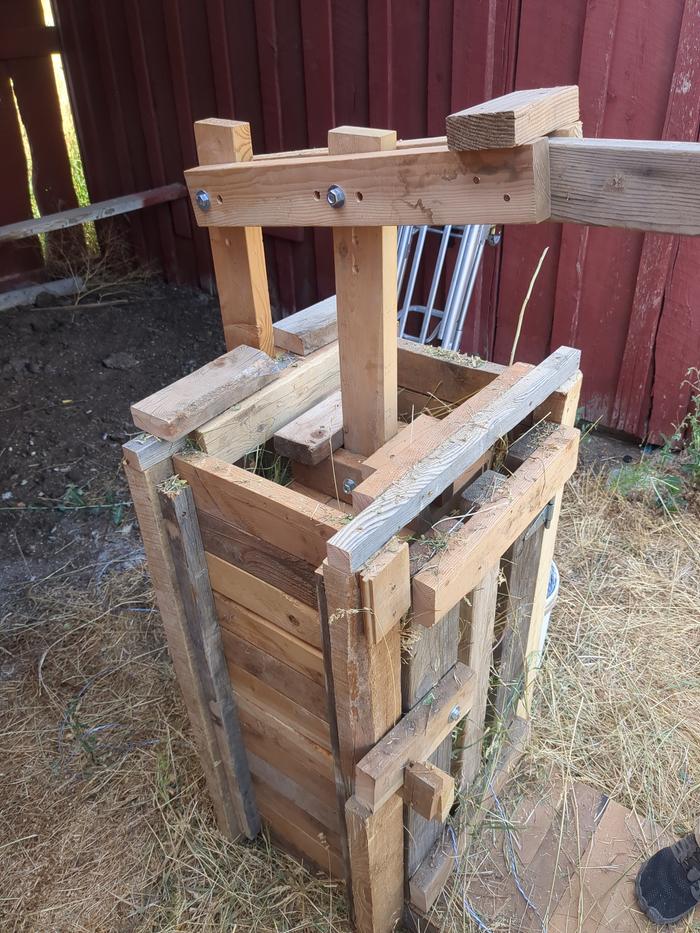
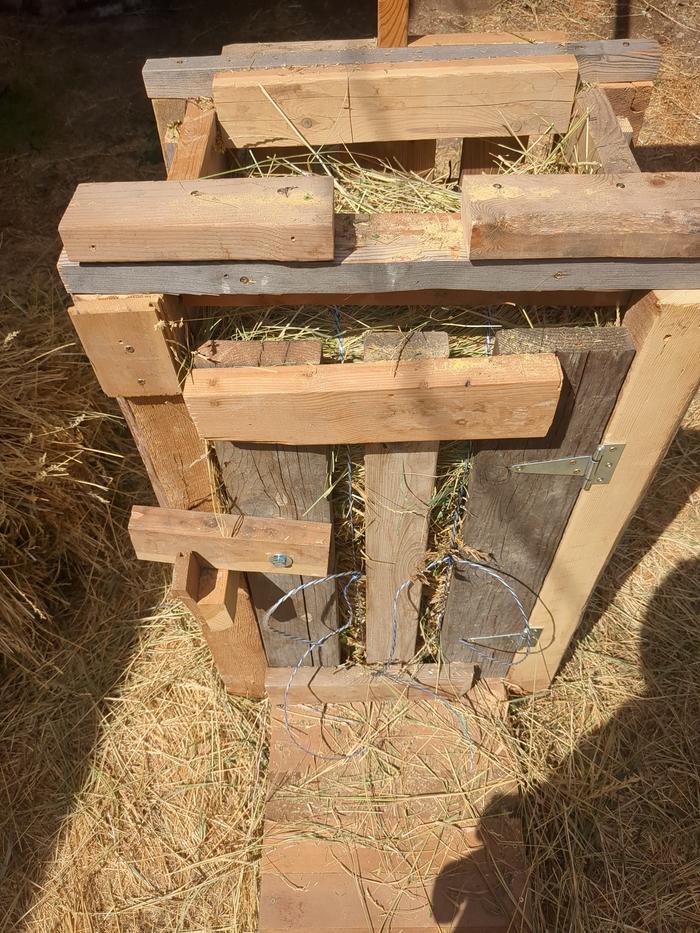
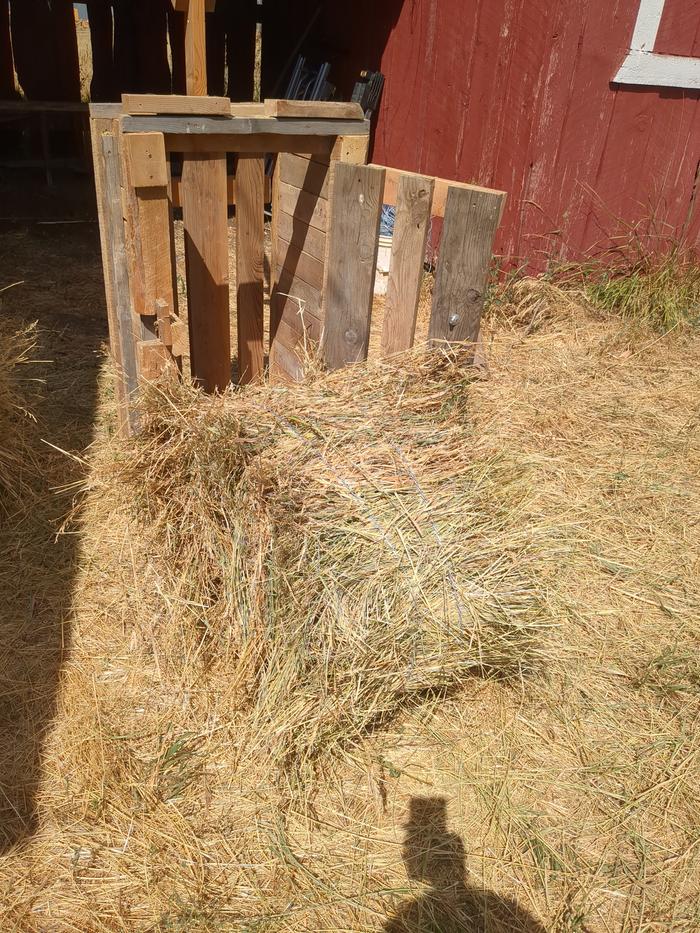
For the back I did not have enough two-by-sixes to match the same pattern as the door, so I did a vertical two-by-six in the middle and two two-by-fours on the outside and just spaced them evenly across the back. I cut these about 38 inches long. To attach them, I put a two-by-four (1.5 x 3.5 inches) on the end of the platform with the top of it flush with the top of the platform. This piece is 18 inches long and the vertical pieces are sitting on top of it. I put another 18-inch long two-by-four on the outside slightly higher that the vertical pieces are screwed into (so there are two 18-inch long two-by-fours on the bottom here). At the top I put one 18-inch long two-by-four on the inside of the two-by-two with the top of it lined up with the top of the two-by-two and half of it sticking down for the vertical pieces to be screwed into. The bottom of this upper two-by-two gives a good guide for how high to stack the bale since it's close to 35 inches above the platform.

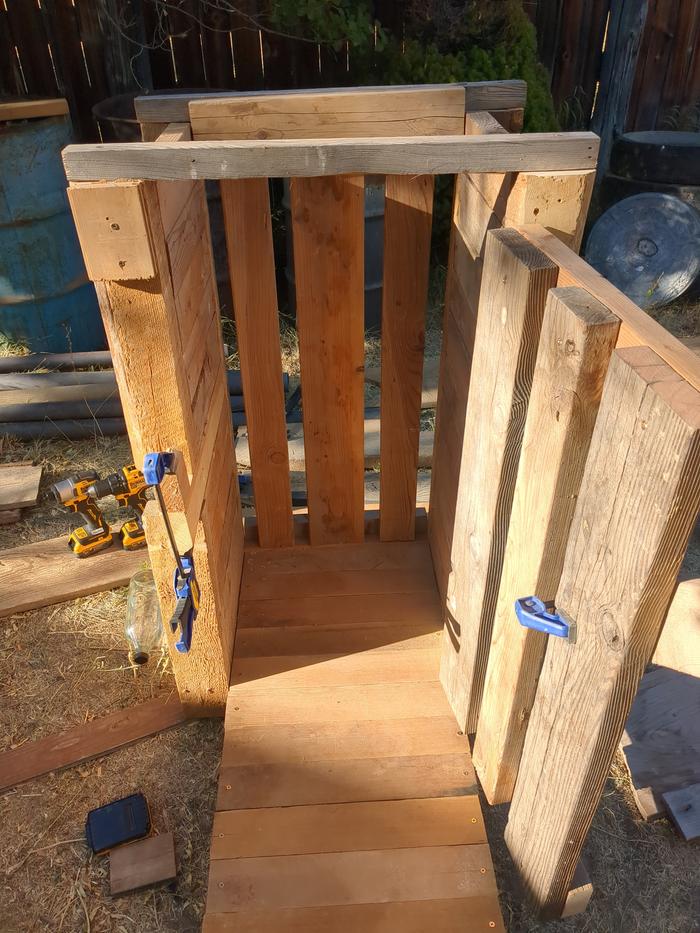
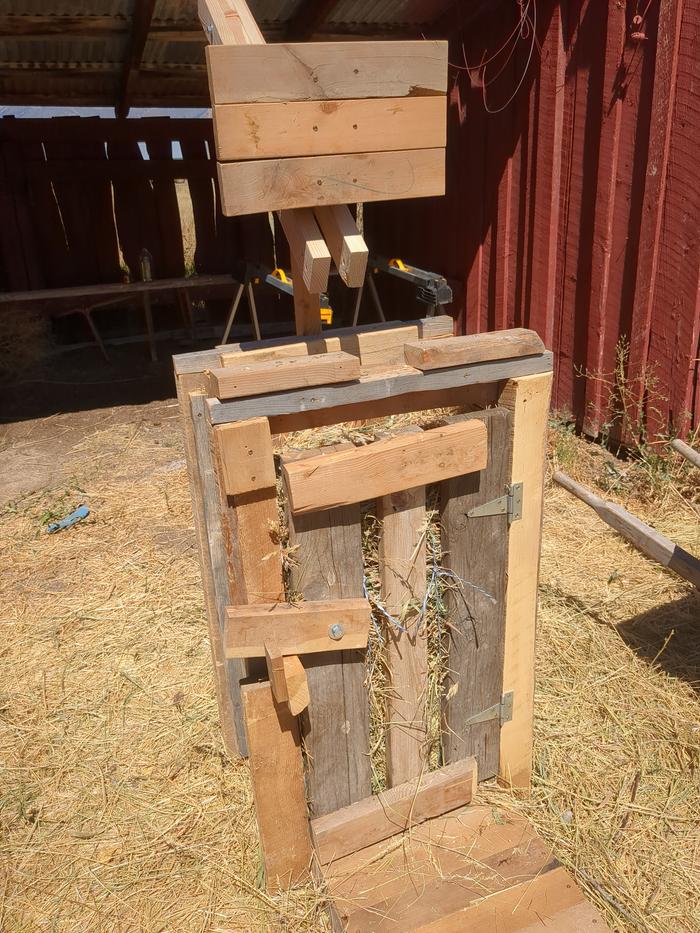
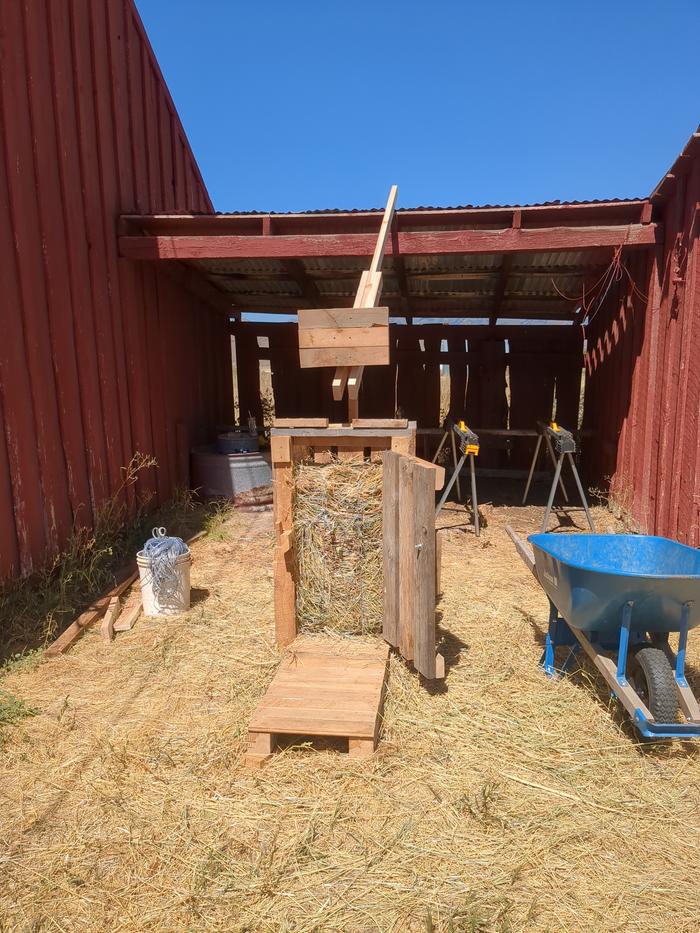
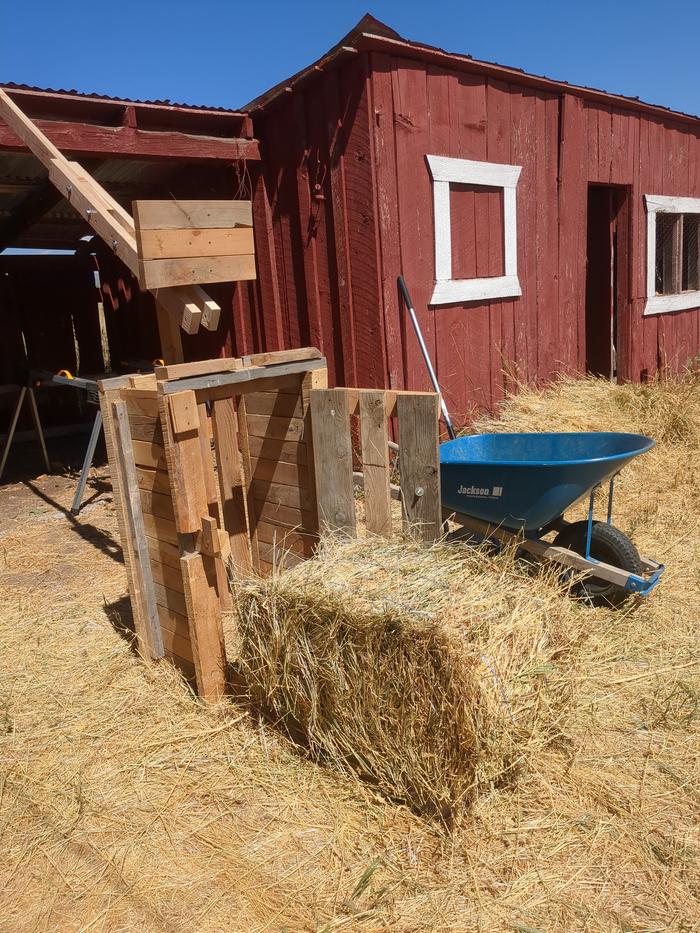
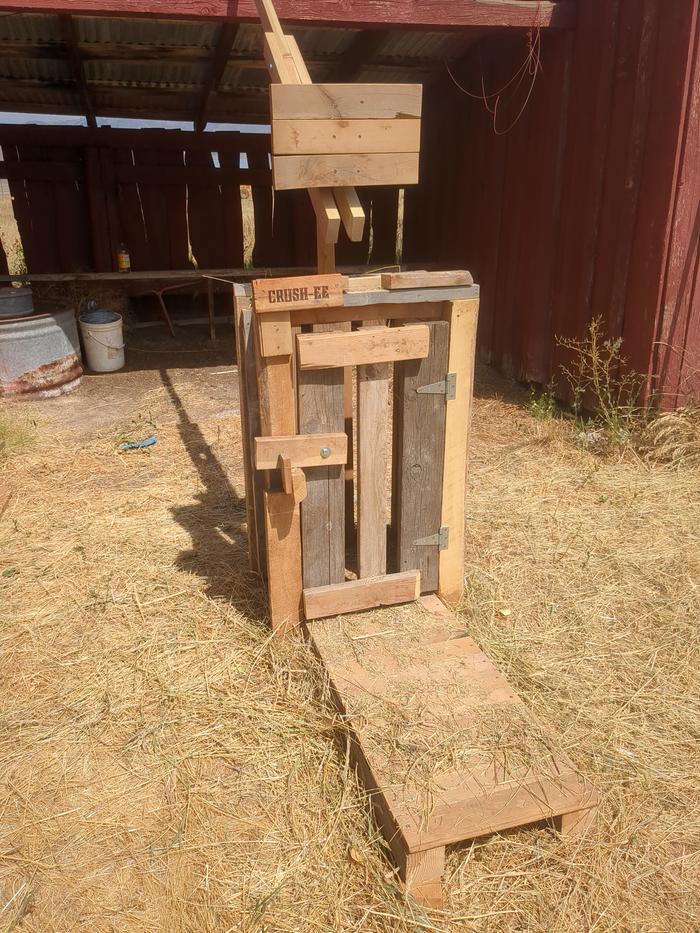
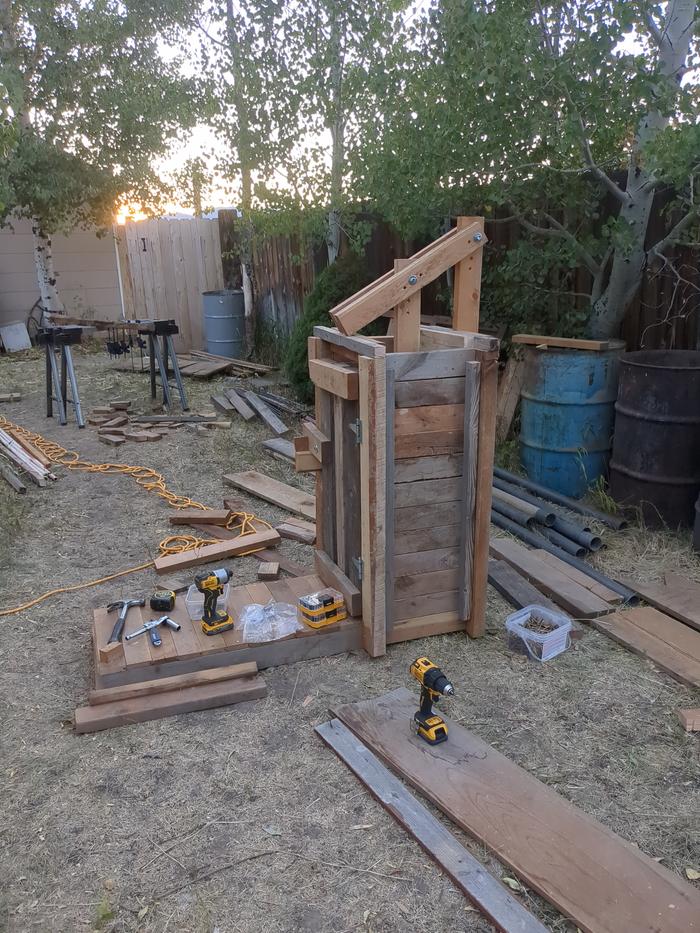
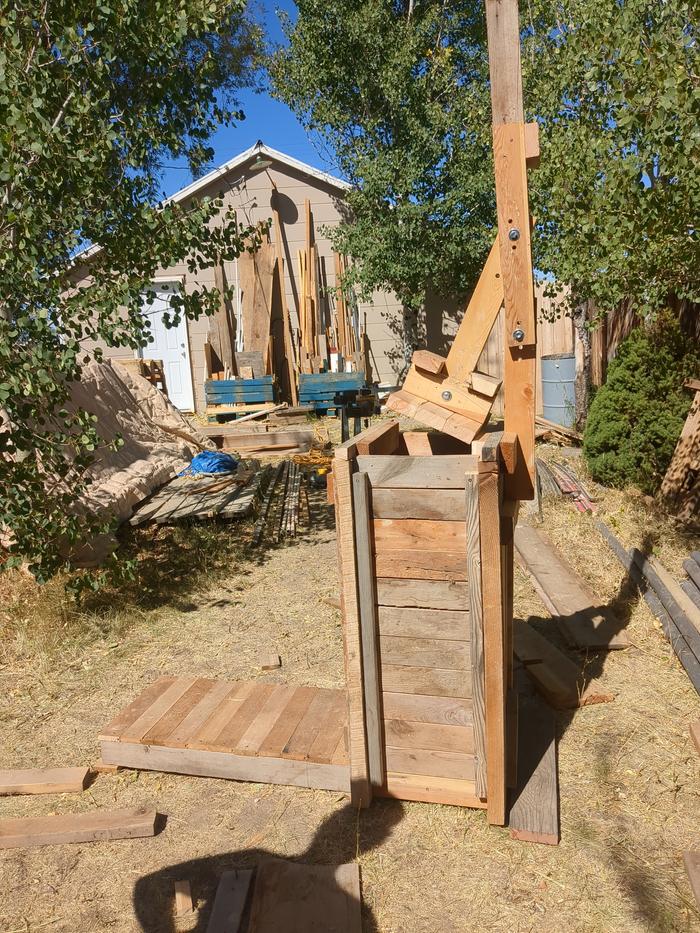
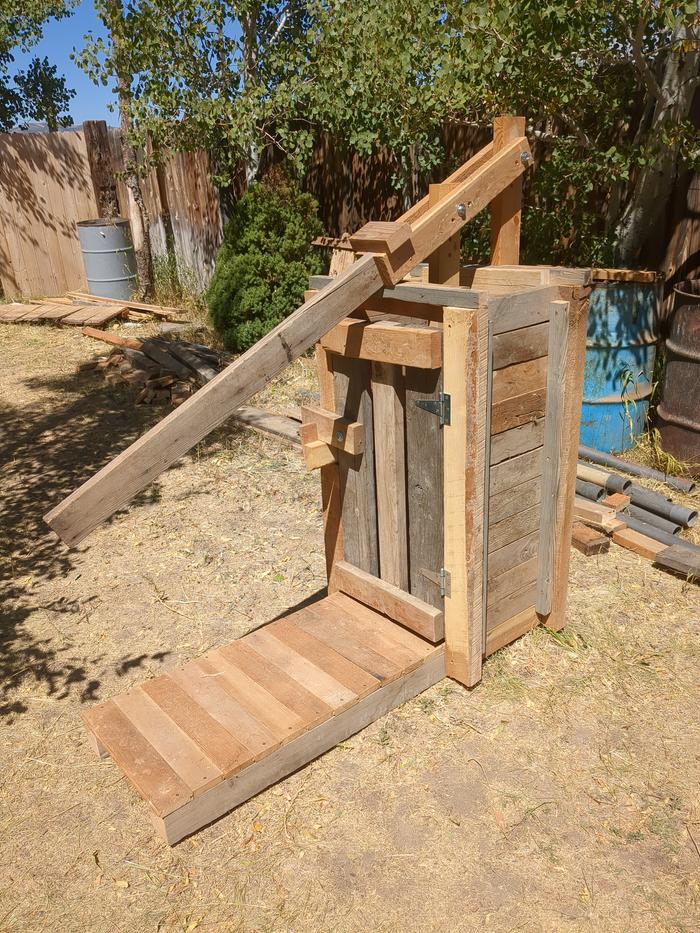
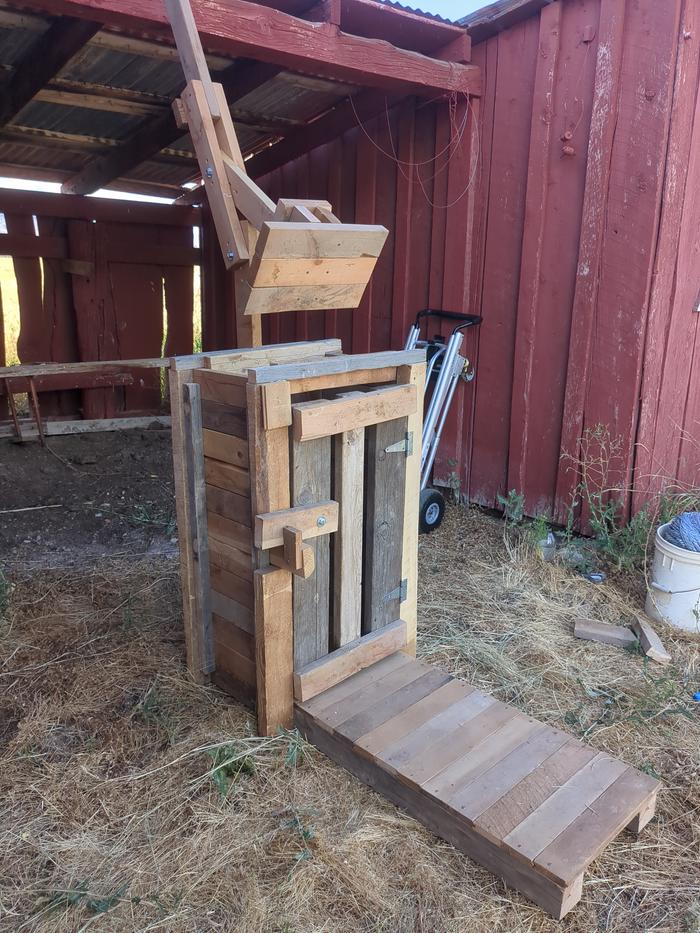
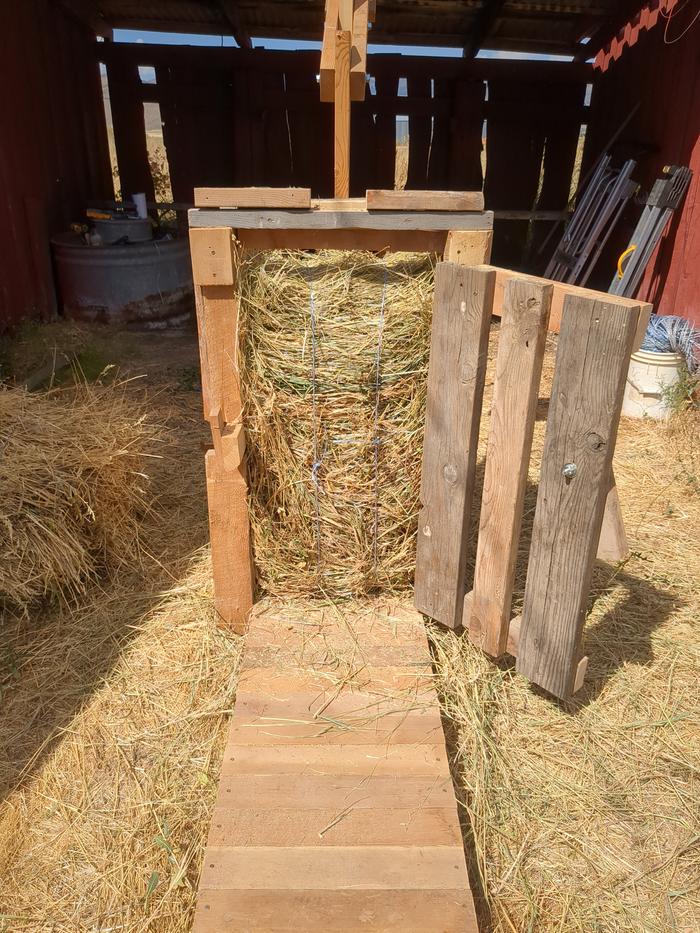
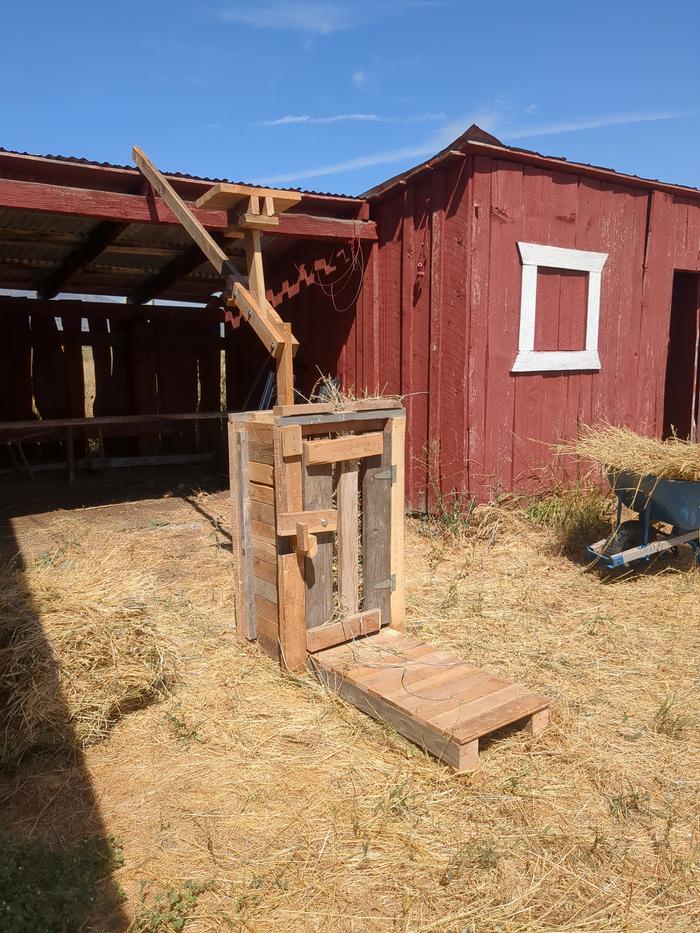
And here is the completed box on the platform!

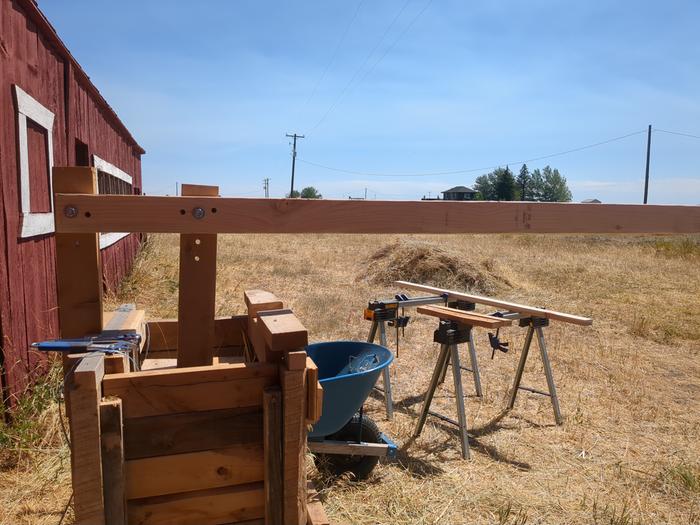
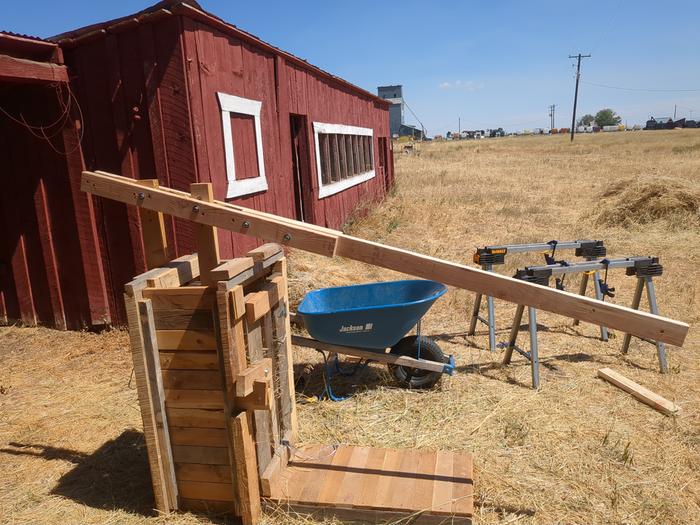
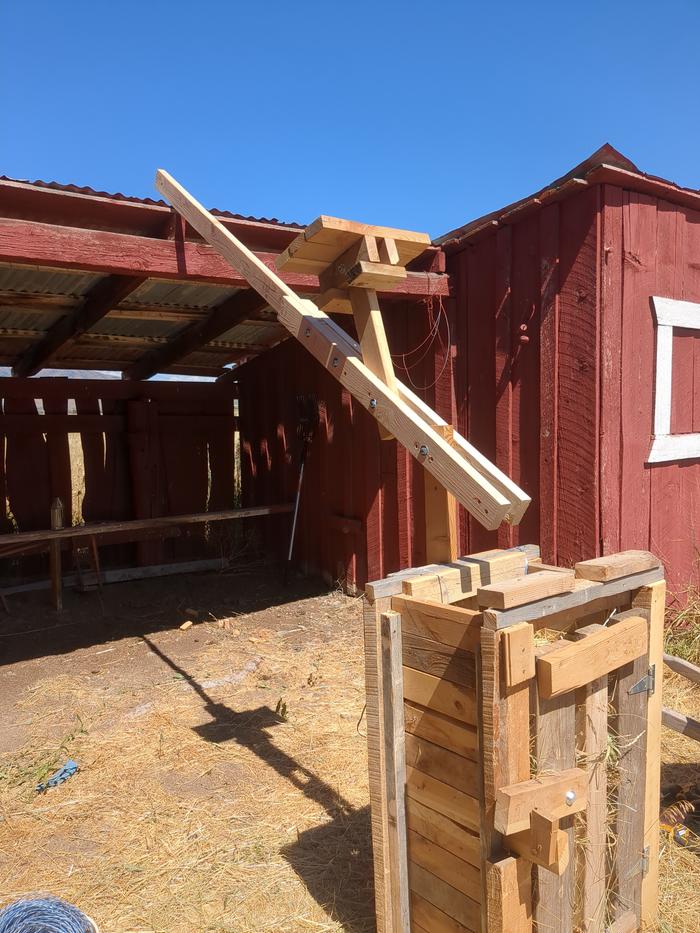
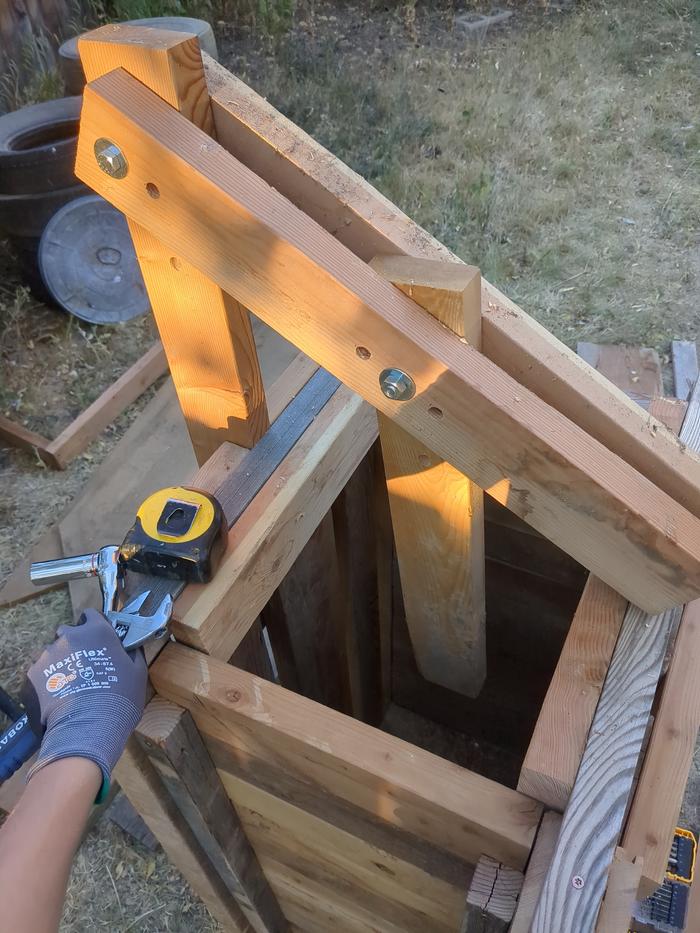
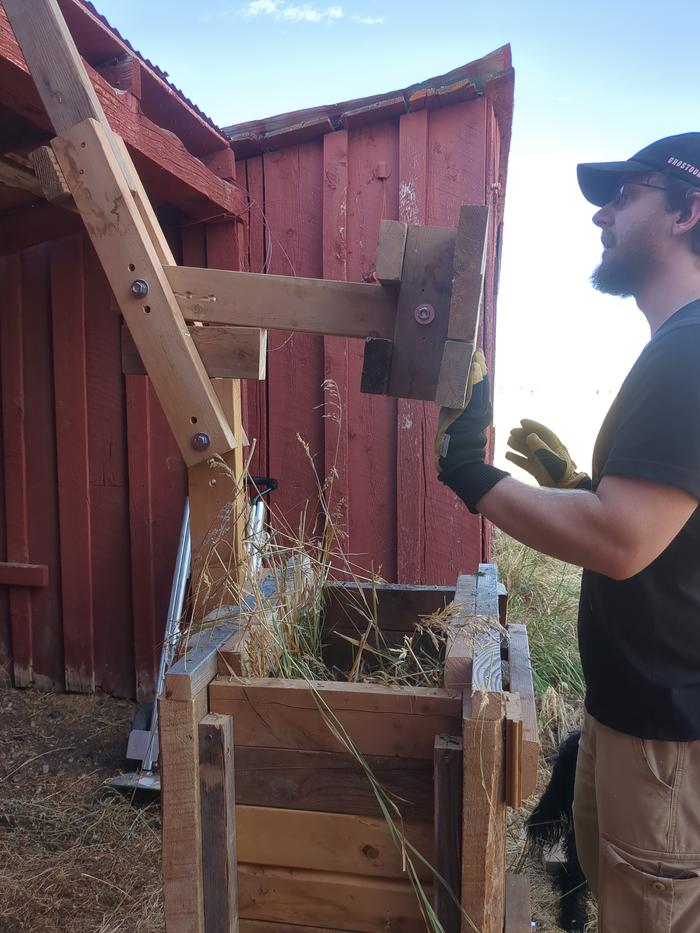
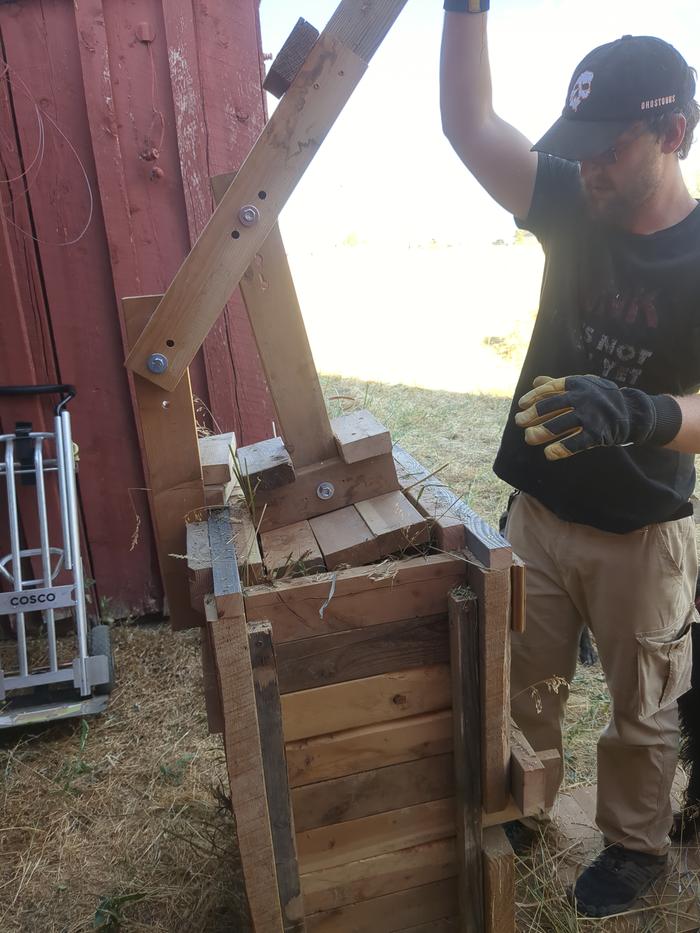
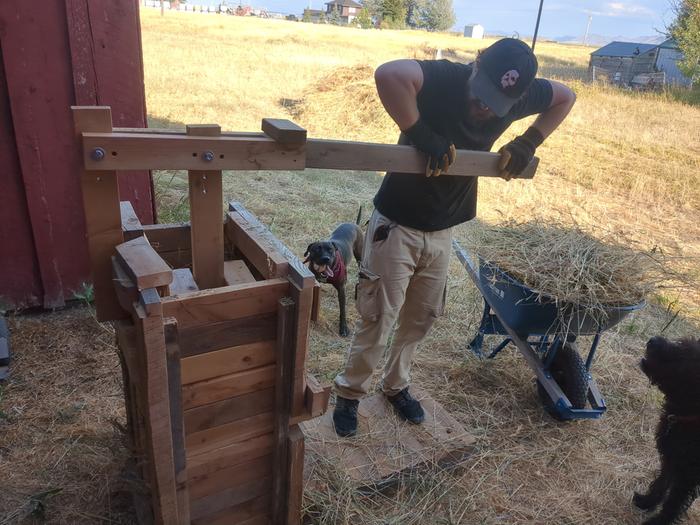
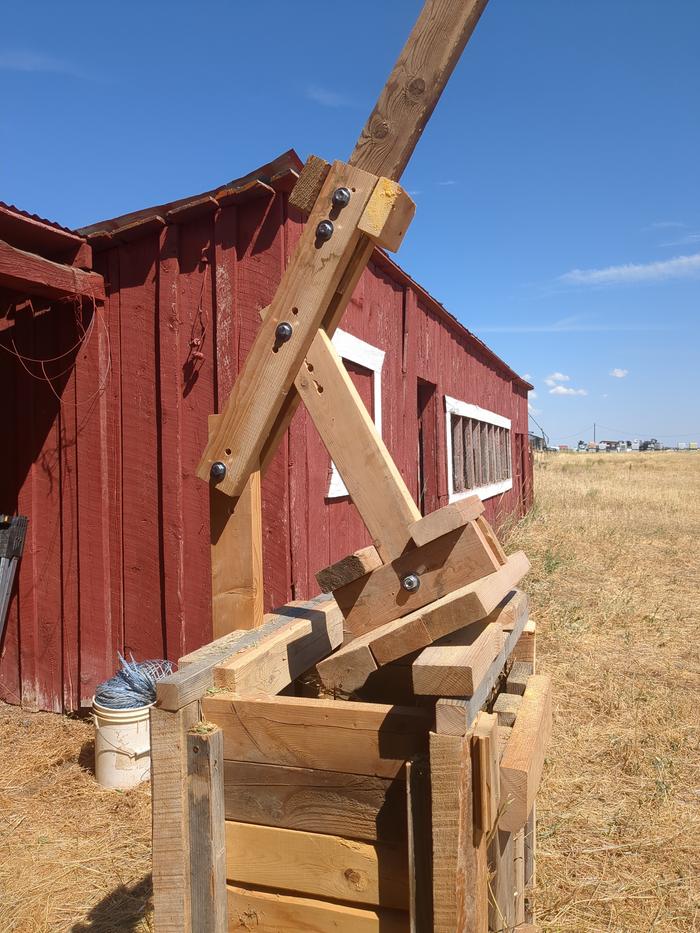
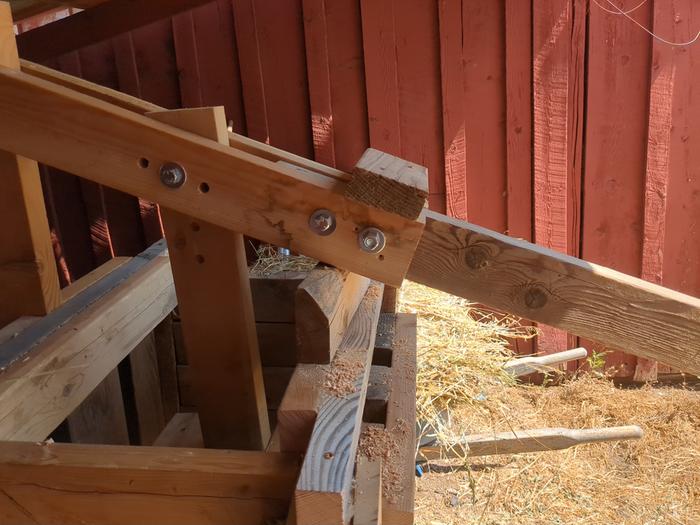
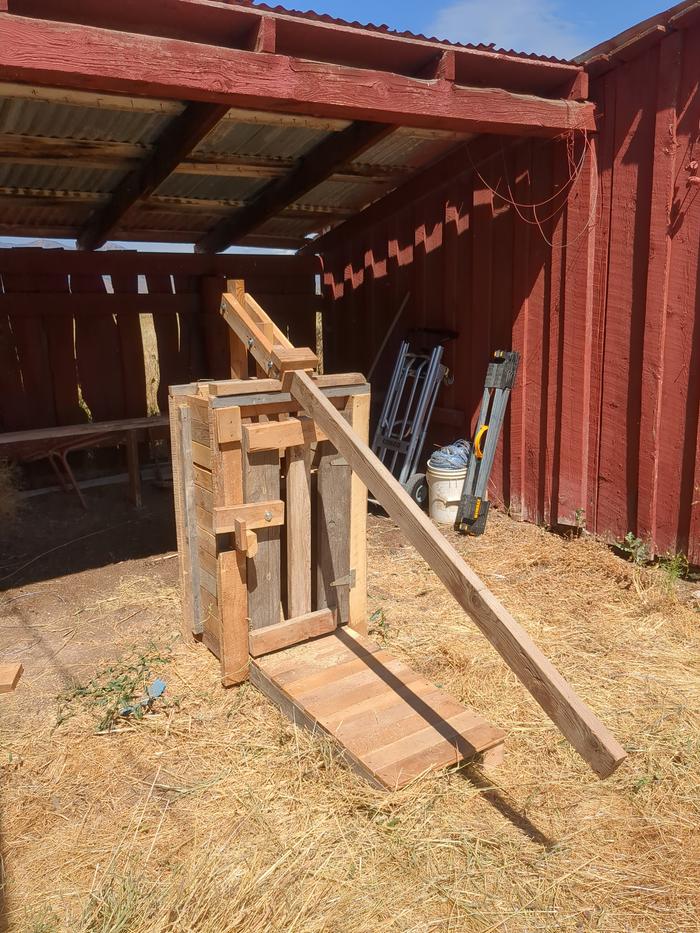
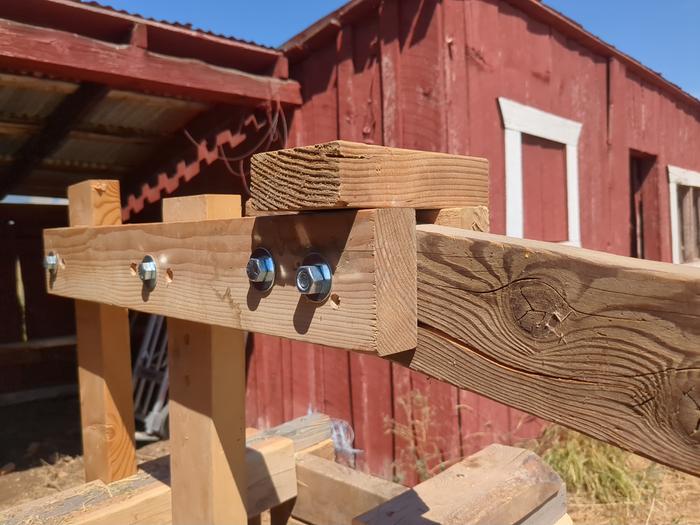
The next step is the whole pressing foot and arm assembly (at least that's what I'm calling it)...


 15
15


Skill verified by gir bot")

Skill verified by Opalyn Rose")

Skill verified by Jeremy VanGelder")

Skill verified by Jeremy VanGelder")

Skill verified by Jeremy VanGelder")

Skill verified by Alexandra Malecki")

Skill verified by Alexandra Malecki")

Skill verified by Mike Haasl")


Skill verified by gir bot")

Skill verified by Mike Haasl")