|

|
|
|
|

|

|

|

|

|


Silence is Golden
For all your RMH needs:
dragontechrmh.com

 1
1
Gerry Parent wrote:
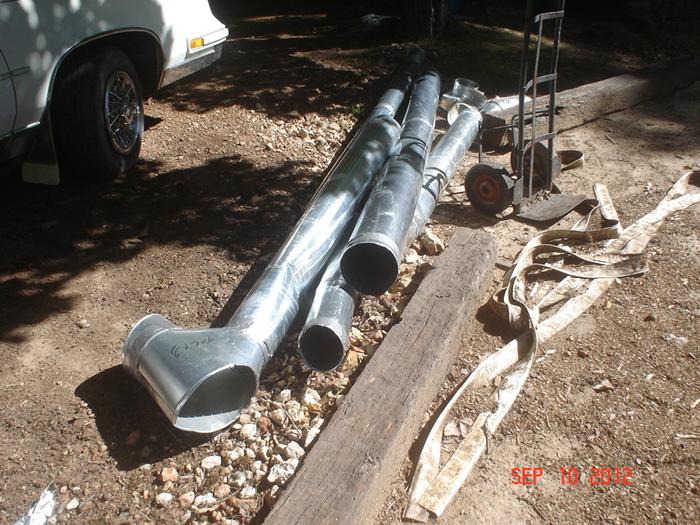
Re-looking at your photos, hooking up your pipe directly to the manifold barrel IMHO is not a very good way to go. I would almost guarantee that this is the bottleneck area that is killing your draw.
[/url]

God of procrastination https://www.youtube.com/watch?v=q1EoT9sedqY
1
Gerry, Jim has a fair bit of space. And i don't think this is much of a problem.
Silence is Golden
For all your RMH needs:
dragontechrmh.com
1
God of procrastination https://www.youtube.com/watch?v=q1EoT9sedqY
1
Silence is Golden
For all your RMH needs:
dragontechrmh.com
2
2
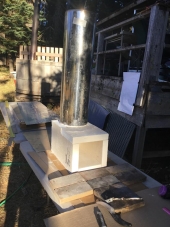
Matthew Goheen wrote:It may be working fine, but let me mention that that “aluminum insulation” is basically plastic bubble wrap with an aluminzed layer or two of plastic in there.
About as fire resistant as plastic shopping bags. If either of you ever has someone run your rocket continuously to where the mass gets really hot, that stuff will melt onto the pipe in the 300F-350F range, and begin to really smoke and combust in the 400-500F range.
Easier to install, but makes me think of burning plastic army men as a kid, watching flaming drops of plastic fall off and make a flitting sound as the tiny drop of “kiddie napalm” fell from the army man to the ground.
There may not be enough mass of plastic for a real fire there, but certainly a toxic, stinky mess of plastic combustion products.
I would be inclined to keep a close eye on that any time the stove is running, especially while you are troubleshooting and not operating in a static and “fully dried out” state.
Silence is Golden
For all your RMH needs:
dragontechrmh.com


Hans Albert Quistorff, LMT projects on permies Hans Massage Qberry Farm magnet therapy gmail hquistorff
God of procrastination https://www.youtube.com/watch?v=q1EoT9sedqY
1

| I agree. Here's the link: http://stoves2.com |