• Post Reply Bookmark Topic Watch Topic
  • New Topic
permaculture forums growies critters building homesteading energy monies kitchen purity ungarbage community wilderness fiber arts art permaculture artisans regional education skip experiences global resources cider press projects digital market permies.com pie forums private forums all forums
this forum made possible by our volunteer staff, including ...
master stewards:
  • Carla Burke
  • Nancy Reading
  • r ranson
  • John F Dean
  • Timothy Norton
  • paul wheaton
  • Jay Angler
stewards:
  • Pearl Sutton
  • Anne Miller
  • Tereza Okava
master gardeners:
  • Christopher Weeks
gardeners:
  • M Ljin
  • Matt McSpadden
  • Megan Palmer

New Build First Generation Batchbox 6" Double Brick Bell

 
Posts: 65
8
  • Likes 4
  • Mark post as helpful
  • send pies
    Number of slices to send:
    Optional 'thank-you' note:
  • Quote
  • Report post to moderator

thomas rubino wrote:Hey Julian, Thank you.
Riser is 36"


Funny how the mind can play tricks, maybe it's the superwool that got me.
 
master rocket scientist
Posts: 6808
Location: latitude 47 N.W. montana zone 6A
3717
cat pig rocket stoves
  • Likes 12
  • Mark post as helpful
  • send pies
    Number of slices to send:
    Optional 'thank-you' note:
  • Quote
  • Report post to moderator
Day six;
Today I removed the block-out and installed the clean-out door.
I installed an "N"  type temp probe in the riser.
I had installed a "K" type in Shorty last year, and it did not last the season before failing.
The N type is designed to function in a zero oxygen environment, the K type was not.
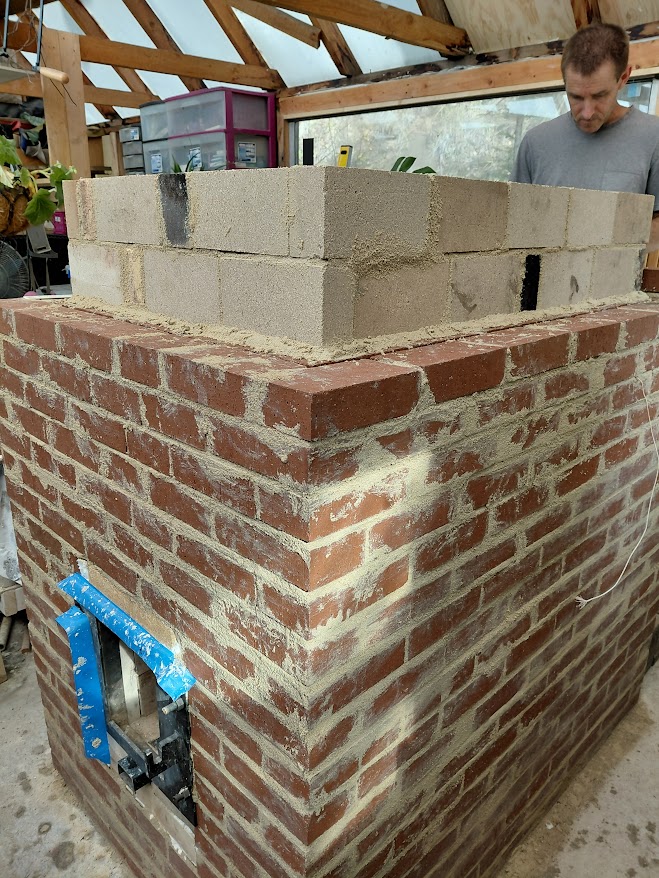
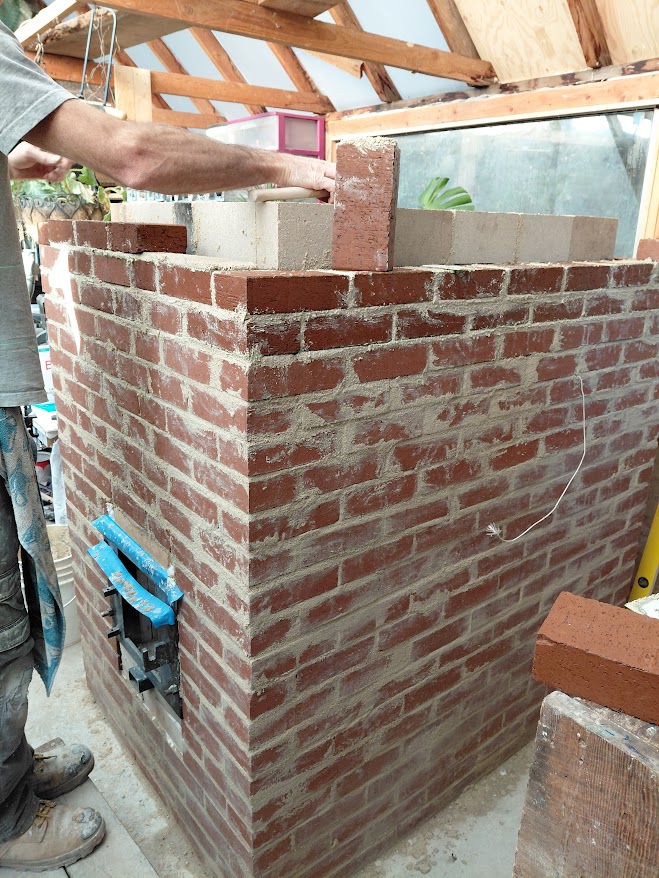
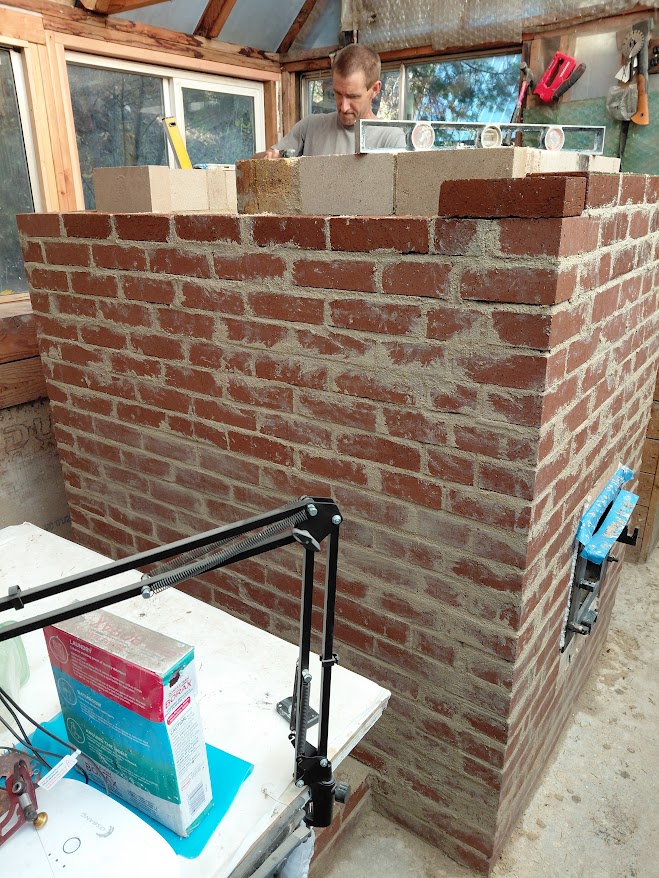
Gerry made steady progress today stacking bricks, by quitting time we were one layer short from the top of the riser!
Tomorrow we will switch to using firebricks for the inner skin.


20251013_132725.jpg
[Thumbnail for 20251013_132725.jpg]
20251013_140131.jpg
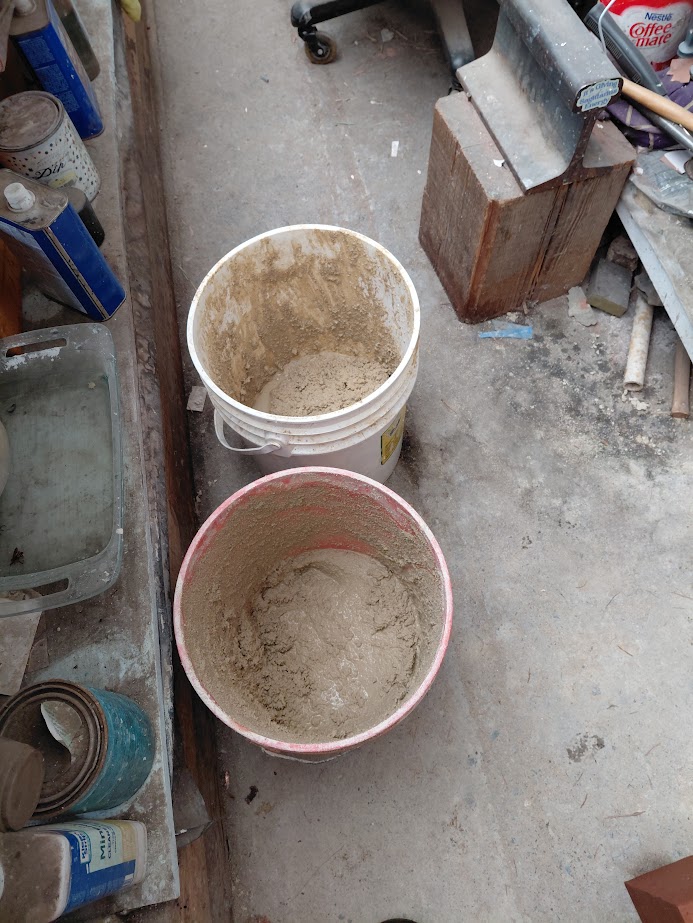
two buckets of mortar always ready
20251013_140337.jpg
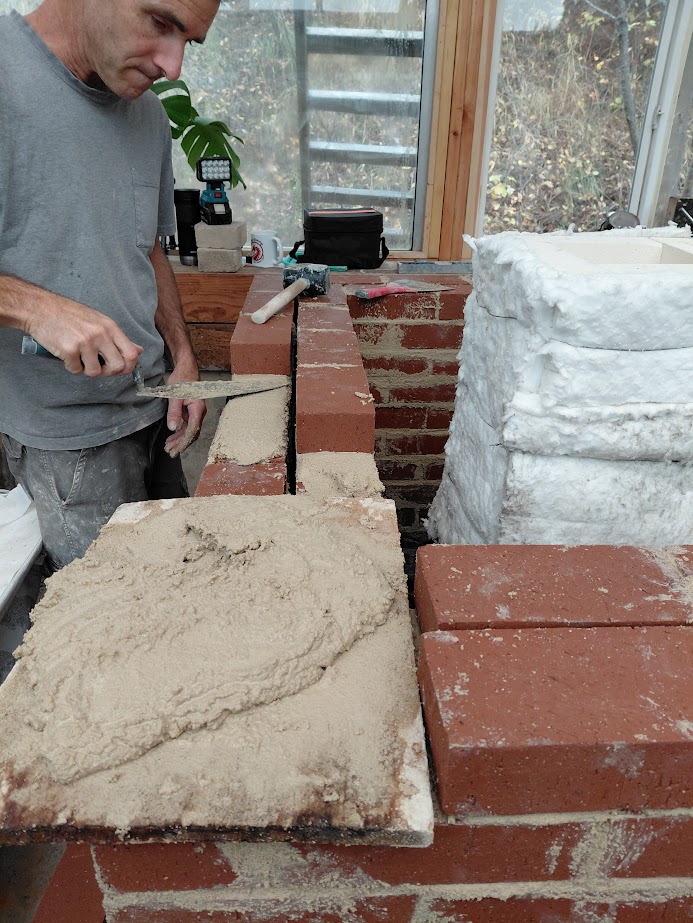
Master Brick Layer at work
Master Brick Layer/ Rocket Scientist at work
20251013_163828.jpg
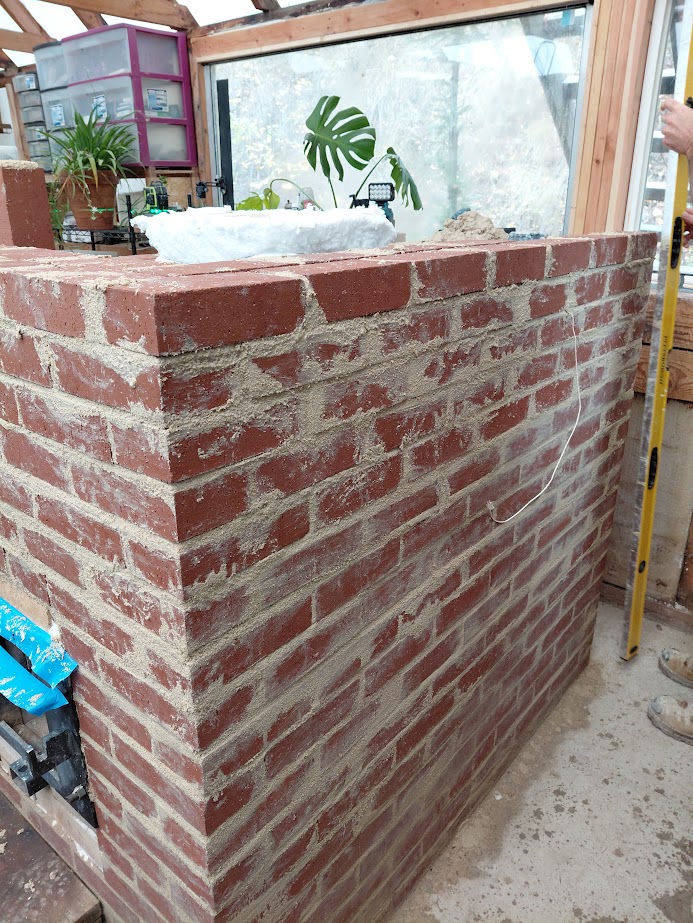
almost to the riser
almost to the riser
20251013_171819.jpg
[Thumbnail for 20251013_171819.jpg]
 
thomas rubino
master rocket scientist
Posts: 6808
Location: latitude 47 N.W. montana zone 6A
3717
cat pig rocket stoves
  • Likes 12
  • Mark post as helpful
  • send pies
    Number of slices to send:
    Optional 'thank-you' note:
  • Quote
  • Report post to moderator
Day seven;
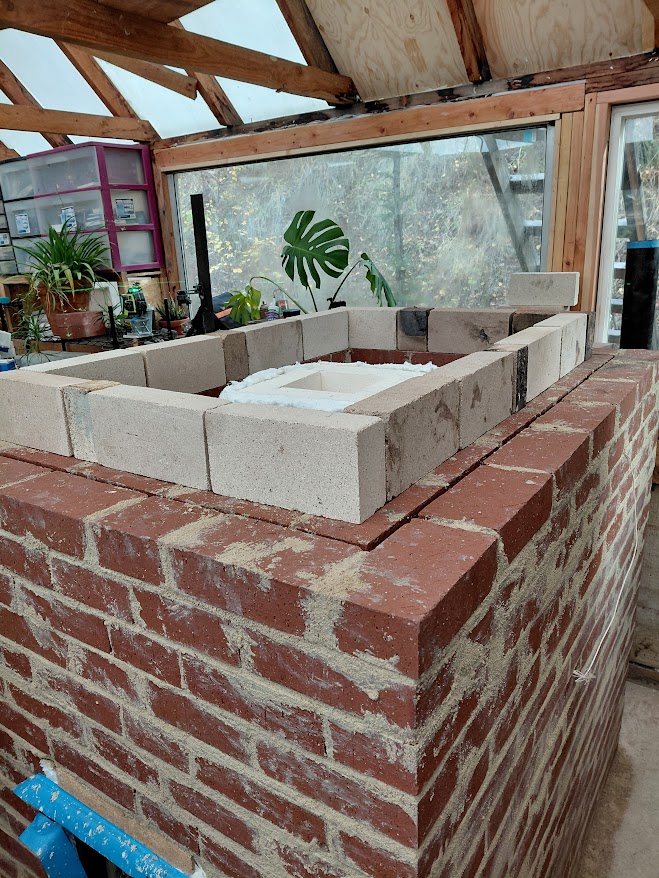
Today we started using firebricks on the inner bell.
Gerry now has 22 layers of the outer skin almost completed.
Tomorrow, we will fit a 4" bypass pipe through both skins, it will be wrapped in superwool to seal where it passes through the inner and outer skins.
A  four inch 90 will attach to the chimney pipe. It will utilize the same style of bypass that we installed on Shorty core.
Soon we will be welding up T-bars to support the firebrick roof, and the clay bricks above that.

Very soon now a new Dragon will be seen in Sanders county
20251014_113118.jpg
dry stack checking the layout
20251014_142647.jpg
going up
going up
20251014_173642.jpg
bringing the outer skin up
20251014_175618.jpg
Ready for the bypass pipe
 
steward
Posts: 15937
Location: Northern WI (zone 4)
5085
8
hunting trees books food preservation solar woodworking
  • Likes 8
  • Mark post as helpful
  • send pies
    Number of slices to send:
    Optional 'thank-you' note:
  • Quote
  • Report post to moderator
Are the firebricks too wide to lay the flat way or is there another reason Gerry's placing them on the narrow side?
 
thomas rubino
master rocket scientist
Posts: 6808
Location: latitude 47 N.W. montana zone 6A
3717
cat pig rocket stoves
  • Likes 8
  • Mark post as helpful
  • send pies
    Number of slices to send:
    Optional 'thank-you' note:
  • Quote
  • Report post to moderator
Hi Mike;
Firebricks are larger than the clay bricks)  9" x 4.5" x 2.5" vs. 8" x 4" x 2 1/4",   laying them flat would supply more mass, the overhang inside is not a problem.
After looking over my firebrick supply, we decided that there might not be enough on hand.
Rather than adding a trip to Missoula for more firebricks, I chose to have Gerry stand them on edge.
With #6000+ of bricks, the Studio Dragon is a big girl already.
She will surpass Shop Dragon and Shorty Core in heat retention.
 
thomas rubino
master rocket scientist
Posts: 6808
Location: latitude 47 N.W. montana zone 6A
3717
cat pig rocket stoves
  • Likes 10
  • Mark post as helpful
  • send pies
    Number of slices to send:
    Optional 'thank-you' note:
  • Quote
  • Report post to moderator
Day eight
Today we got the bypass pipe installed through both skins.
We have the firebrick inner skin at final height.
The outer skin is over 25 layers, quickly approaching 6' tall.
I got the Tee-bar angle iron, roof supports cut, welded, and temporarily sitting in place.
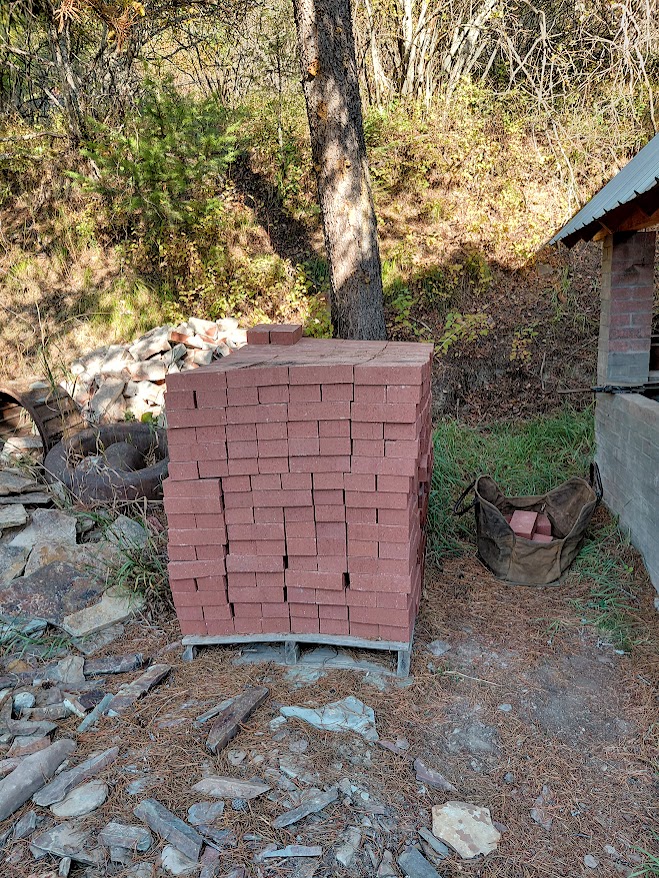
My brick stash is gone, and we are down to the last 50 bricks or so.
I expect I'll be making a run into Sandpoint to buy another 40-50 clay bricks to finish the second roof.
So far, I have used #300 of the #600 of sand that I bought a few days ago,  and we are into my last bag of Lincoln 60 fireclay.
If I'm running out of materials it must mean the job is nearly complete!
I expect a first flight in the next few days.
20251015_102228.jpg
[Thumbnail for 20251015_102228.jpg]
20251015_134940.jpg
[Thumbnail for 20251015_134940.jpg]
20251015_154904.jpg
[Thumbnail for 20251015_154904.jpg]
20251015_162058.jpg
[Thumbnail for 20251015_162058.jpg]
20250925_171548.jpg
Before
Before
20251015_130803.jpg
After
After
20251015_130823.jpg
Last of the bricks
Last of the bricks
20251012_090043.jpg
The chop pile
The chop pile
 
Posts: 200
Location: North Idaho. Bonner County
20
purity forest garden foraging tiny house earthworks bee
  • Likes 4
  • Mark post as helpful
  • send pies
    Number of slices to send:
    Optional 'thank-you' note:
  • Quote
  • Report post to moderator
There is a place in Spokane too. Thats where Mud and I got my fire bricks. Might be closer to you than Missoula.

thomas rubino wrote:Hi Mike;
Firebricks are larger than the clay bricks)  9" x 4.5" x 2.5" vs. 8" x 4" x 2 1/4",   laying them flat would supply more mass, the overhang inside is not a problem.
After looking over my firebrick supply, we decided that there might not be enough on hand.
Rather than adding a trip to Missoula for more firebricks, I chose to have Gerry stand them on edge.
With #6000+ of bricks, the Studio Dragon is a big girl already.
She will surpass Shop Dragon and Shorty Core in heat retention.

 
Opal-Lia Palmer
Posts: 200
Location: North Idaho. Bonner County
20
purity forest garden foraging tiny house earthworks bee
  • Likes 4
  • Mark post as helpful
  • send pies
    Number of slices to send:
    Optional 'thank-you' note:
  • Quote
  • Report post to moderator
Looking beautiful!!! Thanks for all the great info shared. <3 I bet Liz is gonna love it!

thomas rubino wrote:Day seven;
Today we started using firebricks on the inner bell.
Gerry now has 22 layers of the outer skin almost completed.
Tomorrow, we will fit a 4" bypass pipe through both skins, it will be wrapped in superwool to seal where it passes through the inner and outer skins.
A  four inch 90 will attach to the chimney pipe. It will utilize the same style of bypass that we installed on Shorty core.
Soon we will be welding up T-bars to support the firebrick roof, and the clay bricks above that.

Very soon now a new Dragon will be seen in Sanders county

 
thomas rubino
master rocket scientist
Posts: 6808
Location: latitude 47 N.W. montana zone 6A
3717
cat pig rocket stoves
  • Likes 4
  • Mark post as helpful
  • send pies
    Number of slices to send:
    Optional 'thank-you' note:
  • Quote
  • Report post to moderator
Thanks Opal
In Spokane you went to White Block or Mutual materials.
Missoula is slightly closer and a much more scenic drive.
 
gardener
Posts: 1134
Location: +52° 1' 47.40", +4° 22' 57.80"
529
woodworking rocket stoves wood heat
  • Likes 7
  • Mark post as helpful
  • send pies
    Number of slices to send:
    Optional 'thank-you' note:
  • Quote
  • Report post to moderator
Thomas, sorry to say, I'd think it would be best to mention some possibly negative constructions.
As it looks like, the bypass valve is placed higher than the riser's top. Which means thermal stress will be higher on the metal, this won't melt or anything, but the steel plate could warp.

And, the support for the bell ceiling is used upside down, in my opinion. The double flange is hanging down now, so this will be in the highest heat what the riser can deliver. But, perhaps it won't sag because of the doubled flange. There's also another effect though, the gas stream along the ceiling could be hampered, due to the highly irregular surface. This isn't mentioned before, although I've seen it in a number of occasions where the ceiling wasn't reasonably smooth, both the front and rear walls lagged behind in warming up. The heater in the cabin has the same construction, I know that, but there's an entirely different core in there, not blasting up vertically.

Just to let you know, that's all.
 
thomas rubino
master rocket scientist
Posts: 6808
Location: latitude 47 N.W. montana zone 6A
3717
cat pig rocket stoves
  • Likes 4
  • Mark post as helpful
  • send pies
    Number of slices to send:
    Optional 'thank-you' note:
  • Quote
  • Report post to moderator
Hi Peter;
Thank you for the suggestions.
Gerry and I have been waiting for any comments from you on how we were doing.

The bypass gate itself will be cast iron protected with superwool.

The roof supports are currently just sitting there and can easily be flipped.
In the past I have only seen them with the smooth side up.
We will flip them this morning after wrapping.


Peter van den Berg
gardener
Posts: 1134
Location: +52° 1' 47.40", +4° 22' 57.80"
529
woodworking rocket stoves wood heat
  • Likes 9
  • Mark post as helpful
  • send pies
    Number of slices to send:
    Optional 'thank-you' note:
  • Quote
  • Report post to moderator

thomas rubino wrote:The roof supports are currently just sitting there and can easily be flipped.
In the past I have only seen them with the smooth side up.
We will flip them this morning after wrapping.


Best to leave out the wrapping altogether, only thin superwool or ceramic paper between any steel and brick surfaces. This will simplify the build quite a bit, I've found out. The upright flange of the T will be out of the highest heat and as such will be protected. Wrapping in superwool means moisture could be trapped, causing rust. All bare steel will be coated with a nice thin layer of tar, especially in the running-in period, corrosion won't be an issue this way.
 
You may have just won ten million dollars! Or, maybe a tiny ad.
Rocket Mass Heater Resources Wiki
https://permies.com/w/rmh-resources
reply
    Bookmark Topic Watch Topic
  • New Topic