|

|

|

|

|

|
|
|
|
|
|
|
|

|

|

|

|

|
 5
5


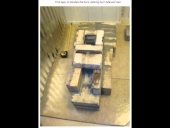
![[Thumbnail for bell-chimney-at-top.jpeg]](/t/368263/a/283292/bell-chimney-at-top.jpeg "Filename: bell-chimney-at-top.jpeg
Description:") 6
9
6
9
regards, Peter
7


How permies.com works
What is a Mother Tree ?

Skill verified by gir bot") 5
5
Mike Cantrell wrote:
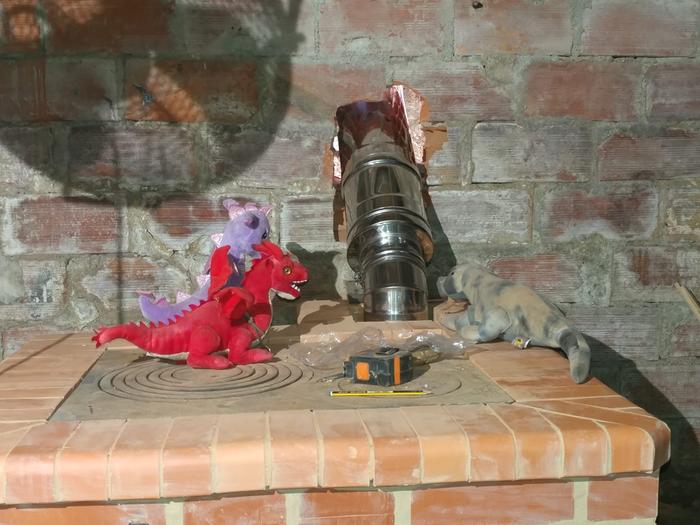
I understand why we wouldn't run the metal chimney down into the bell- maintenance would be difficult.
4
4
Peter van den Berg wrote:Yes, it's been done quite some time ago, and it worked.
Peter van den Berg wrote:And it would be wise to incorporate a cleaning hatch close to the foot of the chimney.
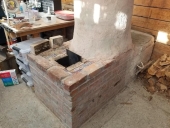
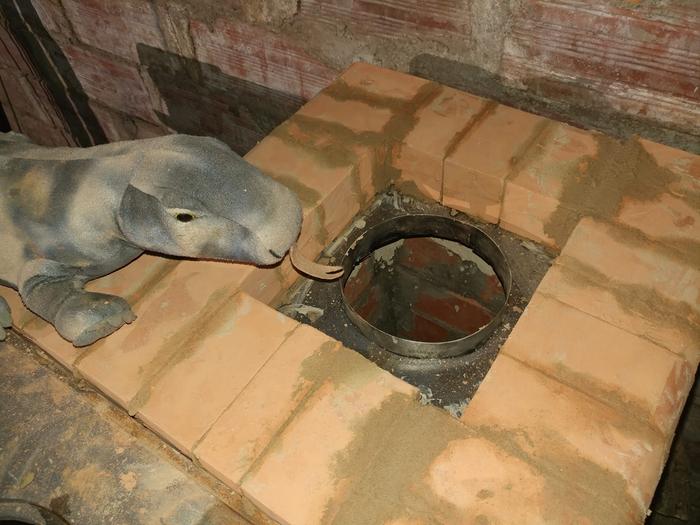
Burra Maluca wrote:This is an earlier stage of the build showing the base and the gap (occupied by a dragon) where the coolest gas escapes up the chimney.
6
Mike Cantrell wrote:Just like that! That's what I was thinking: with the bricks interweaving with the wall itself.
How permies.com works
What is a Mother Tree ?
5
William Bronson wrote: I'm pretty sure the "juice box straw" design is a metal chimney in a bell.
I'm not sure if it has ever left the design stage.
William Bronson wrote:
The top of a bell gets hella hot and is often made of special materials to deal with the heat.
William Bronson wrote:
EDIT: A better name for this design might be a "plunger tube"
Glenn explains it in this thread: https://permies.com/t/367651/tube-RMH-barrel-stratification-bench#3733843


 5
5
William Bronson wrote: I'm pretty sure the "juice box straw" design is a metal chimney in a bell.
I'm not sure if it has ever left the design stage.
Proudly presenting RocketMassHeaters.com
A good starting point to all RMH research
How Permies.com works
6
3


 4
4
Become extra-civilized!

| I agree. Here's the link: http://stoves2.com |