|

|
|
|
|

|

|

|

|

|
 2
2


![[Thumbnail for 1122181038.jpg]](/t/96439/a/67992/1122181038.jpg "Filename: 1122181038.jpg
Description:")
![[Thumbnail for 1122181039.jpg]](/t/96439/a/67993/1122181039.jpg "Filename: 1122181039.jpg
Description:")
Dave's SKIP BB's / Welcome to Permies! / Permaculture Resources / Dave's Boot Adventures & Longview Projects

Skill verified by gir bot")

Skill verified by Mike Haasl")

Skill verified by Mike Haasl")

Skill verified by Nicole Alderman")

Skill verified by Nicole Alderman")
Dave Burton wrote:Welcome to permies, Roak! You have the start of a pretty nice rocket mass heater build going!


For all your Montana Masonry Heater parts (also known as) Rocket Mass heater parts.
Visit me at
dragontechrmh.com Once you go brick you will never go back!
1
thomas rubino wrote:Hi Roak; Welcome to the wonderful world of Rocket science !
Have you acquired a copy of the builders guide from Ernie & Erica Wisner ? It is highly recommended. Readily available from Amazon or from the Wisners directly. With it almost all your questions are answered.
The Mock chimney I see in your photo's. Is that flue liner ? If yes , you might want to consider other options. They are known to crack from the rapid heating and cooling of a rocket stove.
Keep us posted, with many pictures as you build. Ask any questions you like, we are always happy to share!
1
Silence is Golden
For all your RMH needs:
dragontechrmh.com
1
The holy trinity of wholesomeness: Fred Rogers - be kind to others; Steve Irwin - be kind to animals; Bob Ross - be kind to yourself

Skill verified by gir bot")
Gerry Parent wrote:Howdy Roak,
Your dimensions are certainly "outside of the box" - Certainly a great way to learn what works and what doesn't from first hand experience rather than just reading about it but I would still definitely suggest finding a way to experiment somewhere with a real burn (wood) with what you have before permanently building it into your final location.
Also know that when you add a barrel, then a bench or bell and then a chimney, it behaves differently with each new addition.
One thing I have experienced with a low and wide burn tunnel is that the coals from the fire will quickly fill this area thereby blocking the tunnel... then you not only get to see what smoke back is all about, but more dramatically, what its like to have the system run backwards!! I'm glad nobody was around when this happened to me!!!
Your heat riser is pretty short too for proper drafting.
As Thomas suggested, the Builders Guide will give you all the dimensions and proportions for a well tested RMH which you can then play with and modify if you choose....preferably outside with a fire extinguisher close by!
Good luck with your build!
1
1
Thanks for the info!
I did think about the ash blocking the air flow, time will tell on that one. Also i have been curious to what will happen when the air is partially directed around the fuel instead of thru the fuel, being my feed tube is narrower at the top than the bottom unlike a normal feed tube where air is completely pulled thru the fuel and coals. Will i get a poor burn? will i get a Leaner hotter burn? will it back fire?lol i Hope this makes sense. :/
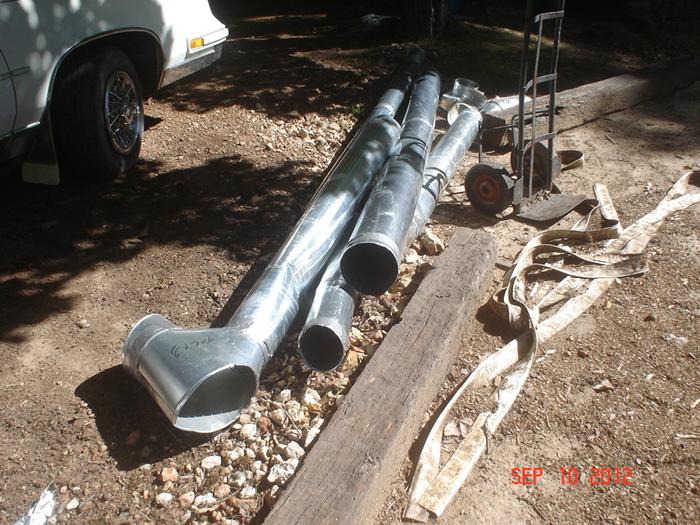
Forgot to add my chimney is going to be 8in
Tomorrow there is a small possibility there will be a test fire, if so will do a you tube vid and post here.

Silence is Golden
For all your RMH needs:
dragontechrmh.com
1
1
Glenn Herbert wrote:Your system with the low wide burn tunnel will likely either let much of the air bypass the wood around the sides, cooling the fire due to extra volume, or the low "wing" spaces will fill with ash as you use it and be tricky to clean out. The low wide cross section works at a larger scale in kilns as it allows air to get to more of the wood without a thick bed of coals choking off oxygen to the bottom layer, but at this scale, you probably won't have enough critical mass of wood to use that effect.
You definitely want your feed tube to be as tall as the length of wood you plan to burn. If the wood sticks out of the top, you risk a reverse chimney effect if the draft is not strong enough, with no way of damping it off. (Don't ask how I know this.)
Your clay flue tiles will probably crack with heat cycles if you get a hot enough fire for full combustion, and I would advise you to leave them accessible for inspection and replacement. A heavy firebrick heat riser will take a long time to heat up and establish strong draft, and you will need to surround it with insulation so it doesn't conduct heat away from the core continually. A riser of thin "split" firebrick would be better if you want it heavy-duty, or insulating material will give the fastest, hottest burning results.
2
Silence is Golden
For all your RMH needs:
dragontechrmh.com
Gerry Parent wrote:Roak, your reminding me of my own 'first kiss' I had with my rocket. A pretty awesome experience and one I will never forget!
Keep experimenting and post your results.
![[Thumbnail for 1125181046.jpg]](/t/96439/a/68115/1125181046.jpg "Filename: 1125181046.jpg
Description:")
Graham Chiu wrote:Use a magnet?
1
Fox James wrote:I can tell you are pleased to see it working
Is there a reason why you can’t make it a complete 6” system?
1

|
His brain is the size of a cherry pit! About the size of this ad:
grow your own garden and build your own home in the gardening gardeners program
https://wheaton-labs.com/bootcamp
|