• Post Reply Bookmark Topic Watch Topic
  • New Topic
permaculture forums growies critters building homesteading energy monies kitchen purity ungarbage community wilderness fiber arts art permaculture artisans regional education skip experiences global resources cider press projects digital market permies.com pie forums private forums all forums
this forum made possible by our volunteer staff, including ...
master stewards:
  • Nancy Reading
  • Carla Burke
  • r ranson
  • John F Dean
  • paul wheaton
  • Pearl Sutton
stewards:
  • Jay Angler
  • Liv Smith
  • Leigh Tate
master gardeners:
  • Christopher Weeks
  • Timothy Norton
gardeners:
  • thomas rubino
  • Jeremy VanGelder
  • Maieshe Ljin

Homesteading Aspect Oddball Thread

BB homesteading - straw badge
 
steward
Posts: 15505
Location: Northern WI (zone 4)
4846
7
hunting trees books food preservation solar woodworking
  • Likes 2
  • Mark post as helpful
  • send pies
    Number of slices to send:
    Optional 'thank-you' note:
  • Quote
  • Report post to moderator
Approved submission
Three years ago I upgraded to copper bullets for deer hunting.  But they aren't as accurate in my grandpa's deer rifle.  I picked up some reloading equipment a few years ago and decided it was finally time to try to make my own rounds.  That way I could fine tune the loads to give me accurate results.  I learned how from youtube videos and reading two reloading manuals.  And asking advice of a neighbor who reloads.

So far I've assembled 120 cartridges.  At $2.50 each from the store (if you can even find them), I think I've already paid off the reloading equipment with the savings.

I made four batches of ammo so far.  Each required:
- Tumbling cases to clean them
- Inspecting the used cases for issues
- Lubing the cases and brushing out the bullet holes in the cases
- Resizing the case diameters with a case sizing die (this also deprimed them)
- Trimming the case lengths to spec
- Deburring inside and outside of the nech
- Brushing out the primer holes
- Priming the cases with new primers
- Measuring out various powder loads and weighing each one for accuracy
- Seating bullets to various depths
- Crimping

I used two different powders and the second one seemed to do a bit better.  I think I'm close to a load and need to shoot a few more of them to be sure.

I did 3 rounds to test each variable (30 tests).  So lots of time at the range to hone this in.  My best group is 1.1" at 100 yards which I'm very happy with. Much better than the 3" groups I was getting from factory ammo.
Inspecting-cases-my-semi-auto-tends-to-put-a-dent-in-the-necks-some-times.jpg
Inspecting cases - my semi-auto tends to put a dent in the necks some times
Resizing-and-lubing.jpg
Resizing and lubing
Resizing and lubing
Trimming-case-length.jpg
Trimming case length
Deburring-the-sharp-edges.jpg
Deburring the sharp edges
Instaling-primers.jpg
Instaling primers
Instaling primers
One-finished-batch-of-bullets-marked-for-powder-load.jpg
One finished batch of bullets, marked for powder load
Weighing-out-each-powder-load.jpg
Weighing out each powder load
Trying-a-different-powder-(this-was-the-good-one).jpg
Trying a different powder (this was the good one)
Putting-bullets-in.jpg
Putting bullets in
Putting bullets in
Tumble-cleaning-the-cases.jpg
Tumble cleaning the cases
Had-some-silver-cases-to-try-they-were-pretty-but-not-as-accurate.jpg
Had some silver cases to try - they were pretty but not as accurate
Resized-cases-before-trimming.jpg
Resized cases before trimming
More-finished-rounds.jpg
More finished rounds
Assessing-targets-to-see-what-to-try-next.jpg
Assessing targets to see what to try next
Today-s-batch.jpg
Today's batch
Today's batch
Best-target-).jpg
Best target :)
Best target :)
Staff note (gir bot) :

Someone approved this submission.
Note: I hereby certify this badge bit complete. Five Points!

 
Posts: 43
15
2
  • Likes 2
  • Mark post as helpful
  • send pies
    Number of slices to send:
    Optional 'thank-you' note:
  • Quote
  • Report post to moderator
Approved submission
This is a variation on a nest bb, but I think it belongs in homesteading:

"Conventional homestead techniques and projects
Projects might involve glue, paint, and toxins that we typically want to minimize in the other aspects
A few things that might fit better in another aspect, but that aspect was “full”

When you inherit the land from Otis, you will get two homes.   The “old house” that Otis was born in and the “new house” that Otis built."

Turns out Otis's" new house" had only a half bath on the main floor, so it was remodeled and a bathtub was added. The tub and surround needed caulking. Not replacing old caulk (nest bb) but new conventional gick caulk.

1 point?
IMG_20220213_121745016.jpg
Top of surround before
IMG_20220213_122504330.jpg
Top of surround after
IMG_20220213_123503447.jpg
Tub before
Tub before
IMG_20220213_123553448.jpg
Tub action shot
Tub action shot
IMG_20220213_123659436.jpg
Tub after
Tub after
IMG_20220213_120651588.jpg
Wall joint before
Wall joint before
IMG_20220213_124153767.jpg
Wall joint after
Wall joint after
IMG_20220213_124906699.jpg
Toxic gick used
Toxic gick used
IMG_20220213_124950734.jpg
Ah, much better!
Ah, much better!
Staff note (gir bot) :

Nicole Alderman approved this submission.
Note: I hereby certify that this badge bit is complete. Some speedy caulkers say they could get this done in less than 1/2 hour, so I award it 1/2 BB point!

 
gardener
Posts: 388
Location: Zone 7a
264
6
kids rabbit chicken food preservation fiber arts
  • Likes 1
  • Mark post as helpful
  • send pies
    Number of slices to send:
    Optional 'thank-you' note:
  • Quote
  • Report post to moderator
Approved submission
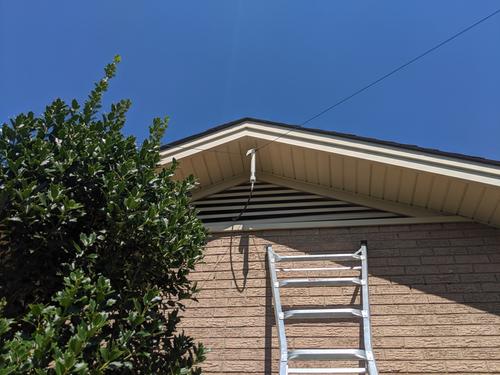
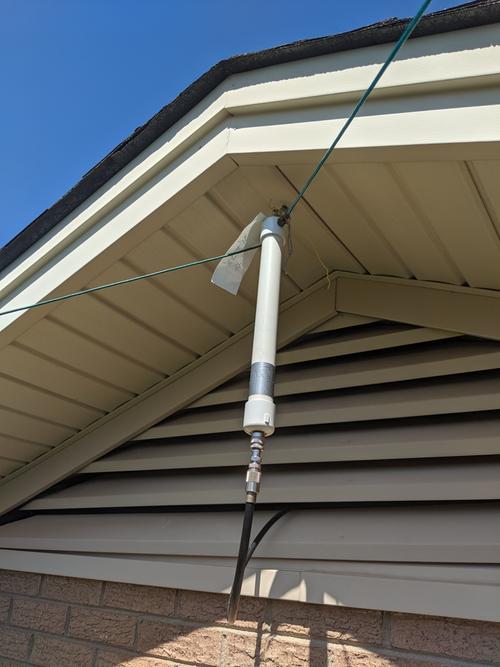
I put together a Ham Radio Corner. It's not a Shack with a Tower so I'm posting it here rather than under the Straw bit.

Here is my corner. I put a desk, cabinet, and small UPS.
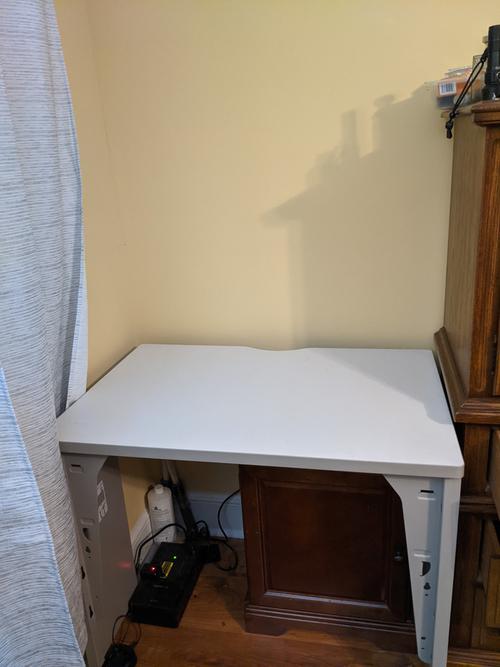

I have an HF rig (with tuner) and UHF/VHF rig, each with power supplies.


In the cabinet is all the tools, manuals, papers and whatnot for radioing. It's in one place so I don't misplace any of it.
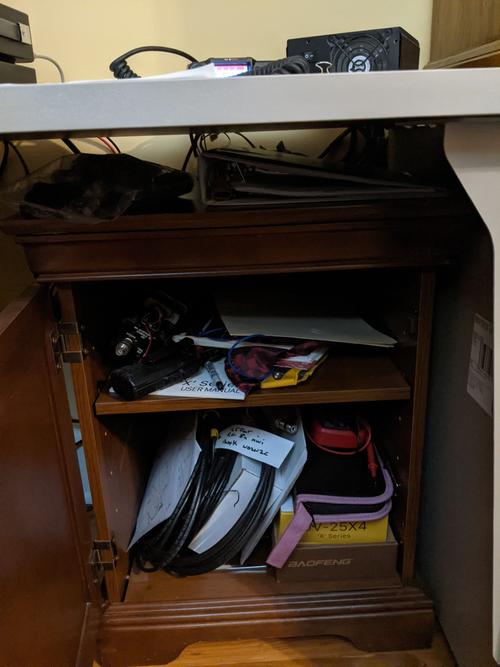

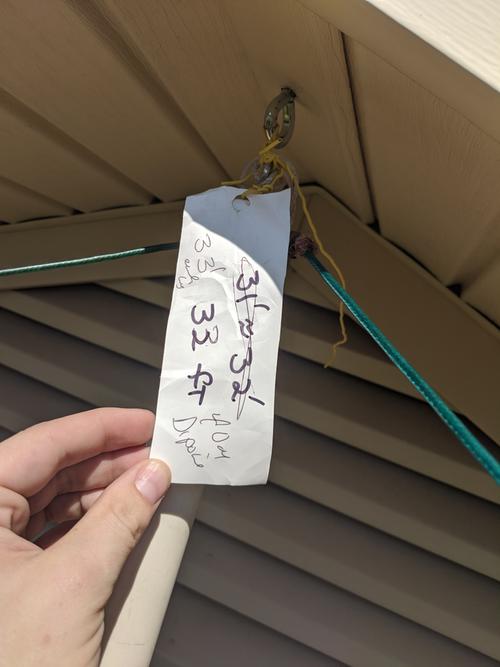
The HF radio is connected to a 40m di-pole, ~15' high.
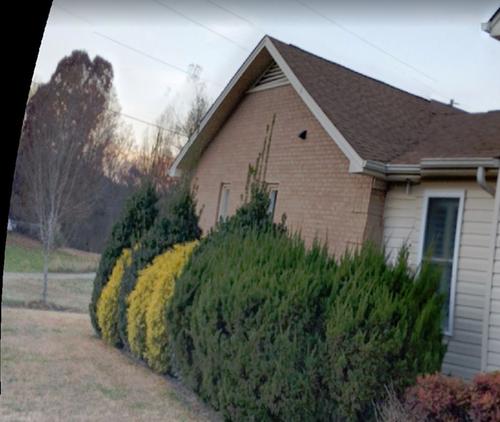


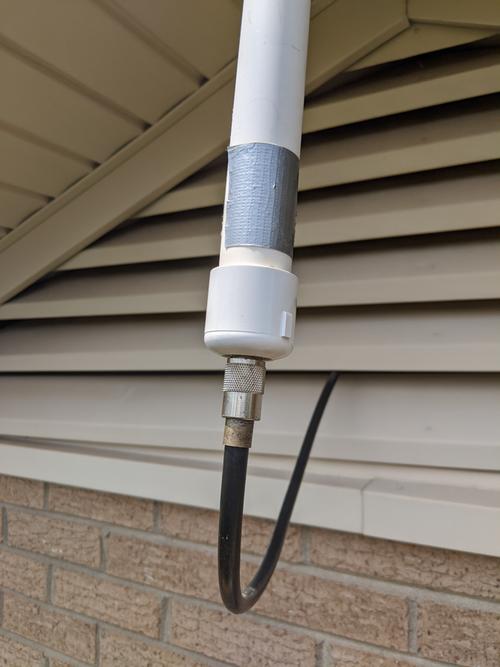
The UHF/VHF antenna is a custom 2m J-pole from copper tubing.
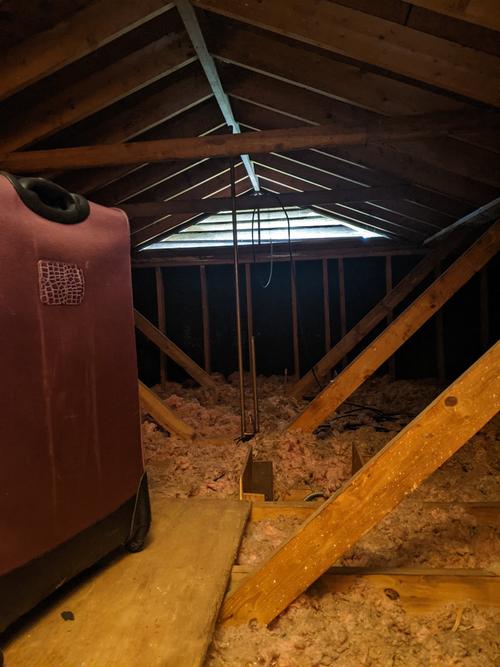

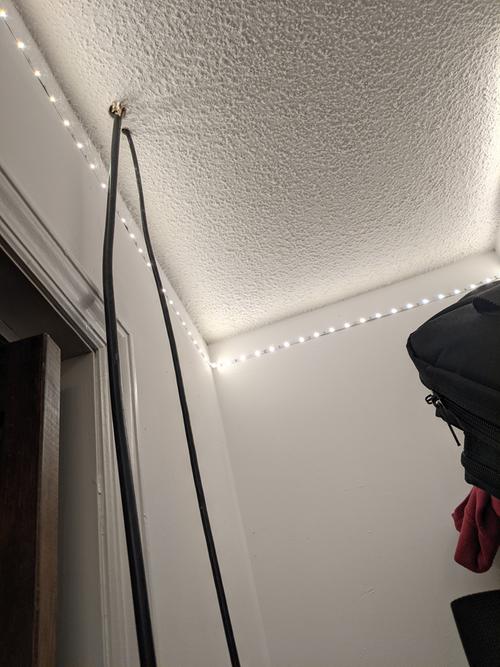
There are two cables going up to the attic, one for each antenna.

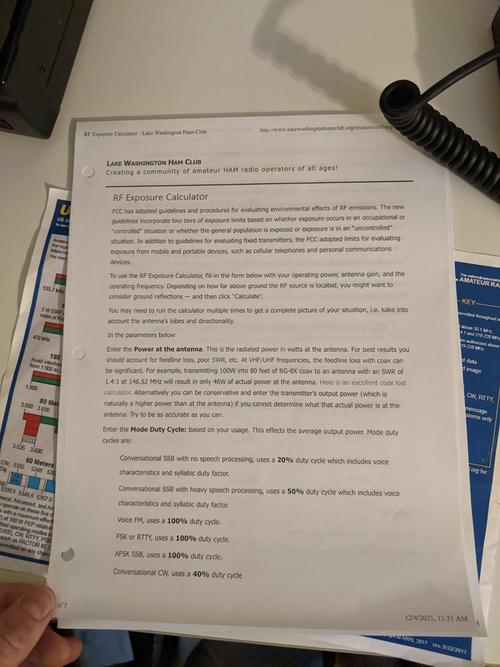
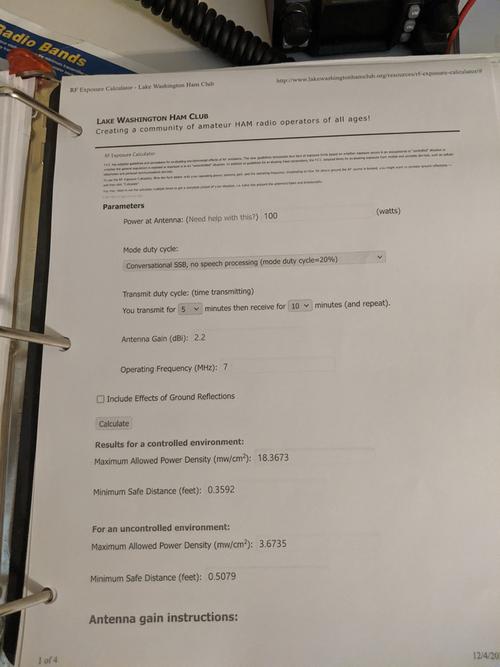
At my desk is a binder containing some important information.
FCC rules
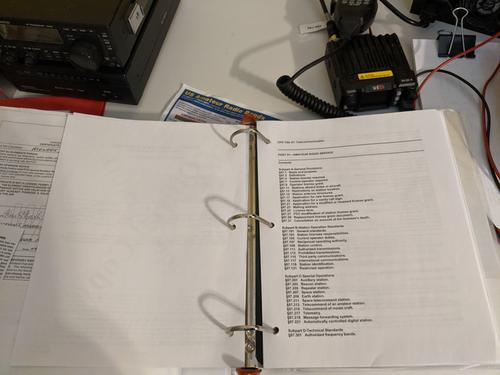
RF exposure Calculations

And of course the ARRL frequency chart.
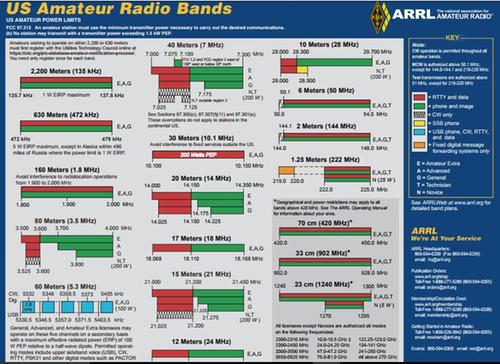

Don't forget to join your local club!
Staff note (gir bot) :

Someone approved this submission.
Note: Certified for 2 Homesteading oddball points

 
gardener
Posts: 325
Location: NW Washington - Zone 8b (15 to 20 °F / -9.4 to -6.7 °C)
270
2
cattle goat foraging trees earthworks cooking building solar sheep wood heat
  • Likes 1
  • Mark post as helpful
  • send pies
    Number of slices to send:
    Optional 'thank-you' note:
  • Quote
  • Report post to moderator
Approved submission
I wasn't sure whether to post this one or not as I'm unaware if it aligns with permaculture values.  Stump removal is certainly an old timer homesteading pastime - I've seen several interesting horse powered devices for the task, and growing up I even had a neighbor whose job involved stump removal by blasting them out with dynamite. But I can understand there are advantages to leaving the stump undisturbed as well. This stump was located where I want to stockpile sawmill shavings, so removal of the stump would make unobstructed scooping up of shavings with the front loader easier. I started at 10:42 and finished at 11:34 thanks to the use of the backhoe rather than shovel and axe.  The perspective in the first few pictures makes the stump look small, but you can gauge the scale better in the last picture showing the stump being held by a 2-ft wide backhoe bucket.
20220905_104208.jpg
Stump prior to removal.
20220905_105624.jpg
Start digging around stump.
20220905_110943.jpg
More digging, but stump still won't come out.
20220905_111216.jpg
Finally removed.
Finally removed.
20220905_113451.jpg
Former location filled in and graded.
Staff note (gir bot) :

Someone approved this submission.
Note: Certified for 1 homesteading oddball point

 
The only thing that kept the leeches off of me was this tiny ad:
Switching from electric heat to a rocket mass heater reduces your carbon footprint as much as parking 7 cars
http://woodheat.net
reply
    Bookmark Topic Watch Topic
  • New Topic