BRK #109
Moving House Edition...! Part 3
(also, the first post where I was able to use my new camera)
Back from my stay in-town, and resolved to install my gigantic tent's rain fly before the weather really turns for the worse. Also! There were no instructions included, so I had to figure this out on my own. Fortunately it wasn't rocket surgery, and after my previous tent installation experience I'm confident in saying anyone who has already installed one of these Canvascamp tents would understand putting up the rain fly: either over the tent or on its own. Here's the breakdown.
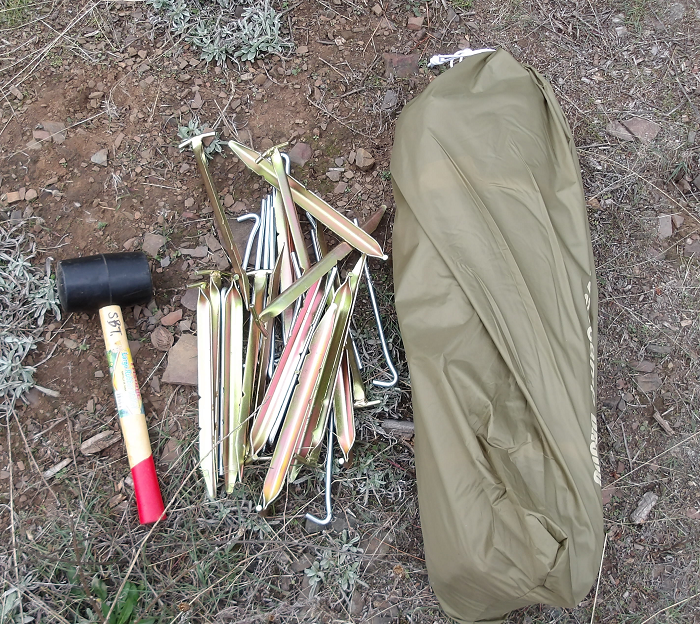
The rain fly arrived in a drawstring bag, and I had also ordered some spare tent stakes to go along with it. Alongside them in this photo is my trusty rubber mallet, which I had hoped to be the only tool required to make it happen.
Little did I know...
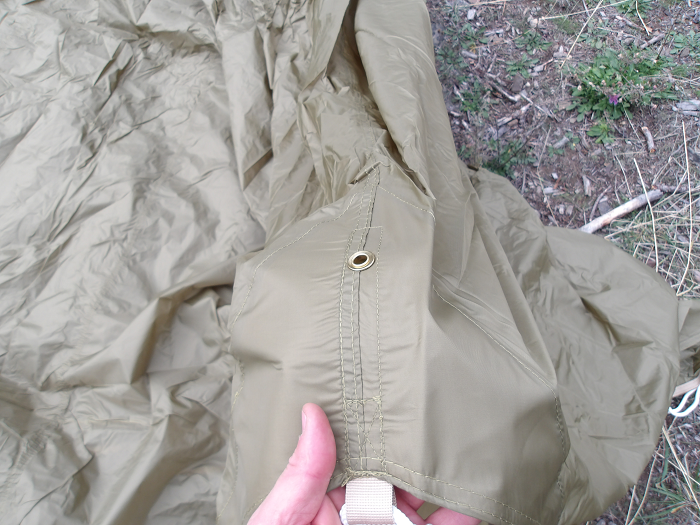
First task: find the front of the rain fly, which would overlap the tent entrance. There's a peg that fits through a grommet and this was the only one that didn't have a guy-line attached to it, so it was easy to find. Place this at the front edge of your tent, including fitting the peg through this grommet.
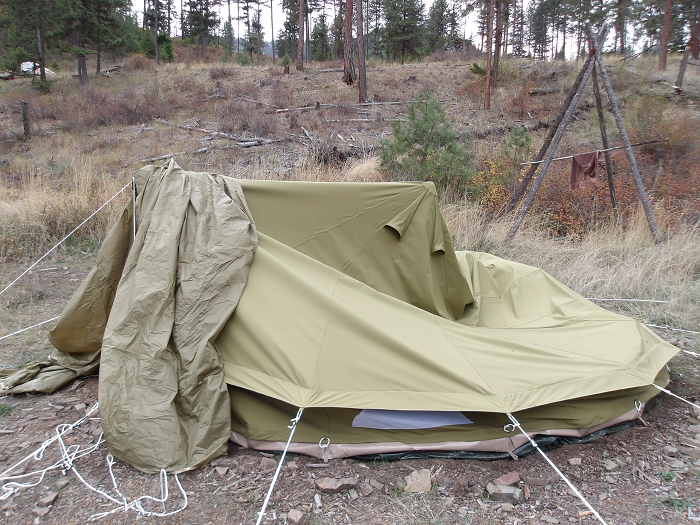
Since the tent was so darn tall, I had to temporarily lower the center pole so I could move the fly over the entire thing. Don't remove the pole completely, as you need to center the rain fly over it so things fit properly.
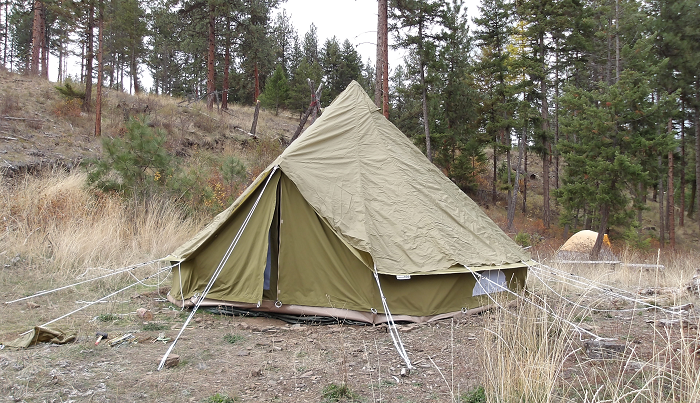
Make sure the centerpoint overlaps the center pole before moving on. It should look something like this:
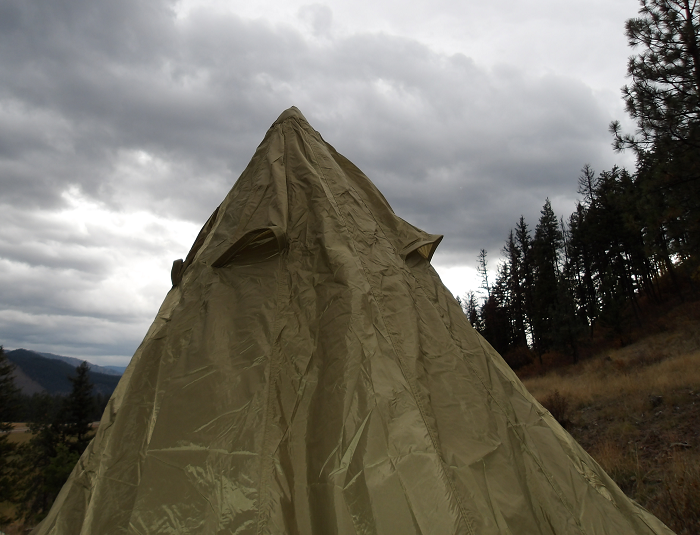
Once the rain fly is in place, re-erect the center pole, and then straighten-out all the guy-lines to make sure the rain fly is properly positioned over the tent.
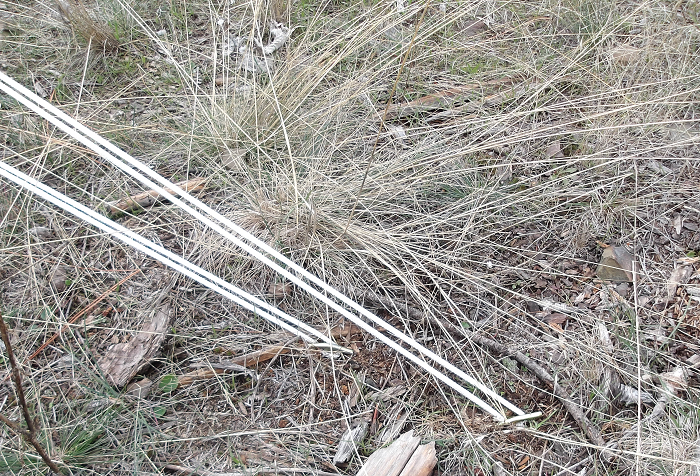
Hammer the stakes into the ground somewhere between 6 to 12 inches further out from the tent stakes. Angle the tent stake points inward, towards the tent, so that the tension pulling the guy-lines also assists in keeping the stakes in the ground. Once in, they should look like this:
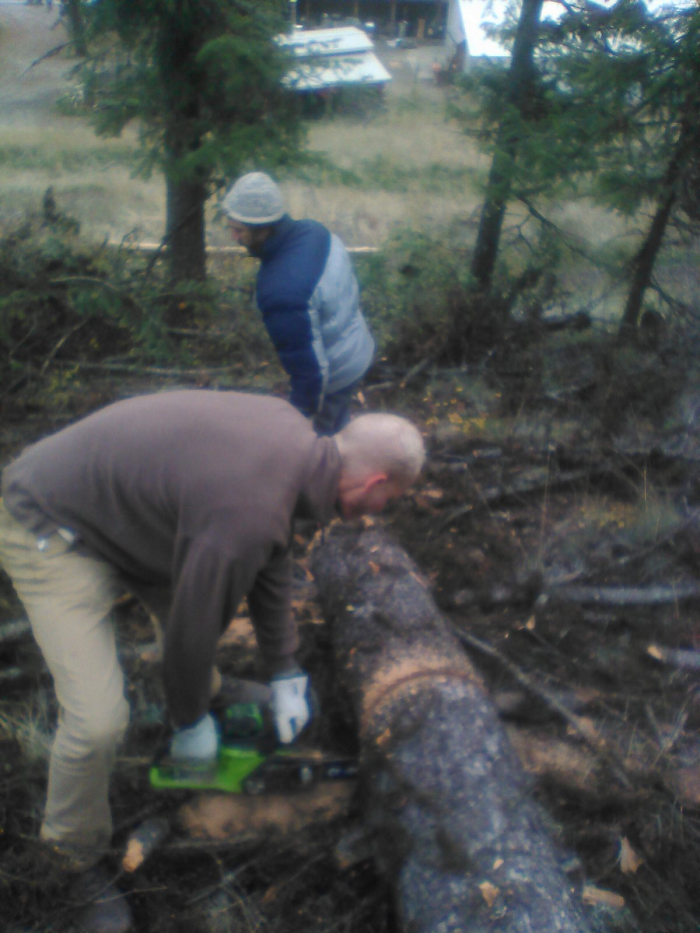
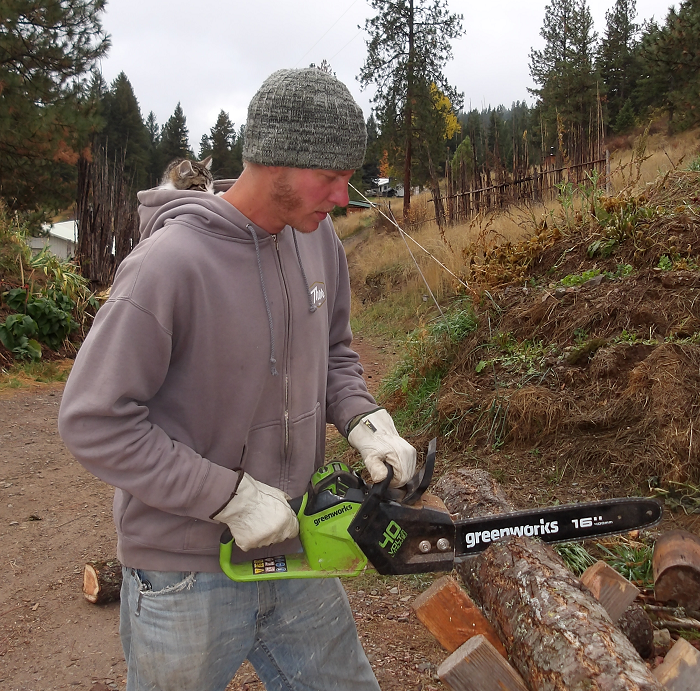
As was required during my tent installation, there were some instances when I had to rely on the persuasive power of the jackhammer to create sufficient-depth holes in the rock ledge.
Fred was nowhere around to assist this time, however I remembered his tutoring from the last session he and I had, and it proved a simple process.

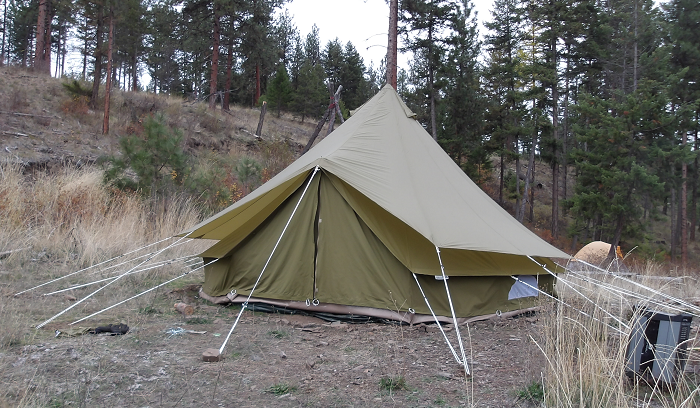
Finally: once all the guy-lines are hammered into the ground, follow a back-and-forth "star" pattern to adjust the tension of all your guy-lines. This helps keep the rain fly centered properly over the tent. Once you're "playing guitar" on all your guy-lines, you're done!
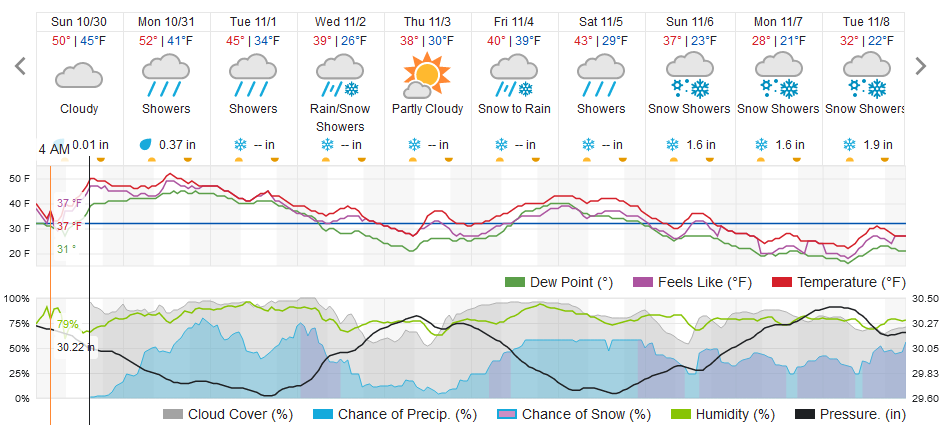
...And not a moment too soon. Here's the weather forecast for the next ten days.

Thanks for reading, and enjoy your day...!


 6
6


Skill verified by gir bot")