BRK #85
Moving House Edition...! Part 2
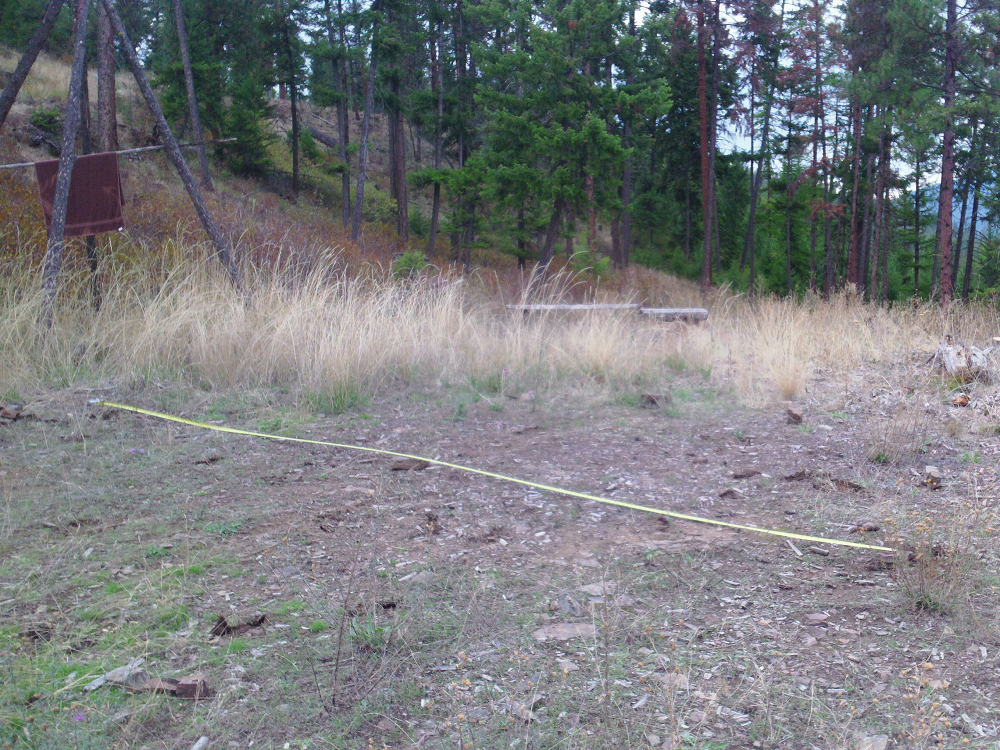
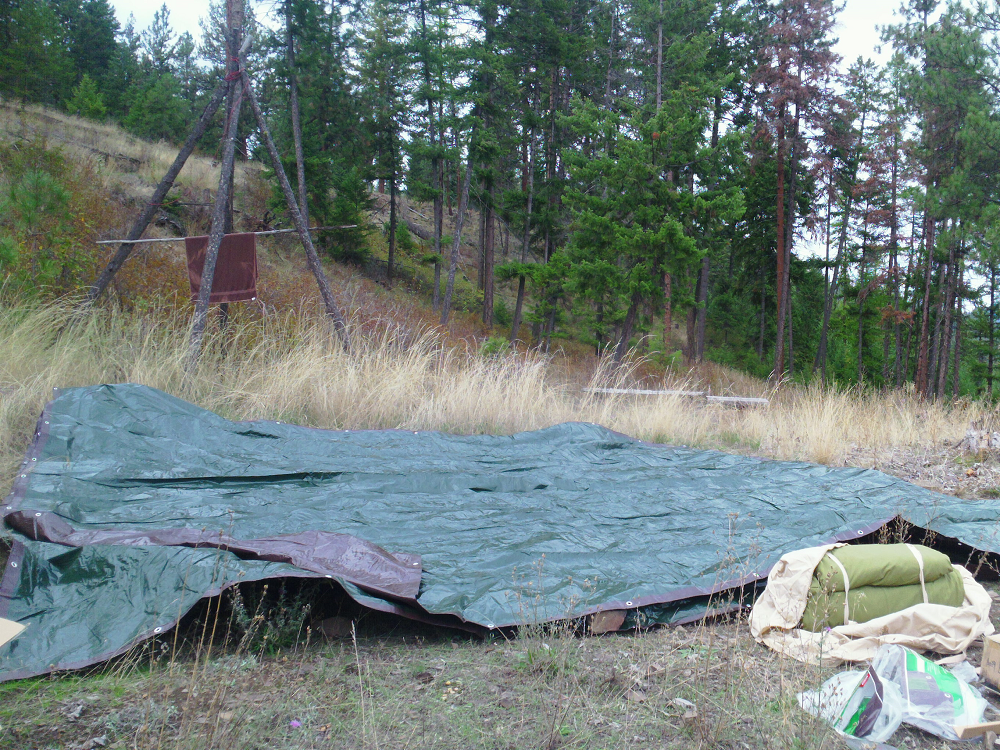
Step 4: Bring out the tarps! I picked up two medium-duty tarps to provide more protection from ground moisture. I spread them over the prepped tenting area.
 Step 5:
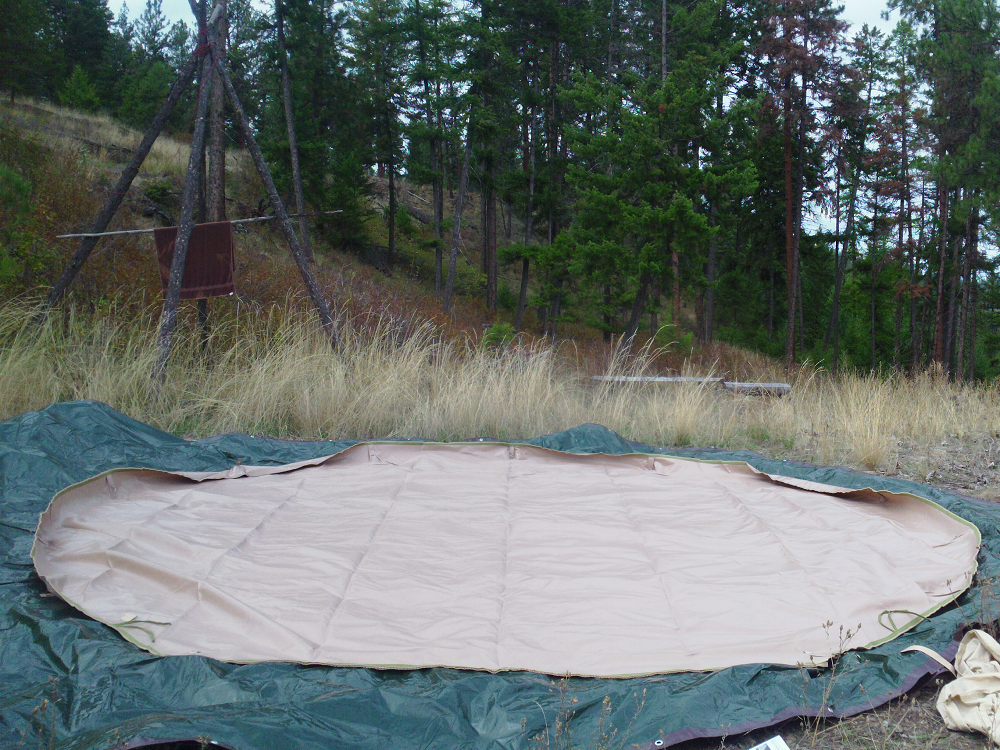
 Lay out the ground mat/groundsheet of the tent, making sure to orient the doorway to where you want it to be facing. This is essentially the floor of the tent, and provides another moisture barrier. This particular model's groundsheet can be fastened to the upper canvas tent portion with heavy-duty zippers.
 Step 6:
 Speaking of which, bring out the canvas upper portion of the tent, line up the doorway with that of the groundsheet, then - starting at the back - connect the two pieces of the tent together with the zippers.
 Step 7:
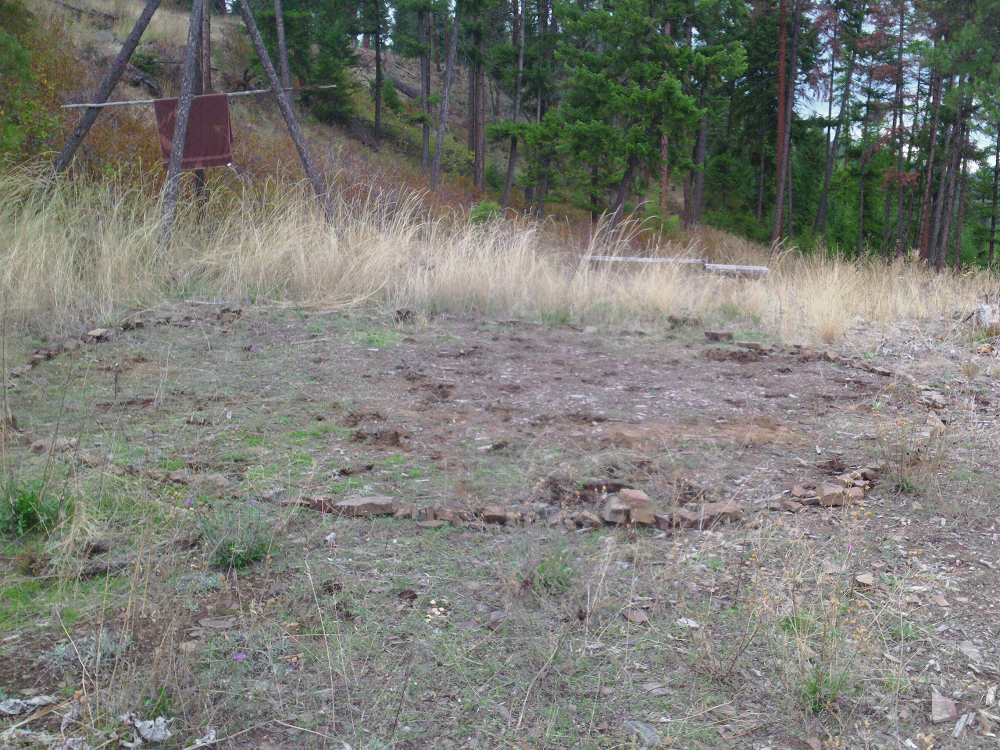
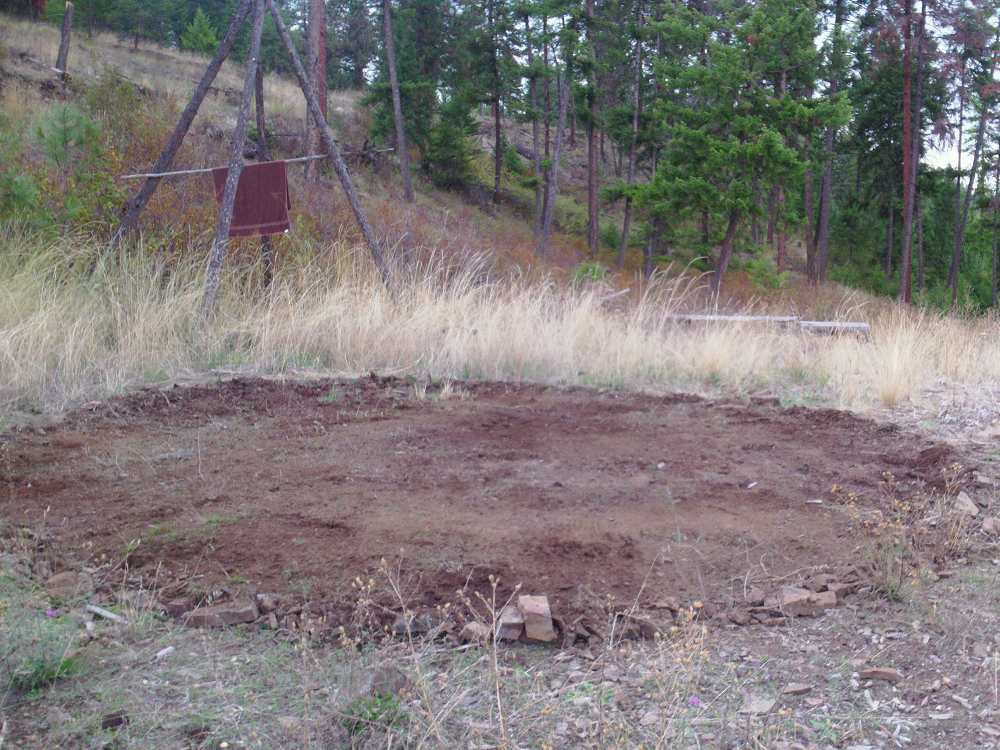
 Since I used so many darn tarps, I spent a bit of time tucking the edges and corners under the groundsheet at this stage.
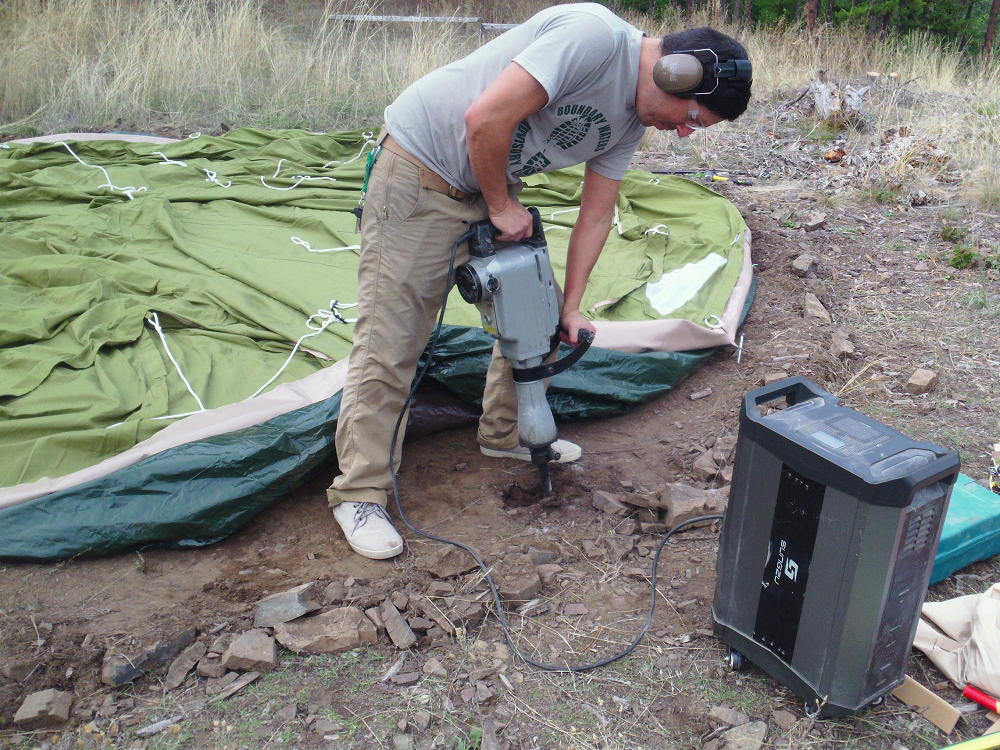
Step 8: Realize that setting up a tent on a rock ledge is a bad idea, particularly when you start trying to hammer tent stakes into the ground.
Seriously: I would probably have given up on this site were it not for the invaluable help and persistence of
Fred, who bought out all manner of tools for us to use. Thanks, man!!!
First up, a drill and a masonry bit. This worked okay, but the diameter of the bit was larger than that of the tent stakes and besides, it caused what I felt was too much wear-and-tear on the drill.
Next up: the electric jackhammer. This one did the trick! Here's Fred taking a turn with the machine.
Here's me with the jackhammer. It had been a couple months now since I had a chance to use this (we had been clearing out a trench for a water-line coming out of the cistern at the Lab), and it was nice to become reacquainted with it.
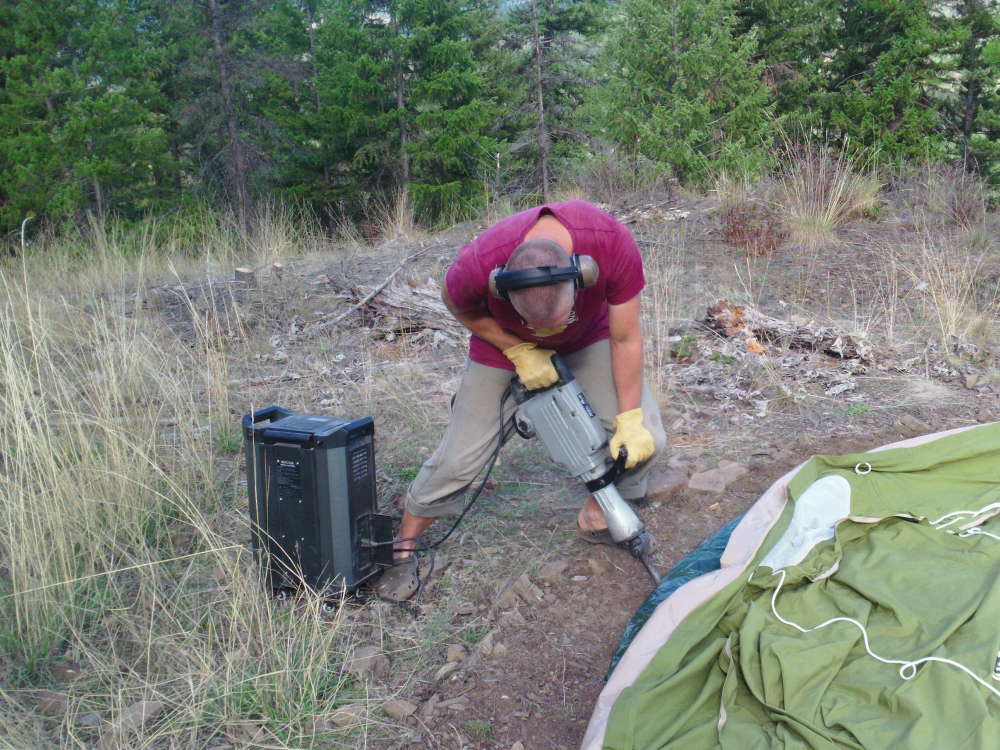
Since things weren't ideal, we had to aim our jackhammering towards the center of the tent at an angle. Holes were punched to a depth of about 8 inches (the depth of the tent stake).
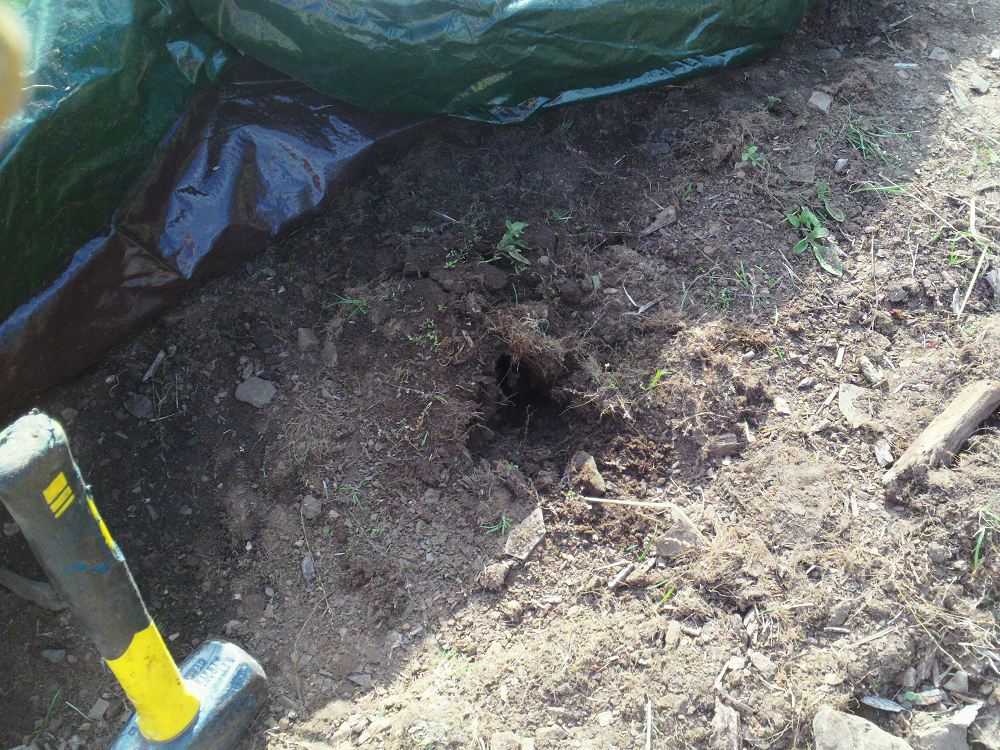
We then tamped-down on the area, and then hammered-in the tent stake. Both steps were done with a heavy metal mallet, and included the occasional hammering-straight of a bent tent stake or two. There were still a lot of rocks down there, in addition to the rock shelf we had to perforate.
 Step 9:
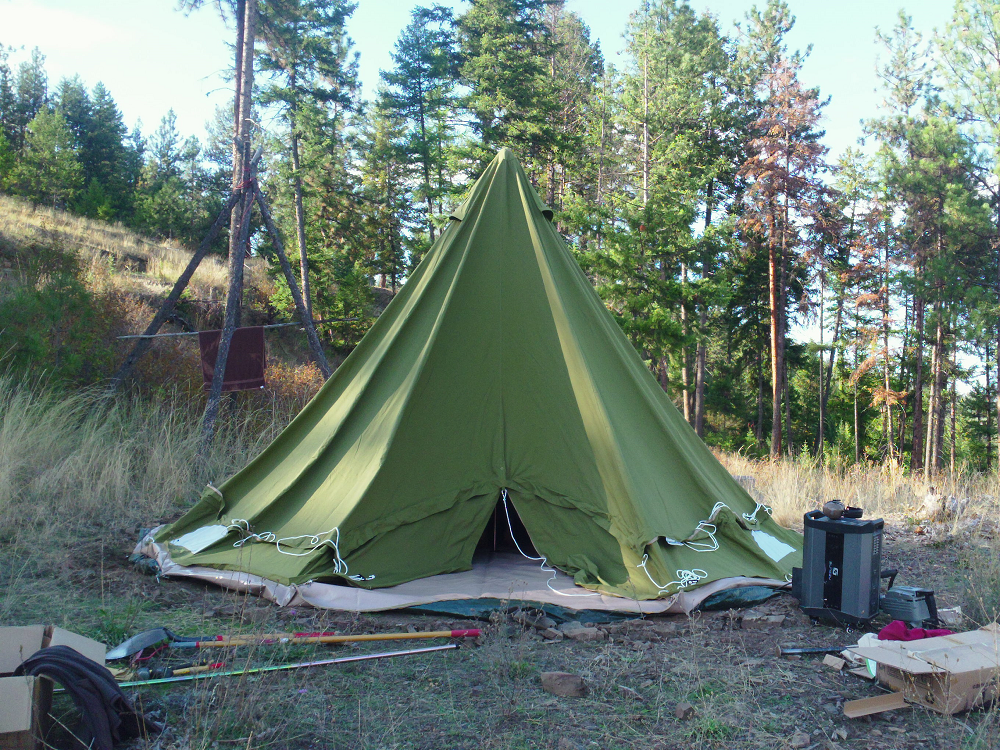
 Raise the tent with the single, central tent pole. Yep, think of this as a smaller-sized, old-skool circus tent.
 Step 10:
 Hammer-in the guy-lines surrounding the tent (including using the jackhammer on a few choice spots because you know, rock shelf). Insert the door frame. And you're done...!
It's been erected today, and I plan on moving in officially tomorrow evening after boot work. Again,
Fred is The Man and it wouldn't have happened without his help and positivity.
That's all for now. Thanks for reading, and enjoy your day...!


 7
7


Skill verified by gir bot")