Garden Mastery Academy - Module 1: Dare to Dream
will be released to subscribers in:
soon!

|

|

|

|

|


 9
9


For all your Montana Masonry Heater parts (also known as) Rocket Mass heater parts.
Visit me at
dragontechrmh.com Once you go brick you will never go back!
7
Joylynn Hardesty wrote:Ages ago, folk would bundle and tie together a number of small diameter sticks to burn as logs. Would this form be appropriate for a batch box?


How permies.com works
What is a Mother Tree ?

Skill verified by gir bot") 10
10


How permies.com works
What is a Mother Tree ?
8
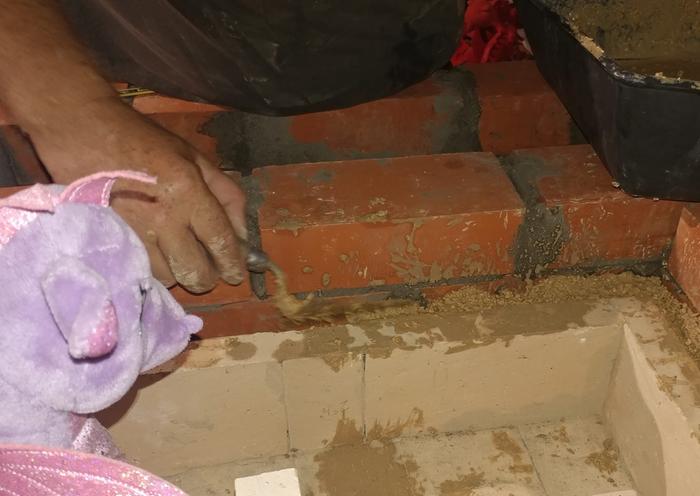
That's the nice thing about the mortar just being sand and clay - any left can be re-mixed and is ready to go for the next layer!Burra Maluca wrote: So now he's half way out the door again. Ooops...
Visit Redhawk's soil series: https://permies.com/wiki/redhawk-soil
How permies.com works: https://permies.com/wiki/34193/permies-works-links-threads

Skill verified by Nicole Alderman")

Skill verified by Mike Haasl") 7
7

Austin Shackles : email anshackles"at"gmail.com.
10
For all your Montana Masonry Heater parts (also known as) Rocket Mass heater parts.
Visit me at
dragontechrmh.com Once you go brick you will never go back!
10

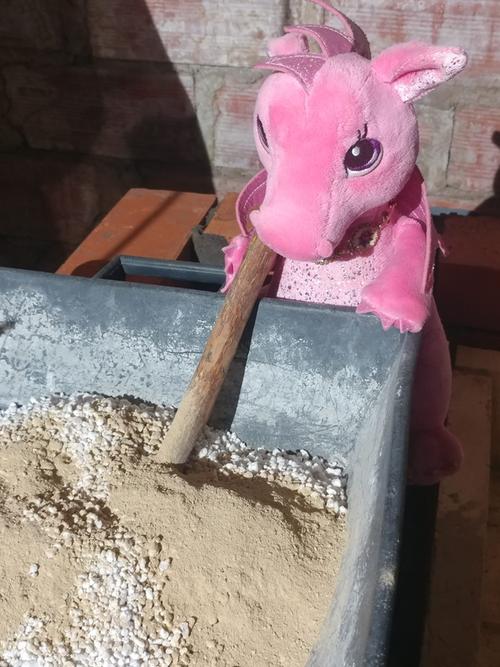
thomas rubino wrote: Dry clay is sprinkled over perlite, add water. The mix is more perlite than clay. You want to keep the insulating property's of the perlite with the sturdiness of the clay to hold it together.
A softball size piece should hold together on its own but still bust apart if enough pressure is applied.
How permies.com works
What is a Mother Tree ?
8
thomas rubino wrote:Hi Austin;
You can use the perlite dry, just fill the void with it.
Or mix powdered clay & water with the perlite and create a thick slurry, heavy on the perlite.
7

How permies.com works
What is a Mother Tree ?
6

How permies.com works
What is a Mother Tree ?
6
Austin Shackles : email anshackles"at"gmail.com.
5
5
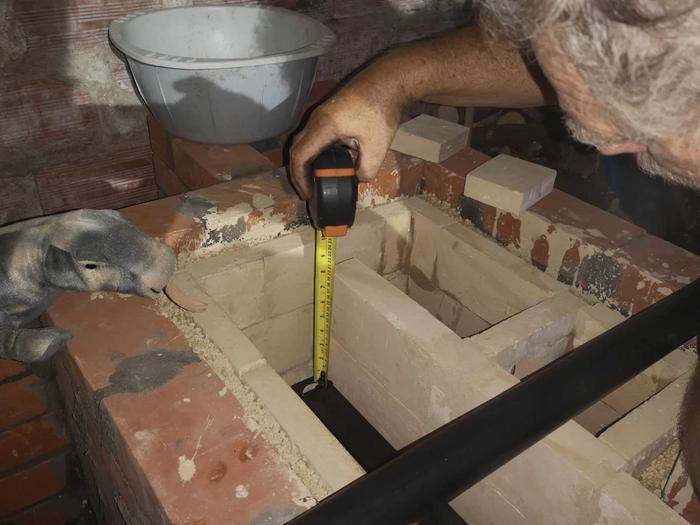
Fox James wrote:If I understand, you intend to extend the fire box by 4.5” I think it would be worth contacting Matt to find out his opinion as that is a massive change in dimensions and could very easily change the design enough to prevent a clean burn.
Austin Shackles : email anshackles"at"gmail.com.
11
Austin Shackles wrote:
Fox James wrote:If I understand, you intend to extend the fire box by 4.5” I think it would be worth contacting Matt to find out his opinion as that is a massive change in dimensions and could very easily change the design enough to prevent a clean burn.
Also Burra was looking at Thomas Rubino's batch box book and found a bit that said that extending the firebox is OK up to a point (I think 25% was mentioned), provided the other internal dimensions are correct, which I have been quite careful with, the sizes and the port are all pretty much spot on according to the plan.
9

Austin Shackles : email anshackles"at"gmail.com.
9

How permies.com works
What is a Mother Tree ?
15

How permies.com works
What is a Mother Tree ?
10

Austin Shackles : email anshackles"at"gmail.com.
13
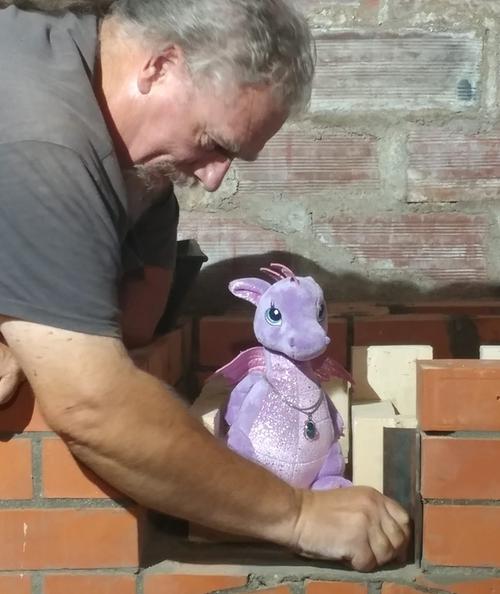
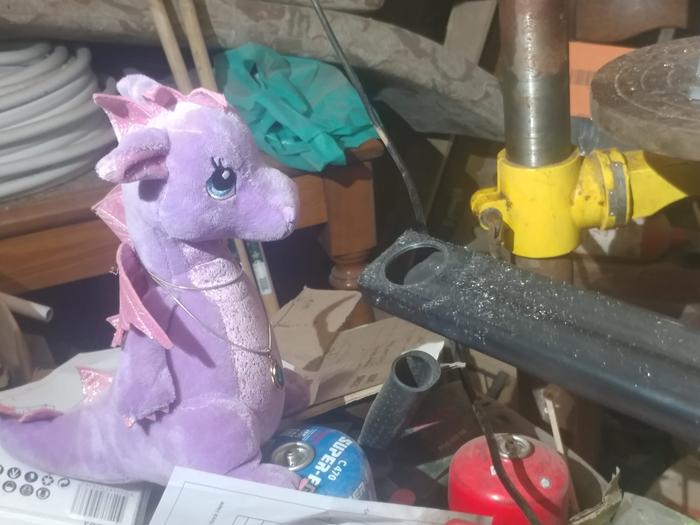
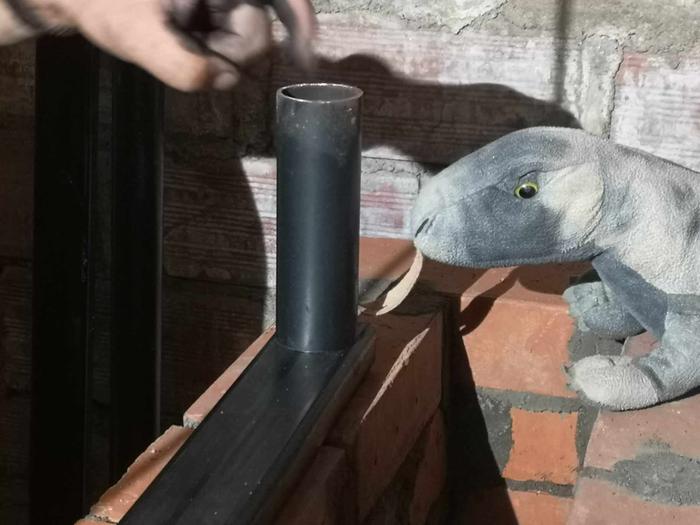
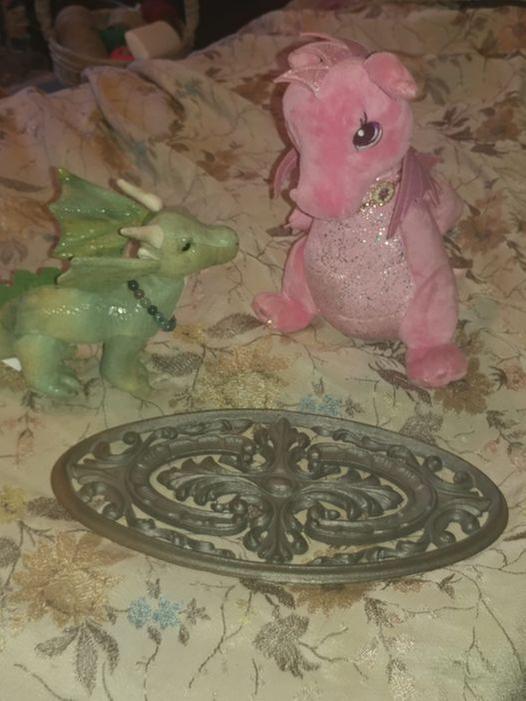
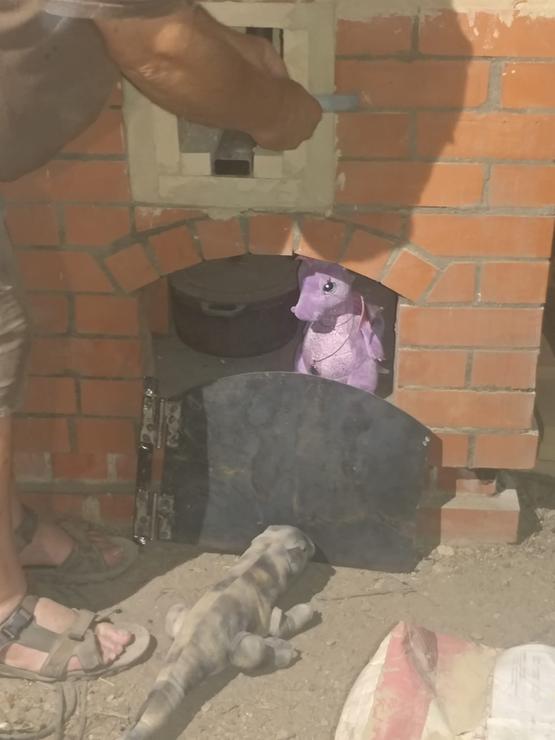
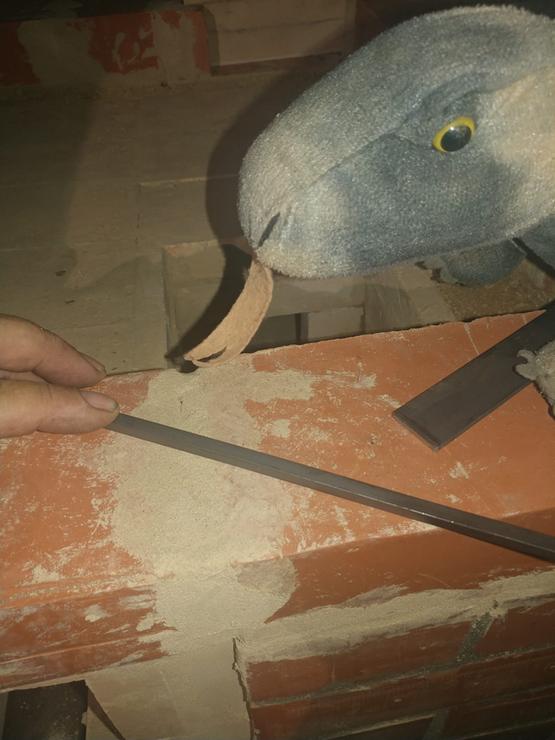
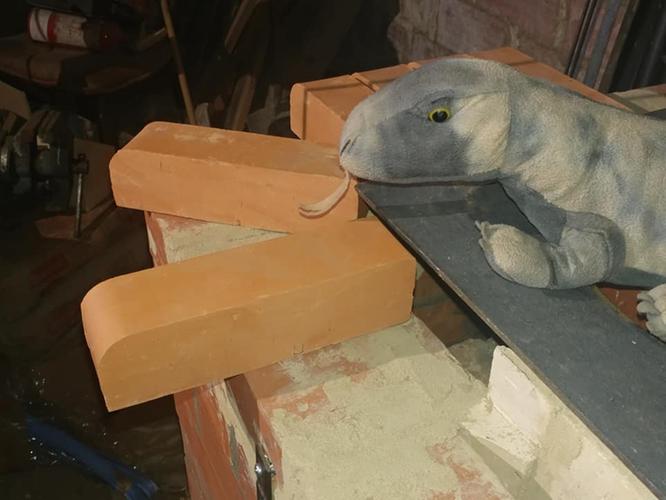
Please thank your dragons from me for making a young boy's day - I bet he'll remember hunting dragons with Austin for a very long time!Burra Maluca wrote:... When it was safely out, the little boy came into the house as he'd heard rumours of dragons.
He took one look inside and squealed in delight - "Dragões!!!"
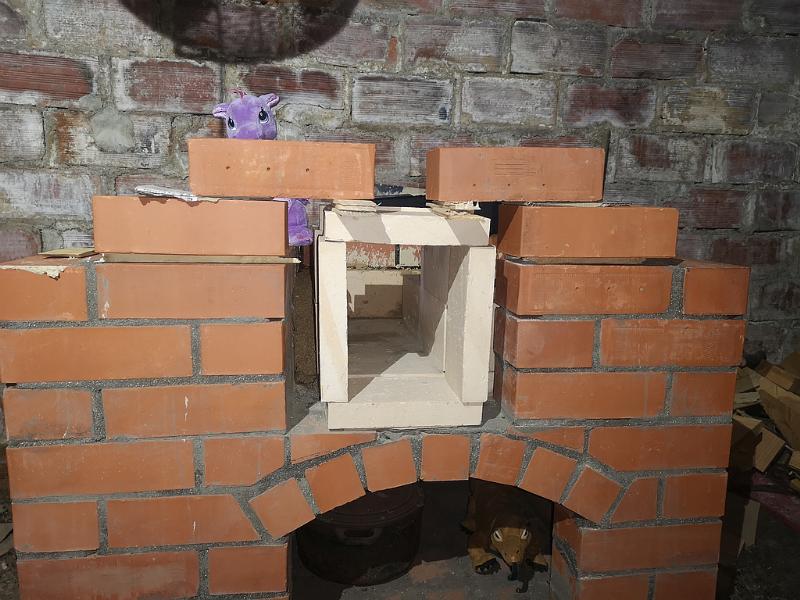
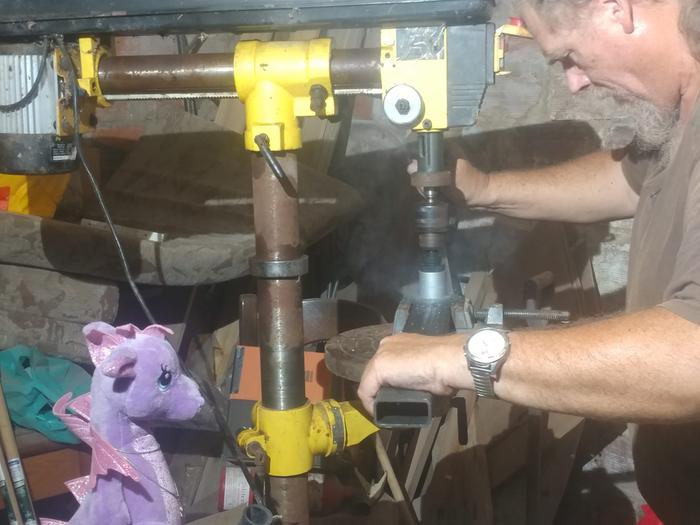
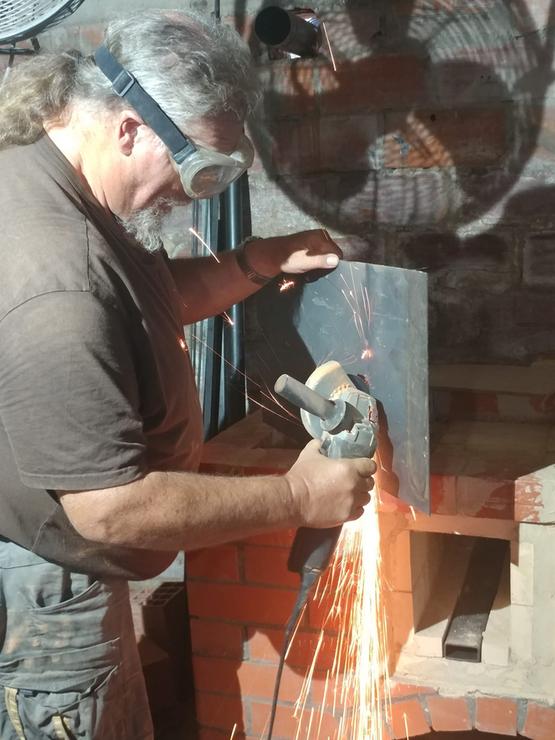
Having cook stoves smooth on the outside is an awesome thing, so cooks don't catch clothing or knees on protuberances. My Mother made my Father saw off the tabs on all the drawer pulls and lower cabinets in one kitchen because she was constantly getting things caught on them! She carefully painted the cut ends so the handles looked intentional. That kitchen was done in a "style" which my mother quickly got annoyed with as it lacked sufficient practicality. She was an artist, so it isn't as if she didn't appreciate beauty - it just had to "practical beauty" if it was going to be in her cooking space!The firebox door is gonna fit flush on the outside of the brick front...
Visit Redhawk's soil series: https://permies.com/wiki/redhawk-soil
How permies.com works: https://permies.com/wiki/34193/permies-works-links-threads
11


Austin Shackles : email anshackles"at"gmail.com.
10

Austin Shackles : email anshackles"at"gmail.com.
10
For all your Montana Masonry Heater parts (also known as) Rocket Mass heater parts.
Visit me at
dragontechrmh.com Once you go brick you will never go back!
10
How permies.com works
What is a Mother Tree ?
5
For all your Montana Masonry Heater parts (also known as) Rocket Mass heater parts.
Visit me at
dragontechrmh.com Once you go brick you will never go back!
6
How permies.com works
What is a Mother Tree ?
2
How permies.com works
What is a Mother Tree ?
12


How permies.com works
What is a Mother Tree ?


 3
3
'What we do now echoes in eternity.' Marcus Aurelius
How Permies Works Dr. Redhawk's Epic Soil Series
9
God of procrastination https://www.youtube.com/watch?v=q1EoT9sedqY
8

Austin Shackles : email anshackles"at"gmail.com.
4

How permies.com works
What is a Mother Tree ?
6


Austin Shackles : email anshackles"at"gmail.com.
2
'What we do now echoes in eternity.' Marcus Aurelius
How Permies Works Dr. Redhawk's Epic Soil Series
5
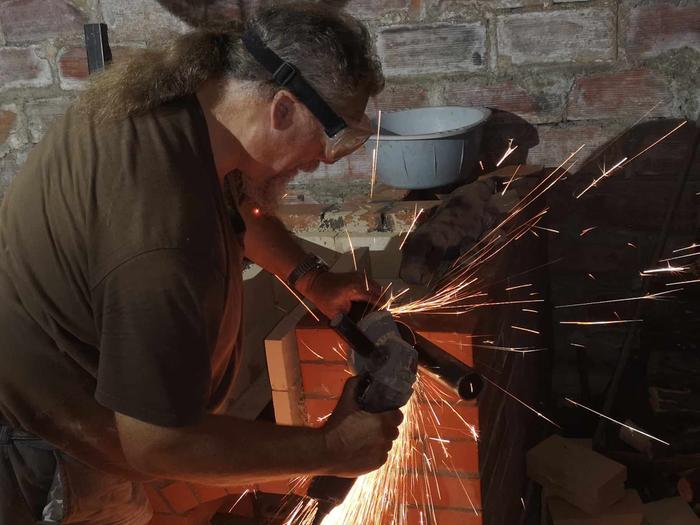
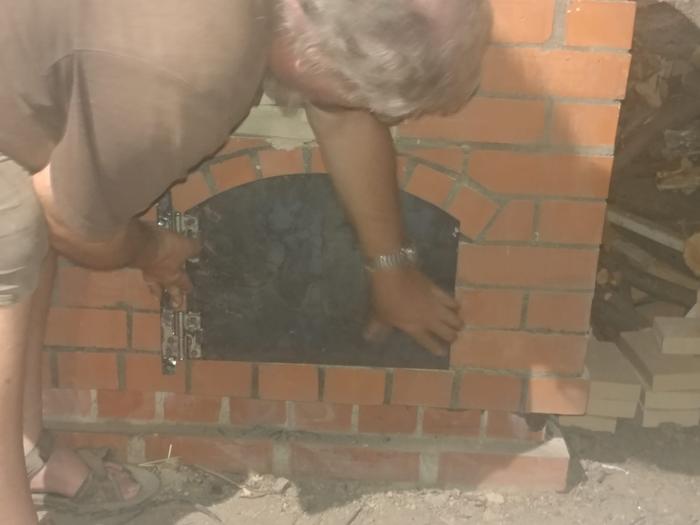
Alas, I agree with Austen - they look wonky to me. I think the issue is that they're wonky in opposite directions, so that multiplies the problem. I suspect if the rectangular one can get fixed somehow, the lower one wouldn't be as obvious.Joylynn Hardesty wrote:Just wanted to say, even after being told the doors aren't straight, they look straight to me.
Visit Redhawk's soil series: https://permies.com/wiki/redhawk-soil
How permies.com works: https://permies.com/wiki/34193/permies-works-links-threads
6
5
Jason Pritchard wrote: I did wonder about your use of concrete in the mortar. I was under the impression that the use of a clay based mortar was so that the clay bricks and mortar would expand and contract at the same rate, reducing the risk of cracking. I see Thomas did the same as you on his riserless core build. Did you give that any thought, or did you feel it was a minor issue and move forward with what was readily available and what you were more familiar with?
The stove is looking fantastic... keep on keepin" on!
How permies.com works
What is a Mother Tree ?
1
7


How permies.com works
What is a Mother Tree ?
9
Austin Shackles : email anshackles"at"gmail.com.
11


How permies.com works
What is a Mother Tree ?

|
So I left, I came home, and I ate some pie. And then I read this tiny ad:
building a better world rather than being angry at bad guys
https://wheaton-labs.com/bootcamp
|