|

|
|
|
|

|

|

|

|

|
 8
8


 10
10
Austin Shackles : email anshackles"at"gmail.com.
12
tony uljee wrote:as the sealing off of the cooktop has improved the stove s flue pull/draw...
How permies.com works
What is a Mother Tree ?

Skill verified by gir bot") 15
15


Austin Shackles : email anshackles"at"gmail.com.
8


 5
5
How Permies works: https://permies.com/wiki/34193/permies-works-links-threads
My projects on Skye: The tree field, Growing and landracing, perennial polycultures, "Don't dream it - be it! "
13
Nancy Reading wrote:It looks like you are sorted well now...
but I was going to suggest vitcas too. They do sell direct and were very quick in sending up my bits for refurbishing our range cooker which needs a new firebox lining. I had to restrain myself....
How permies.com works
What is a Mother Tree ?
8
Austin Shackles : email anshackles"at"gmail.com.
9
9
10
Silence is Golden
For all your RMH needs:
dragontechrmh.com
10
Austin Shackles : email anshackles"at"gmail.com.
11
Austin Shackles wrote:For others who have a 6" batch, Matt Walker or otherwise, how big did you make your primary air intake?
regards, Peter
13

How permies.com works
What is a Mother Tree ?
7
8

How permies.com works
What is a Mother Tree ?
10
13
Austin Shackles : email anshackles"at"gmail.com.
7
9
Austin Shackles wrote:It's just occurred to me though that because I have yet to build the bench which is planned to go alongside it, I have the 2 bench openings at the bottom of the stove and although I stacked some bricks against them to shut them off, they aren't sealed as such. Maybe this is the problem and I should temporarily seal those openings better until I can build the bench? There's also the point of the lower oven door.
Austin Shackles : email anshackles"at"gmail.com.
9

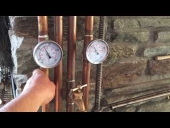
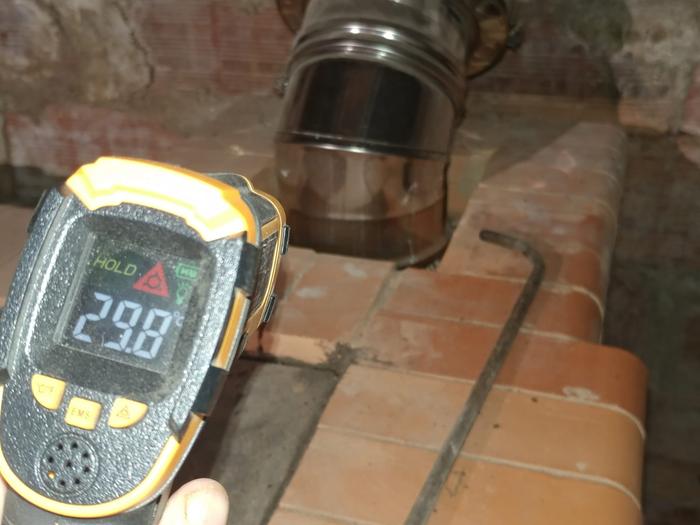
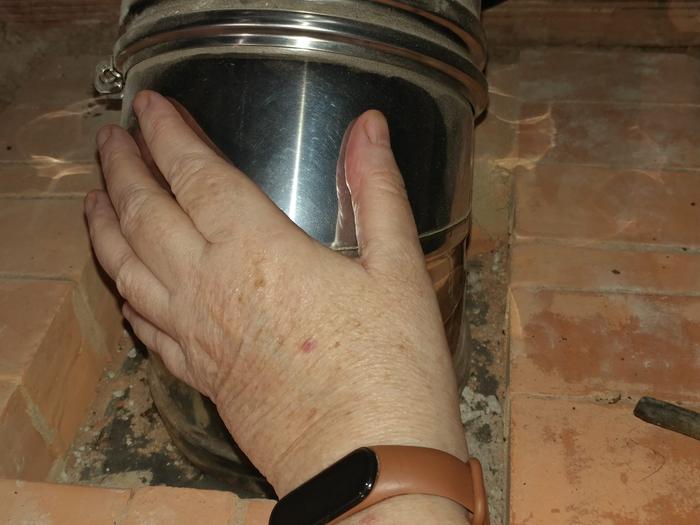
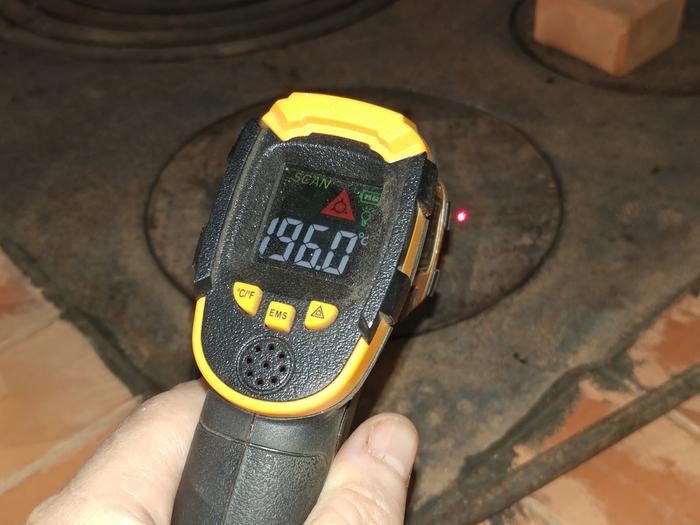
 ) and concluded that the hotplate above the core exit gets up to water-boiling point pretty fast. Shutting the bypass most of the way diverts most of the exhaust around the "long way" inside the stove, which of course extracts heat from it as intended. I find leaving the bypass open a bit at this point keeps the chimney base (at the top of the stove) warm enough to ensure good draft. Once the (non-insulated) door of the lower oven space reaches 25-30°C (77-86°F) the bypass can then be fully shut. As an interesting side-note, before lighting, the whole stove is about ambient temperature, let's say for example 18°C/68°F. As soon as I divert the exhaust around the stove and start to warm the body of the stove up (and, later this will include a bench), the oven door quite soon starts to get warm but the lower part of the brick body actually cools by a couple degrees. Later of course it begins to warm up above ambient.
Austin Shackles : email anshackles"at"gmail.com.
9

 11
11
For all your Montana Masonry Heater parts (also known as) Rocket Mass heater parts.
Visit me at
dragontechrmh.com Once you go brick you will never go back!
9
Austin Shackles : email anshackles"at"gmail.com.
13
How permies.com works
What is a Mother Tree ?
9
Burra Maluca wrote: 6. For this climate, at this time of year, the oven is NOT a practical consideration for actually cooking anything. We simply don't run the stove long enough for the oven to get up to temperature as any surplus heat gets shoved into the mass of the bricks before it reaches the oven. If we burned long enough I'm sure it would work fine, but I suspect when we finally move the kitchen downstairs I'll be using the stovetop to start things off and then a haybox for finishing off anything that needs long, slow cooking.
Visit Redhawk's soil series: https://permies.com/wiki/redhawk-soil
How permies.com works: https://permies.com/wiki/34193/permies-works-links-threads

Skill verified by Nicole Alderman")

Skill verified by Mike Haasl") 10
10
Austin Shackles wrote:
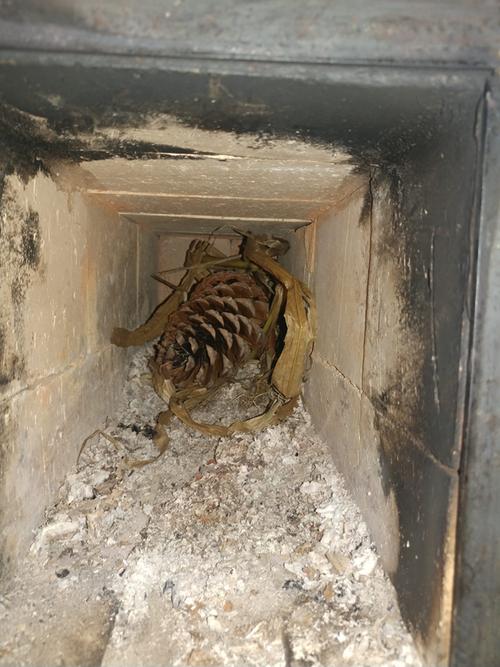
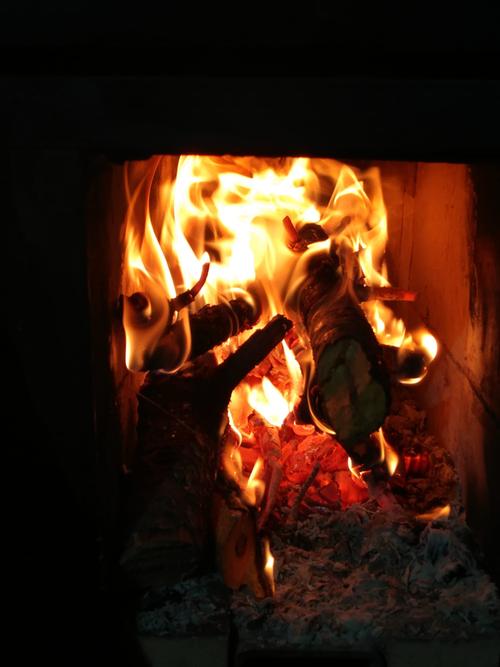
† It occurs to me now that it would be possible for the more adventurous builder to incorporate a small door down there for that purpose. However I have a small steel shovel with an extra long handle and can slide that in through the bottom oven door to position it, which also leaves any residue from the priming material on the shovel and thus easily removed. Of note is that it's best to leave the oven door open while priming.
"Ah, but a man's reach should exceed his grasp,
Or what's a heaven for?"
Andrea del Sarto by Robert Browning
13
Austin Shackles : email anshackles"at"gmail.com.
13


How permies.com works
What is a Mother Tree ?
8
14
tony uljee wrote:good result, and maybe a first on the forum --a stove built from scratch and worked at to get it going ,improvements made and shown ---and now how its running and performing ----congratulations -----i myself am still working away at mine ---the flue is becoming a major engineering project in its self
How permies.com works
What is a Mother Tree ?
7
Visit Redhawk's soil series: https://permies.com/wiki/redhawk-soil
How permies.com works: https://permies.com/wiki/34193/permies-works-links-threads
14
Jay Angler wrote:if you aren't using the oven right now, could you put slabs of marble with gaps for air flow in the oven section to add a little extra thermal mass until you are ready to build the bench?
Jay Angler wrote:
Burra Maluca wrote: For this climate, at this time of year, the oven is NOT a practical consideration for actually cooking anything. We simply don't run the stove long enough for the oven to get up to temperature as any surplus heat gets shoved into the mass of the bricks before it reaches the oven. If we burned long enough I'm sure it would work fine, but I suspect when we finally move the kitchen downstairs I'll be using the stovetop to start things off and then a haybox for finishing off anything that needs long, slow cooking.
As a bread baker, I have to ask...
Could you actually move coals from the batch box to the oven section to get it up to temperature, sort of the way a traditional cob oven is fired?
How permies.com works
What is a Mother Tree ?
17

Austin Shackles : email anshackles"at"gmail.com.
20

How permies.com works
What is a Mother Tree ?
16


How permies.com works
What is a Mother Tree ?
9
How Permies works: https://permies.com/wiki/34193/permies-works-links-threads
My projects on Skye: The tree field, Growing and landracing, perennial polycultures, "Don't dream it - be it! "
15


How permies.com works
What is a Mother Tree ?
5
eva guo wrote:Wow. Looks great, Austin and Burra. Wish I could build one. I just stacked some fire bricks. Have no idea how to mortar.
![[Thumbnail for 2500-Yr-Old-Rocket-Stove.png]](/t/256489/a/258262/2500-Yr-Old-Rocket-Stove.png "Filename: 2500-Yr-Old-Rocket-Stove.png
Description:")
JayGee
10

How permies.com works
What is a Mother Tree ?

|
She said she got a brazillian. I think owning people is wrong. That is how I learned ... tiny ad:
It's like being on a deserted island - only with gardens and natural buildings in Montana
https://wheaton-labs.com/bootcamp
|