|

|

|

|

|

|
|
|
|
|
|
|
|
-A.png)
|

|

|

|

|


 6
6


Skill verified by Opalyn Rose")

Skill verified by Opalyn Rose")

Skill verified by Mike Barkley") 1
1

I make a Maple Syrup instructional movie! Check it out HERE
SKIP books, get 'em while they're hot!!! Skills to Inherit Property
See me in a movie building a massive wood staircase:Low Tech Lab Movie

Skill verified by Nikki Roche")

Skill verified by L. Johnson")

Skill verified by Opalyn Rose")

Skill verified by Opalyn Rose")

Skill verified by L. Johnson")

Skill verified by Nikki Roche")

Skill verified by Jeremy VanGelder")

Skill verified by Christopher Weeks")

Skill verified by paul wheaton")

Skill verified by Nicole Alderman")

Skill verified by Nicole Alderman")

Skill verified by Mike Barkley")

Skill verified by Mike Barkley")

Skill verified by Mike Barkley")

Skill verified by Ash Jackson")

Skill verified by Nicole Alderman")

Skill verified by Opalyn Rose")

Skill verified by Ash Jackson")

Skill verified by Opalyn Rose")

Skill verified by Opalyn Rose")

Skill verified by Opalyn Rose")
Nails are sold by the pound, that makes sense.
2
I make a Maple Syrup instructional movie! Check it out HERE
SKIP books, get 'em while they're hot!!! Skills to Inherit Property
See me in a movie building a massive wood staircase:Low Tech Lab Movie
1
1
2
 4
4


 1
1
I make a Maple Syrup instructional movie! Check it out HERE
SKIP books, get 'em while they're hot!!! Skills to Inherit Property
See me in a movie building a massive wood staircase:Low Tech Lab Movie
3
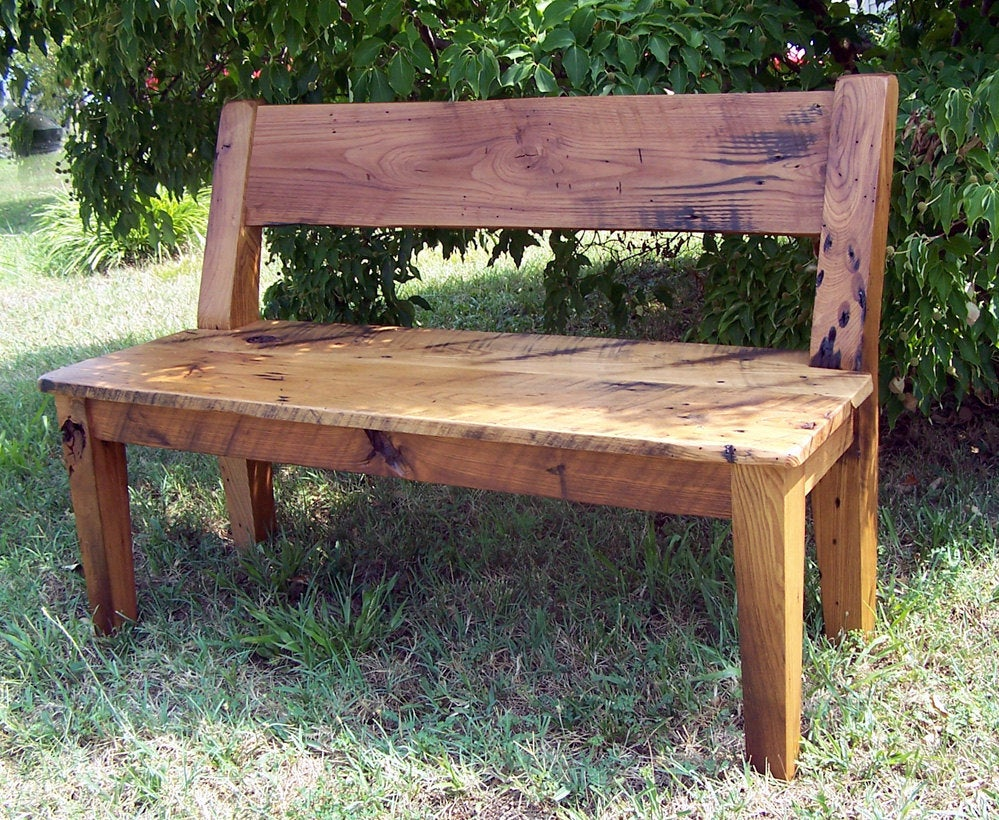
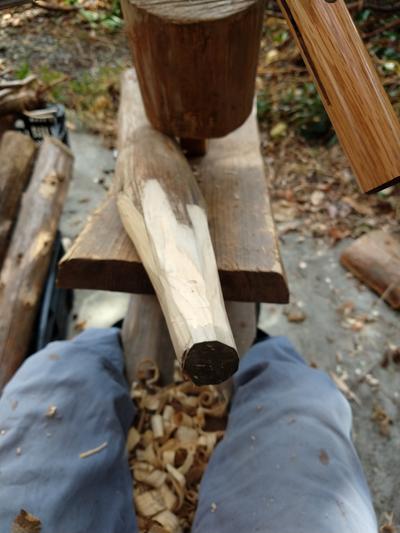
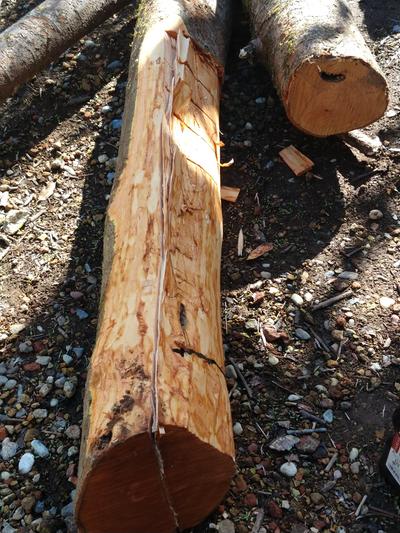
L. Johnson wrote:This is close to the desired result.
Cargo bikes are cool

Skill verified by gir bot")

Skill verified by Opalyn Rose")

Skill verified by Mike Barkley") 1
1
Mike Haasl wrote:Great tips L!
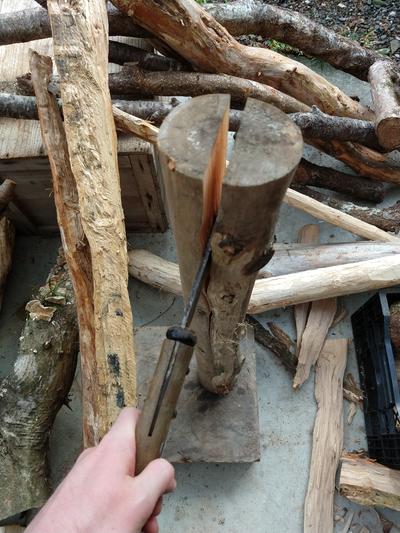
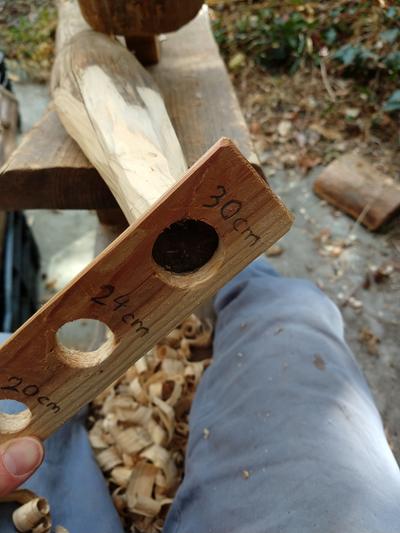
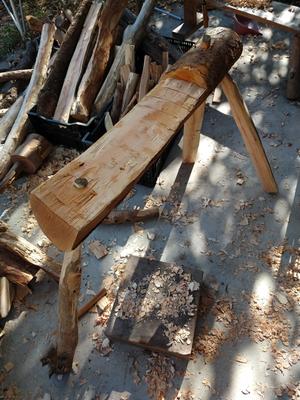
Looking at your second to last picture, I can see that if building the dumbhead design, having it wide enough to hold a bigger leg/peg is important. Looks like yours is barely holding on.
1
Edward Norton wrote:
L. Johnson wrote:This is close to the desired result.
I love what you are doing. I'm finding it really hard to get my hands on green wood. My wife has a cousin in Conneticut who has some trees that need clearing, so I hope we can get up to see them in a couple of months and then I can get the materials I need.
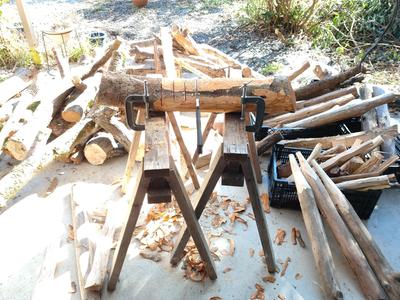
I was watching the Shrink Pot BB intro and like the bench he uses. For a quick look, here's a link to 10 minutes in when he braces the log he's working on.
What attracted me to this bench is the fact it's being used by a craftsman and it's one of the tools that he makes a living from. It looks similar to the design you found.
4

 1
1
 1
1
I make a Maple Syrup instructional movie! Check it out HERE
SKIP books, get 'em while they're hot!!! Skills to Inherit Property
See me in a movie building a massive wood staircase:Low Tech Lab Movie
3


|
Sometimes you feel like a nut. Sometimes you feel like a tiny ad.
permaculture bootcamp - gardening gardeners; grow the food you eat and build your own home
https://permies.com/wiki/bootcamp
|