
• Post Reply Bookmark Topic Watch Topic
  • New Topic
permaculture forums growies critters building homesteading energy monies kitchen purity ungarbage community wilderness fiber arts art permaculture artisans regional education skip experiences global resources cider press projects digital market permies.com pie forums private forums all forums
this forum made possible by our volunteer staff, including ...
master stewards:
  • paul wheaton
  • Anne Miller
  • Carla Burke
  • Nancy Reading
  • John F Dean
  • Timothy Norton
  • Jay Angler
stewards:
  • r ransom
  • Pearl Sutton
  • Tereza Okava
master gardeners:
  • Christopher Weeks
gardeners:
  • M Ljin
  • Megan Palmer
  • Kate Downham
 
pollinator
Posts: 273
Location: Gaspesie, Quebec, Canada, zone3a at the bottom of a valley
171
3
forest garden rabbit books chicken composting toilet food preservation bike building wood heat homestead composting
  • Likes 2
  • Mark post as helpful
  • send pies
    Number of slices to send:
    Optional 'thank-you' note:
  • Quote
  • Report post to moderator
Edge case submission
Note1: oops, did'nt see it was only the battery energy for the 100watt for 6 hours. Will connect one of my house trojan agm battery, 102ah@10hr, and get a new picture as soon as i can.


My submission for bb small dc system.

Took a car battery and a reused system that i had stored. I didn't have the info on the ah of the battery, but searching on the net, i found the calculation about the reserve capacity (RC)  tagged on the battery on the calculation to use it.

source: Calculator academy web site

AH = BR *60 *25 / 3,600
   Where Ah is the amp hours
   BR is the battery reserve capacity (minutes)

My BR is 90 minutes, so
90*60*25  / 3,600 = 37,5ah usable energy

37,5ah * 12v = 450w, missing 150w

The panel is rated for 2,2a and 17v
2,2a *17v *6h =  224,4w

So with a full battery and a bright sun and perfect angled solar panel, i can achived 100w for 6hours.
450w+224w= 674w

For a regular 100w consuption of energy, i would install a bigger panel or battery.
20220812_140522.jpg
material
material
20220812_140409.jpg
panel info
panel info
20220812_140332.jpg
battery info
battery info
20220812_150524.jpg
panel installed
panel installed
20220812_150742.jpg
system installed
system installed
20220812_151620.jpg
view on the 12v cig plug and 5v usb outlett
20220812_151609.jpg
cell phone charging
cell phone charging
Staff note (gir bot) :

James Alun approved this submission.
Note: You've achieved the technical ability for the construction of the system. In the future, I would like to see the wiring tidied up please. And a quick point aboit your calculation, multiplying by 60 and then divig by 3600 converted minutes to seconds to hours, (90*25)/60 would have been sufficient.

Staff note :

Discussion is ongoing behind the scenes about this BB submission...  Unapproving it for the moment...

Staff note (gir bot) :

Someone flagged this submission as an edge case BB.
BBV price: 0
Note: Sorry. A 100 watt bulb requires 8.333 amps at 12 volts.  8.333 x 6 hours = almost exactly 50 amp hours. It appears your battery is a little too small to meet this posted requirement "Explain how the battery(s) will put out 100W for 6 hours." Using an inverter would introduce losses that would increase the overall power needs even more.

 
pollinator
Posts: 198
Location: In the foothills of the Blue Ridge Mountains
121
homeschooling cat personal care foraging trees hunting books food preservation fiber arts medical herbs writing
  • Likes 1
  • Mark post as helpful
  • send pies
    Number of slices to send:
    Optional 'thank-you' note:
  • Quote
  • Report post to moderator
Submission flagged incomplete
Our photovoltaic panel is a 100 watt 12 volt rigid type. The battery is a 27DC 109 amp hour 12volt battery.  Using the formula
amps x volts = watts we have 109 x 12 = 1308. Which will gladly give 100W for 6 hours without drainging the battery to an unhealthy level. The solar panel will keep our battery topped off with juice.
Now our storage shed has working lights and a charging station!

The phone charger, 12 volt DC outlet, and lights are wired to the fuse box that I connected as my lode on the controller. Here are the links to the installed lights and outlet:
https://permies.com/wiki/112699/pep-electricity/Install-permanent-DC-light-fixture#1811989
https://permies.com/wiki/110313/pep-electricity/Install-volt-DC-Outlet-electricity#1845944

DSCN1631.JPG
Sunny spot to eventualy install the panel (It will be put up there but for the sake of convenience, it is on the ground in the pictures)
DSCN1661.JPG
Parts assembled
Parts assembled
DSCN1662.JPG
Hooked up to battery
DSCN1666.JPG
Panel wired
Panel wired
DSCN1668.JPG
Lode wired
Lode wired
DSCN1669.JPG
Lights working
Lights working
DSCN1671.JPG
Phone charging
Phone charging
DSCN1694.JPG
Panel mounted
Panel mounted
DSCN1674.JPG
Solar controller hooked up to shed fuse box
Staff note (gir bot) :

Someone flagged this submission as not complete.
BBV price: 1
Note: Please include a picture of the 12 volt outlet. It appears that the phone is charging from a different USB outlet than the one built into the controller. The panel needs to be fully installed for this BB so include a picture if it mounted on the platform.

Staff note (gir bot) :

Mike Barkley approved this submission.
Note: Allowing a little leeway due to the long delay. The required pix are shown in the links.

Staff note (gir bot) :

Jeff Bosch flagged this submission as not complete.
BBV price: 1
Note: You can't not use the same work for two BBs in the same Badge. You got the points for installing the DC outlet, the requirement for the DC outlet in this badge needs to be another outlet.

 
Bethany Paschall
pollinator
Posts: 198
Location: In the foothills of the Blue Ridge Mountains
121
homeschooling cat personal care foraging trees hunting books food preservation fiber arts medical herbs writing
  • Likes 1
  • Mark post as helpful
  • send pies
    Number of slices to send:
    Optional 'thank-you' note:
  • Quote
  • Report post to moderator
I have updated my post to include more photos and information about my outlet and lights.
 
gardener
Posts: 1605
Location: Washington State
1023
8
forest garden trees rabbit earthworks composting toilet fiber arts sheep wood heat woodworking rocket stoves homestead
  • Likes 5
  • Mark post as helpful
  • send pies
    Number of slices to send:
    Optional 'thank-you' note:
  • Quote
  • Report post to moderator
Approved submission
Here is my submission for the Electricity - Sand (for Straw Points) - Setup a DC only solar system.

Information on the system and meeting the minimum requirements:
   - This is an RV or camping power system
   - must have at least one 12v outlet - it has 8 outlets
   - must have at least one 5v USB outlet - yes
   - must include a charge controller - yes plus a battery management system with wifi and phone app
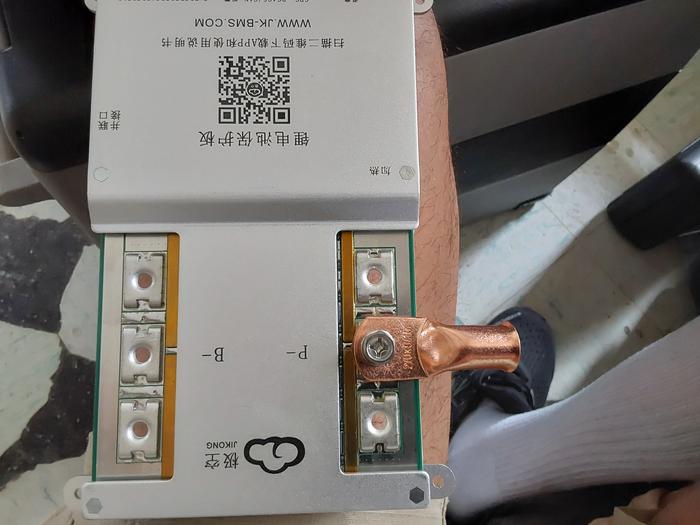
   - must include a battery - the system has four batteries tied together in series.  they are 3.2 v LIFePO4 with a 280 Ah capacity, Voltage of 3.29 V, and 0.21 m Ω IR.
   - MATH: 280 Ah * 3.29V = 920 Wh - this means that the system can put out 100W for 9 hours
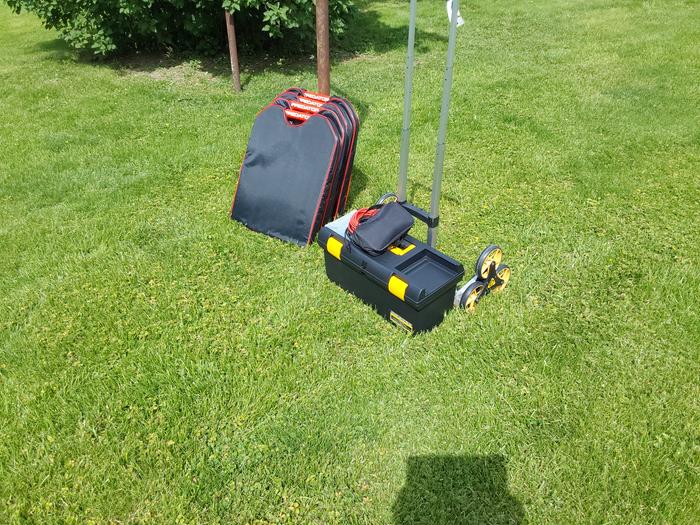
   - Area where the system will be installed - this is an RV system so the components and batteries are stored in a Rubbermaid box and the solar panel is stored in its own protective easy-carry case.  The system was set up on a campsite at the lab.  The solar panel leans on the storage/battery box providing shade to the batteries and a good solar aspect for the panel.
     
Provide photos or video (< 2 minutes) of the following:
   - Parts before you install/assemble them
   - Completed installation
   - Evidence of a phone charging
1.JPG
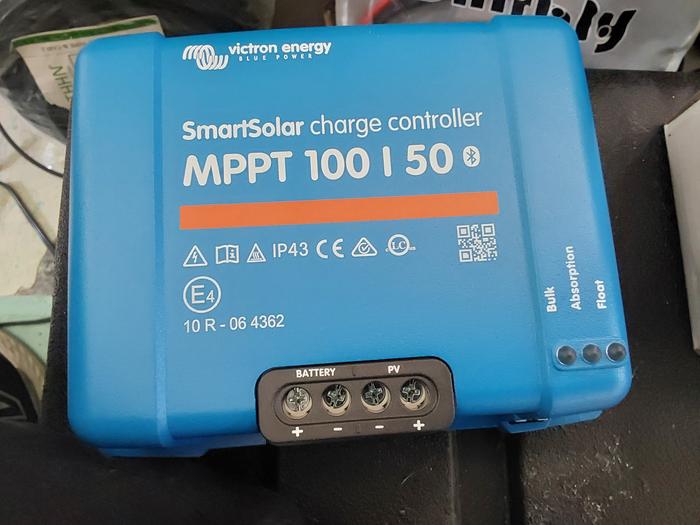
MPPT Solar Charge Controller
2.JPG
Battery Management System with connectors attached
3-Batteries.JPG
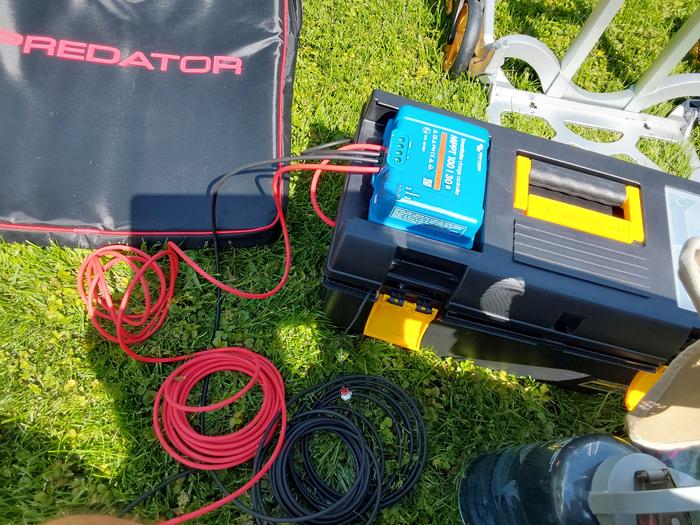
batteries (in storage box) with Charge Controller and Battery Management System
4-Parts.JPG
Parts before assembly
5-Tools.JPG
tools used
tools used
6-board.JPG
fitting the board with the storage box
6-layout.JPG
attaching DC panel to board
7.JPG
drilling hole for 5v USB outlet
9-Wiring-complete.JPG
System completed and in deployed position
10-Stored.JPG
stored - ready for camping
11-Sorage-layout.JPG
system in storage position - just lift wooden board and turn 90-degrees to deploy and connect solar pannel
12-Deployed.JPG
[Thumbnail for 12-Deployed.JPG]
charging batteries and a phone
14-DC-Power.JPG
[Thumbnail for 14-DC-Power.JPG]
DC Power Panel
15-Charging-a-Phone.JPG
[Thumbnail for 15-Charging-a-Phone.JPG]
charging a phone - lightening bolt on the phone
Staff note (gir bot) :

Mike Barkley approved this submission.
Note: Excellent job!!!

 
gardener
Posts: 715
Location: 6a; BSk; Suburbia; 0.35 acres
426
6
kids forest garden foraging bike medical herbs rocket stoves
  • Likes 2
  • Mark post as helpful
  • send pies
    Number of slices to send:
    Optional 'thank-you' note:
  • Quote
  • Report post to moderator
Approved submission

Mike Haasl wrote:This is a badge bit (BB) that is part of the PEP curriculum.  In this Badge Bit, you will install a DC solar system.

To complete this BB, the minimum requirements are:
         o choose one of the following systems to build:
              - small solar music cart and phone charging station
                     o includes 12v bluetooth speakers hard wired
         o must have at least one 12v outlet
         o must have at least one 5v USB outlet
         o must include a charge controller
         o must include a battery
              - must be able to put out 100 watts for 6 hours.

Provide photos or video (< 2 minutes) of the following:
   - Description of the system, power and capacity.  Explain how the battery(s) will put out 100W for 6 hours
   - Area where the system will be installed
   - Parts before you install/assemble them
   - Completed installation
   - Evidence of a phone charging

Side Notes:
If you have an alternative solar installation that you'd like to do of a similar complexity, post below and ask if it could be added as an option.


I had a bunch of materials leftover from past projects so I wanted to create something that might be useful for me in the future when I have some acreage and getting power to remote worksites isn't feasible.  This cart is pretty heavy but once moved to a worksite, the drawer could be filled with hand tools and I'd like to add an inverter to plug in tools. I mounted the battery above the wheel axle to make the cart easier to lift and wired the electronics below the speakers.

I mounted the solar panel on an adjustable hinge that can provide a shaded surface for electronics to charge and drinks to stay cool. This cart came out way fancier than I anticipated and has been fun to use in our backyard since the stereo sounds great! The cart was being built as the electronics system was being built. The photovoltaic panel is a 100 watt 12 volt flexible type for the same reasons that David Huang listed above me.  The power panel has sockets for USB charging and 12 volt power out, and an on/off button for the power output.  The battery is a 100Ahr 12.8V lithium iron phosphate.  Using the formula: 100A-hrs x 12.8V = 1280W-hrs.  This system exceeds the 100W performance for 6hrs, it could put out 100W for over 12hrs if the battery is fully charged and even more if the solar panel recharges the battery during use.

This was a pretty expensive project but I'd like to live off-grid in the future and being able to build and manage off-grid electrical systems is important to me.
slide-1.jpg
[Thumbnail for slide-1.jpg]
slide-2.jpg
[Thumbnail for slide-2.jpg]
slide-3.jpg
[Thumbnail for slide-3.jpg]
slide-4.jpg
[Thumbnail for slide-4.jpg]
Staff note (gir bot) :

Someone approved this submission.

 
gardener
Posts: 1439
Location: Miami, 11a, Am, apartment dweller
975
10
hugelkultur kids forest garden trees books wofati cooking bike rocket stoves
  • Likes 1
  • Mark post as helpful
  • send pies
    Number of slices to send:
    Optional 'thank-you' note:
  • Quote
  • Report post to moderator
Approved submission
DC Solar System BB

I present a semi-portable charging setup for camping and other temporary charging needs.*

I'm using a 12v, 100 Ah AGM battery, a 100W flexible solar panel, basic charge controller with USB, basic 12v outlet (also with USB), and associated cables.

Amps x Volts = Watts
100 Amps x 12 Volts = 1200 Watts

1200 W / 6 hrs = 200 Watts / Hour (theoretical max, likely less in reality), anyways, easily 100 W for 6 hours.

The whole system (minus panel) will live in a plastic tub I've conspicuously named the 'Death Box,' to keep li'l'uns out. Even the bad guys in Die Hard thought, "Some kid could..."

*It goes camping with me to run by cpap, and also charge phones overnight. It's also come in handy for phone charging during multi-day power shutoffs.
20260216_154956.jpg
Components: battery, charge controller w/ usb, 12v, panel, cables
20260216_161933.jpg
Battery closup, 12v 100Ah AGM
20260216_164512.jpg
Components connected
20260216_164531.jpg
Panel set up
Panel set up
20260216_164518.jpg
Closeup, phone charging, 72%, plugged into USB
20260216_164613.jpg
Closeup, 12v receiving power
20260216_164948.jpg
Closeup, charge controller reporting charge from panel
20260216_170538.jpg
Closeup of phone with more battery than before
Staff note (gir bot) :

Mike Barkley approved this submission.

 
Posts: 183
Location: Chicago suburbs (until I can fix that part...)
40
  • Likes 1
  • Mark post as helpful
  • send pies
    Number of slices to send:
    Optional 'thank-you' note:
  • Quote
  • Report post to moderator
Edge case submission

Mike Haasl wrote:This is a badge bit (BB) that is part of the PEP curriculum.  Completing this BB is part of getting the sand badge in Electricity.

In this Badge Bit, you will install a DC solar system.

Solar systems can be huge (insert Milky Way joke here).  But they don't have to be.  Let's harness the power of the sun to build a small DC solar system with battery storage.

Here are a few videos:
(None of these examples actually meet the guidelines, as judged in this thread - they all have an inverter...)

To complete this BB, the minimum requirements are:
         o choose one of the following systems to build:
              - small solar music cart and phone charging station  <==  I'm OK with my mp3 player, don't need a big battery for it...
                     o includes 12v bluetooth speakers hard wired  <==  I'm frequently discouraged from sharing my music with my wife...
              - small DC system on a shed:  lights and phone charging  <==  Adding in the cost of a shed rules this one out...
              - tiny home power system: lights, phone charging, outlets  <==  See above, and I probably won't fit in one anyway...
              - RV or camping power system: lights and phone charging  <==  This might still be useful after the awards ceremony!
         o must have at least one 12v outlet  <==  This is where I can plug in the refrigerators, 'cause I found a 3-pack on Amazon for $13...
         o must have at least one 5v USB outlet <==  Now we're cooking! USB-C and USB A 2.1 and 3.x aplenty!
         o must include a charge controller  <==  Needed for practical use of solar panels...
         o must include a battery <==  Have I got a battery for this...
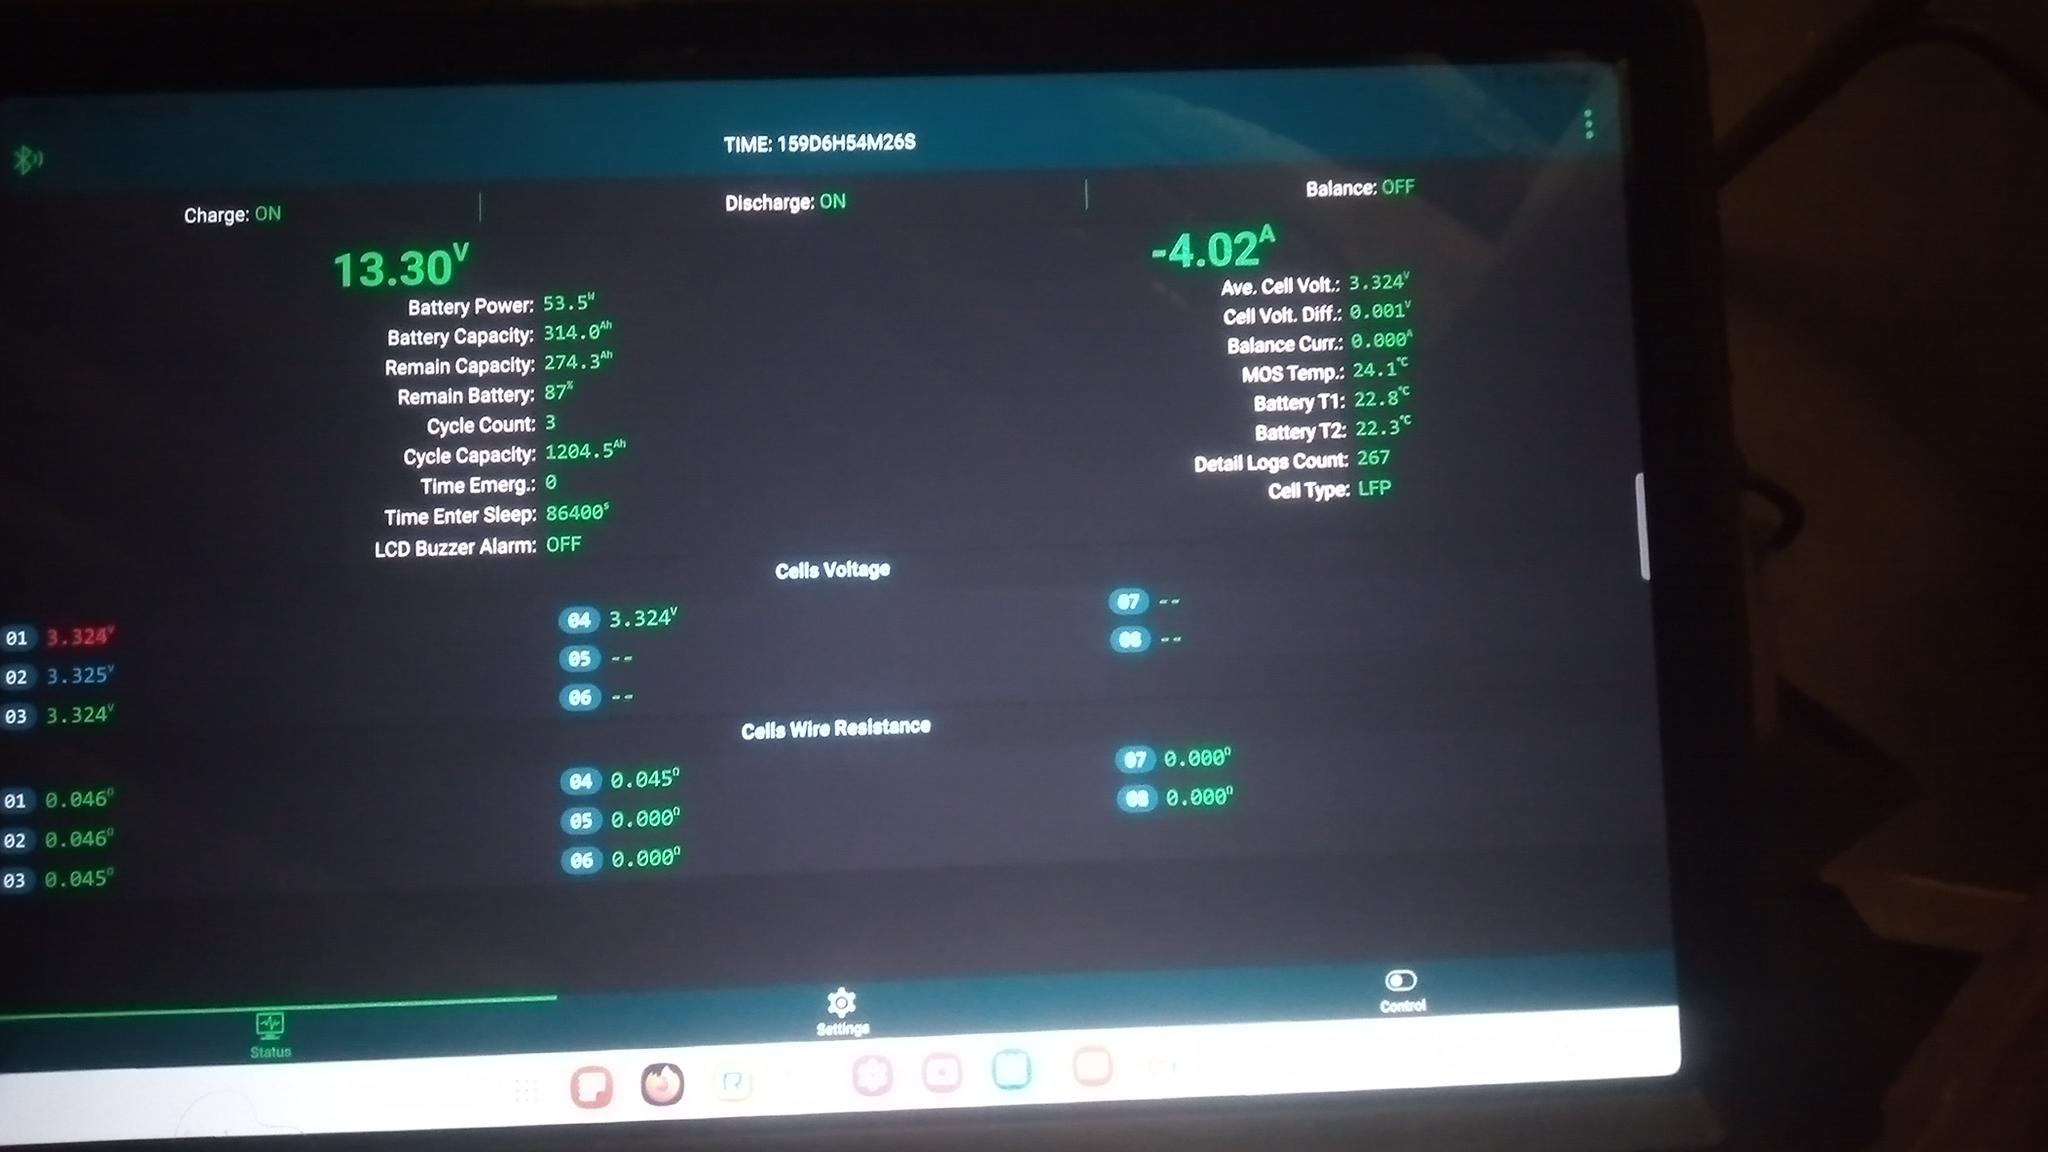
              - must be able to put out 100 watts for 6 hours. <==  For this one my battery is a DIY LiFePO4 battery of 4 EVE MB31 cells (314 Ah), and a nominal voltage of 12.8 Vdc, which makes the battery bank 12.8 V x 314 Ah = 4019.2 VAh, or over 4000 Wh/4 KWh. That should easily be able to supply 100 watts for a 40-hr work week between charges, if I needed to go there.

Provide photos or video (< 2 minutes) of the following:
   - Description of the system, power and capacity.  Explain how the battery(s) will put out 100W for 6 hours  <==  See above
   - Area where the system will be installed <==  To quote the Metallica song, "Wherever I may roam..." (it's portable and expected to be a camping aid)
   - Parts before you install/assemble them
   - Completed installation
   - Evidence of a phone charging (Can a DC refrigerator substitute for phone charging?)

Side Notes:
If you have an alternative solar installation that you'd like to do of a similar complexity, post below and ask if it could be added as an option.


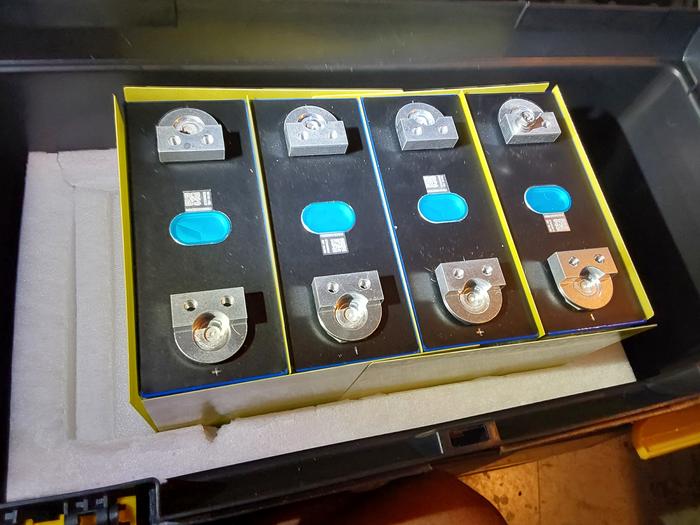
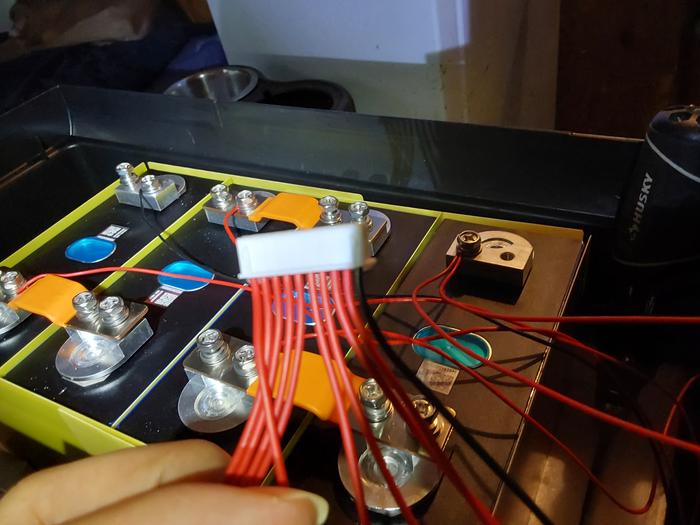
Here's my submission for a DC only, small solar system
I've come to realize that this system is easily functional enough to allow use to live with it the past week as SEPPers in Allerton Abbey (at Wheaton Labs), so it is probably good enough to submit for a BB.

The requirements don't specify things like fuses and circuit breakers, or many of the cosmetic changes I have in mind, before I am willing to call it close to done, but it clearly works well enough to keep my wife happy with the food preservation (24-hr refrigerator and separate 24-hr freezer out here in an off-grid cabin, plus it handily manages charging everything we can plug into it (lights, tablets, cell phones, mp3 player, small battery banks, whatever...))

Parts list:
(From Amazon) Victron Energy SmartSolar MPPT Solar Charge Controller (Bluetooth) - Charge Controllers for Solar Panels - 100V, 30 amp, 12/24-Volt https://www.amazon.com/dp/B073ZJ3L13?
(As this controller is limited to a max input voltage of 100 Volts and I have no desire to push it to the edge, I'll be limiting it to no more than 3 of my Predator 200 watt portable solar panels in series, so my max charging will be only 1200 watts with some parallel MC4 connectors. The charge controller is rated for up to 30 amps, so I could use 2x strings of panels in parallel to produce about 22 amps, and theoretically could use 4 panels in series too, but the panel output is listed as 24.5 Vdc, & 4 of them is too close to the 100 Vdc max for my comfort, since solar panels increase their voltage output when colder...).
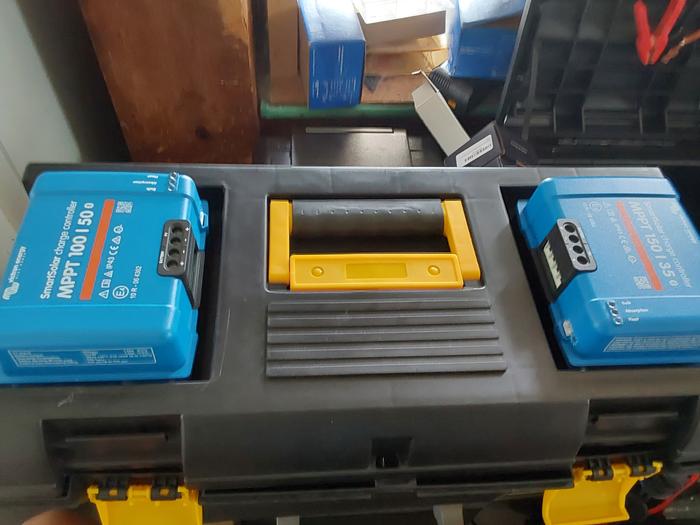
In testing, it turns out that charging current is the holy grail on systems like this, and while this original charge controller is in this box, it is augmented by 2 higher capacity ones because the 30 amp limit = only about 400-450 watts, no matter how much solar is connected to it, so it doesn't make sense to plug more than that in this 30 amp controller.  There's now a 50 amp variant and a 35 amp variant in parallel to provide up to 85 amps (about 1200 watts more) of charging capacity.  I've got more of the black SB50 connectors I'm using for the higher voltage solar connections, so I can use all 3 at the same time.  Realistically, I'd need to replace the 35 amp and the 30 amp controller with 50 amp ones to get the most out of the 1200 watts of panels I have, and buy 3 more - then I can put 600 watts on each (700 watt) controller...

(From Harbor Freight retail) up to 3 of these in series and 2 parallel strings:  https://www.harborfreight.com/200-watt-super-lightweight-foldable-solar-panel-70477.html
Got them during their last sale for less than $200/ea  

(From Gobel Power - gobelpower.com imported from China directly to my door) 4x EVE MB31 314 Ah cells
https://www.gobelpower.com/ev-grade-a-eve-32v-314ah-mb31-rechargeable-lifepo4-battery-cell_p142.html

Various other parts are from Amazon, like the USB power ports, the switches, the breaker, the fuse box, the bus bars, and the terminal lugs, although the wires were either what I had laying around, or retail from the home improvement stores.

https://www.amazon.com/dp/B0DN1BVR3F?
(These are ABSOLUTELY AWESOME!  I've been able to charge every legacy USB device I've connected to it, including the older stuff that won't charge on my standard AC USB 3 chargers)

https://www.amazon.com/dp/B07T362SW2?
(These are for backward compatibility, but might not be needed, as the above units seem to be truly backwards compatible)

https://www.amazon.com/dp/B07GBV2MHN?
(fuse box - I decided not to use this, and did inline fuses for everything instead, since the USB power devices came with inline fuses)

https://www.amazon.com/dp/B07S8TJ9NG?  (switches for the lights and 12 volt socket  I've decided that my rechargeable head/neck lights are likely more convenient for camping, so I will just recharge them with this unit)

https://www.amazon.com/dp/B0B8DGF539?
(too small charger for my battery - my next charger will be the 35 amp version; this one's really slow with this size battery)

https://www.amazon.com/dp/B0D17QGQBP?  (40 amp BMS)
(Turns out I don't have the patience to wait for this BMS, it's too small to calibrate the state of charge in less than a month...)

https://www.amazon.com/dp/B0DJ248JDS?  (300 amp BMS - much closer match to this battery capacity)

https://www.amazon.com/dp/B0B4WLR8BF?  (LED lights)

https://www.amazon.com/dp/B0CR5VJ7KB?
(100 amp main switch, but I decided not to use it because the BMS has a power button)

https://www.amazon.com/dp/B0D588MH26?
(bus bars - these are way overkill for this size system, but it's what I had on hand, so...  It replaced the fuse box and does have an advantage of having the smaller screw terminals which work well with the smaller accessory circuits, leaving the larger terminals for the higher current connections - the battery connections, the AC charger connections, and the solar controller connections)

https://www.amazon.com/dp/B0DNJ6YPG4?
(crappy terminal lugs - I used these, but they're flimsy and I broke the main negative terminal with casual movement of the wire. These can work if I baby them & I'm lucky, but my next ones will not have the "inspection window"/built-in stress cracks that these have)

https://www.amazon.com/haisstronica-10pcs-AWG-Connectors-Connector/dp/B0CWGVPMQZ?
Much better terminal lugs - check your wire size first, then find the best hole size for the terminal you need to bolt to - you may need multiple sizes!

https://www.amazon.com/dp/B0CG92CZHJ?  (extra MC4 connectors for customizing solar panel cables)

https://www.amazon.com/dp/B0FL1Y6DDL?
(10 gauge wire w/MC4 connections on one end - I used this 10 gauge wire for several spots, as I didn't expect to need all of it for the solar panels)

I already had some yellow (12 volt) Anderson SB50 connectors from a similar project (non-solar) on 4 AWG wire abandoned 15 years ago, but I want 2 AWG for the main battery cables.  I want to use black SB50s for the panel connection to the solar panels MC4 cables, so they're incompatible with the 12 Vdc connections for safety anyway.

The official color code for Anderson SB series is yellow for 12 volt, red for 24 volt, gray for 36 volt, blue for 48 volt, and so on, up to white for 144 volts, although it's common to see gray connectors on lots of several different voltage connectors.  I'll stick to the color code, because I'm going to make a 24 volt system too, and I don't want to mix up cables between the two.  Different colors aren't supposed to be able to connect with each other.

I'm on the fence about what to contain all this with, as it will be over 50 lbs, so having wheels is a compelling idea, but for now, I'll start with the (huge) 50 gallon rolling tote/box I bought years ago, which is too big to be practical (I had a minivan back then, but this won't fit into my current car).  Here's a link to it:  https://www.homedepot.com/p/Husky-23-in-50-Gal-Black-Rolling-Toolbox-with-Keyed-Lock-and-Portable-Hand-Tool-Tray-206319/321052317

I started by wiring up the cells and the BMS, to get it configured for the cell size. Then I connected the charger, as I need to fully charge and discharge the battery a few times to calibrate the state of charge - this is going to take F O R E V E R with this charger!

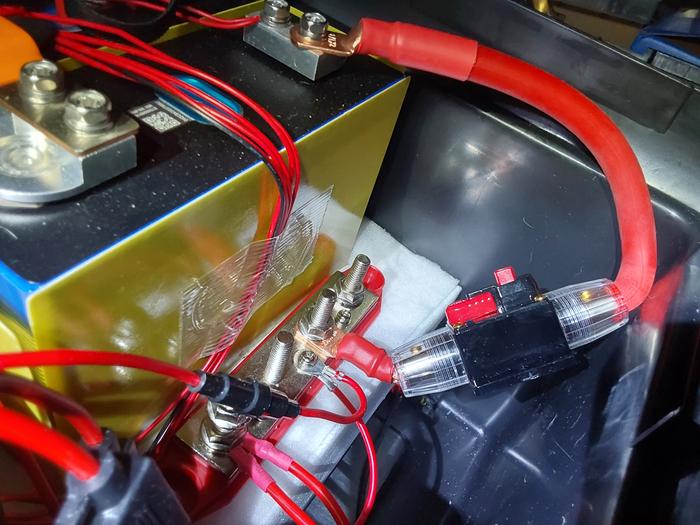
Because the USB chargers & the 12 volt accessory socket came with inline fuses, and the only thing that didn't come with fuses, are the lights, so I'm swapping the fuse panel with the bus bars, for expediency.  That way I can connect and test out the USB charger and connect the 12 volt socket sooner.  Per the solar controller manual, I'm supposed to put a 40 amp fuse/breaker on the positive connection to the battery.  I just got one of these today, so I can assemble the entire system to a functional state, even if it is not cosmetically complete:  https://www.amazon.com/Bolipoeq-Waterproof-Overload-Protection-Amplifier/dp/B0FXL4YQBD/142-1701937-7696037?

I bought an inline fuse from a local auto parts store for the lights, and even though the Anderson PowerPole connectors I have on hand are serious overkill for that circuit, I may at least start with them for the light circuit, so I can functionally complete this BB this weekend.  Still undecided about the final container for it, but I can make this work enough to show it, and rebox it later before I need to take it away from home...

Turns out, Harbor Freight has this and the largest outer tool box is suitable for this battery system!
https://www.harborfreight.com/4-piece-nesting-toolbox-set-3721.html

Much of the product "testing and development" for this has been done in Eric Hanson's 100 Ah battery thread starting here:  https://permies.com/t/40/274663/Building-AH-LiFePo-Battery-Box#3767181

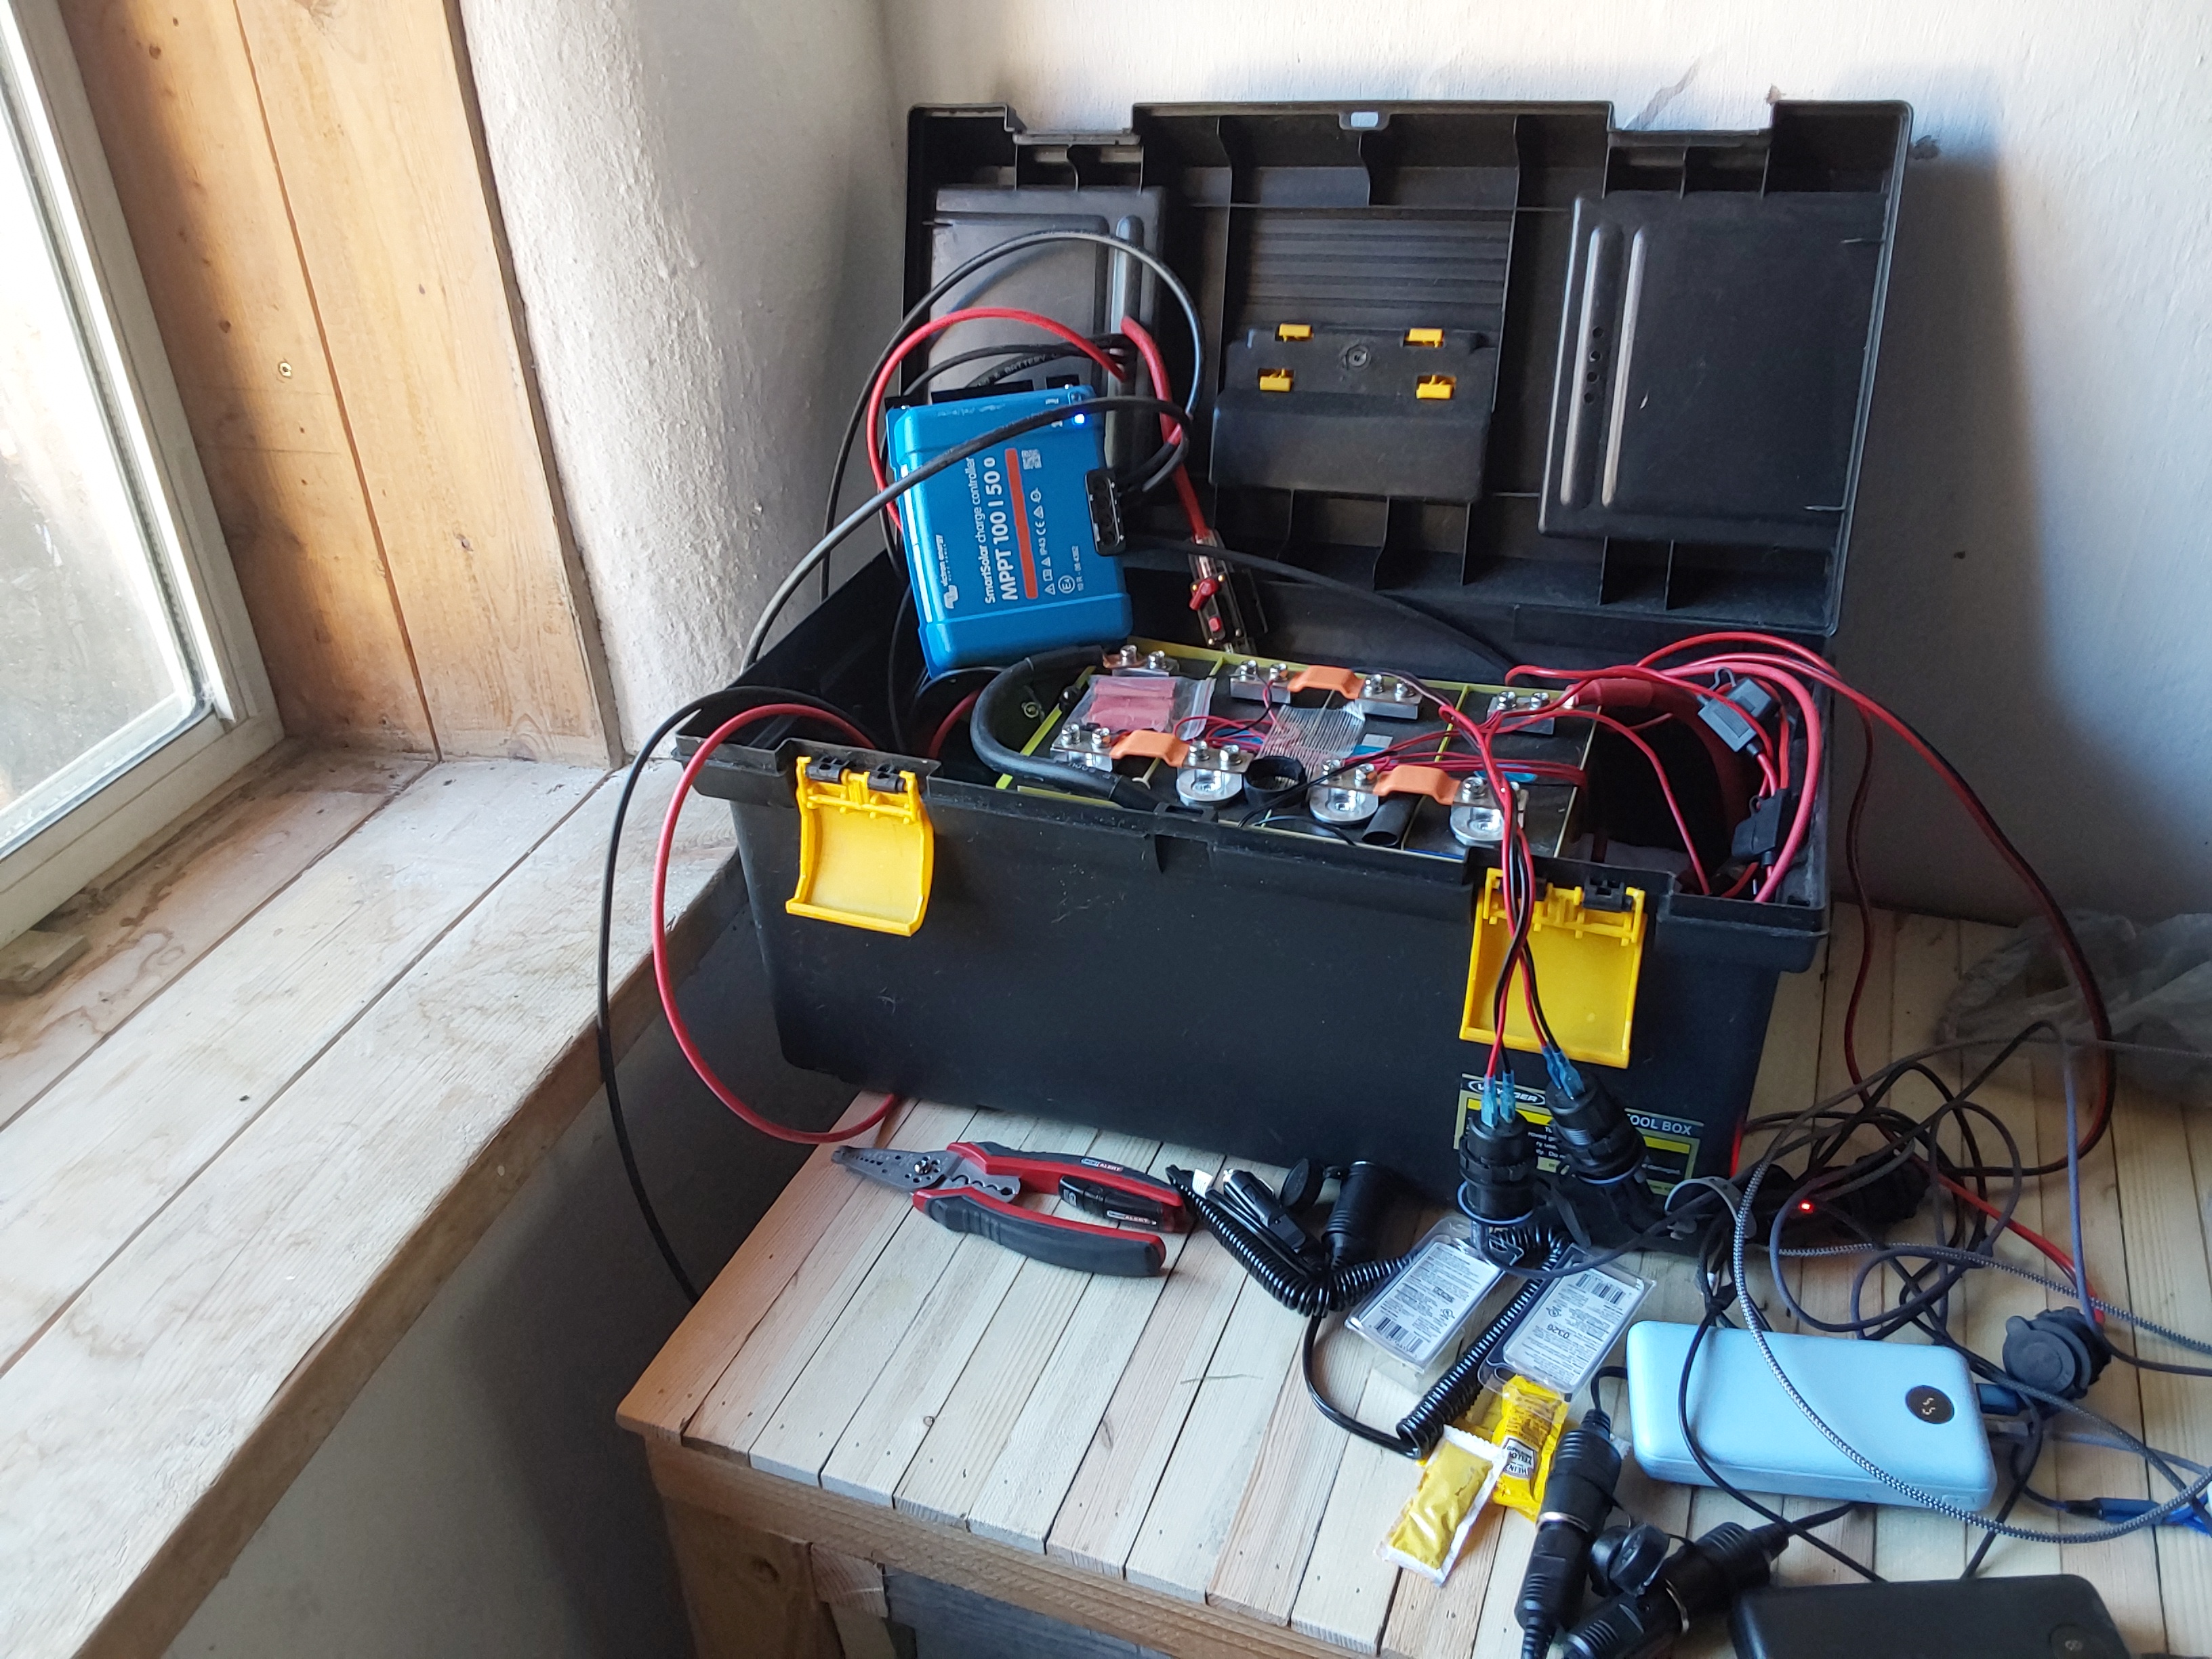
This is actually a look into the originally assembled system when I was testing it and the various components:


This is after moving the battery into the new toolbox:


Sorting out & connecting the balancing wires of the BMS:


The BMS upgrade:


The initial "dry run" for testing the solar setup:


Testing with only 800 watts of solar panels:


Temporarily connected directly (no breakers yet) - I can't charge more than about 415 watts because of the limit of the controller!:


Upgrading the charge controller to a 50 amp model:


I'm actually going to use up to 3 controllers in parallel for greater current/faster charging:


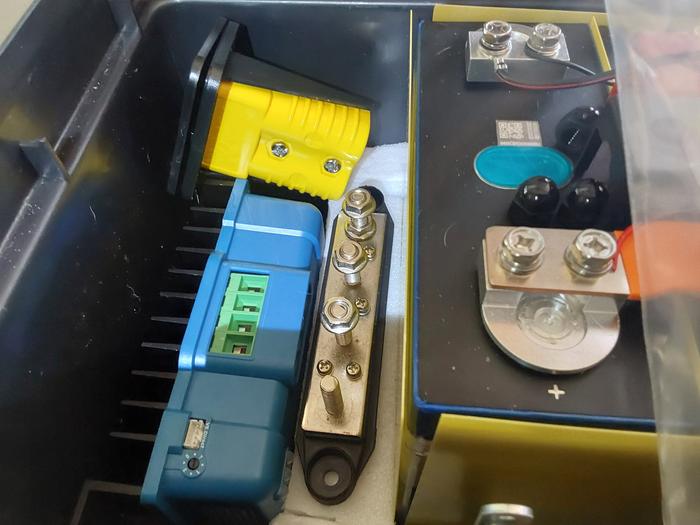
Where the positive bus bar ended up going:


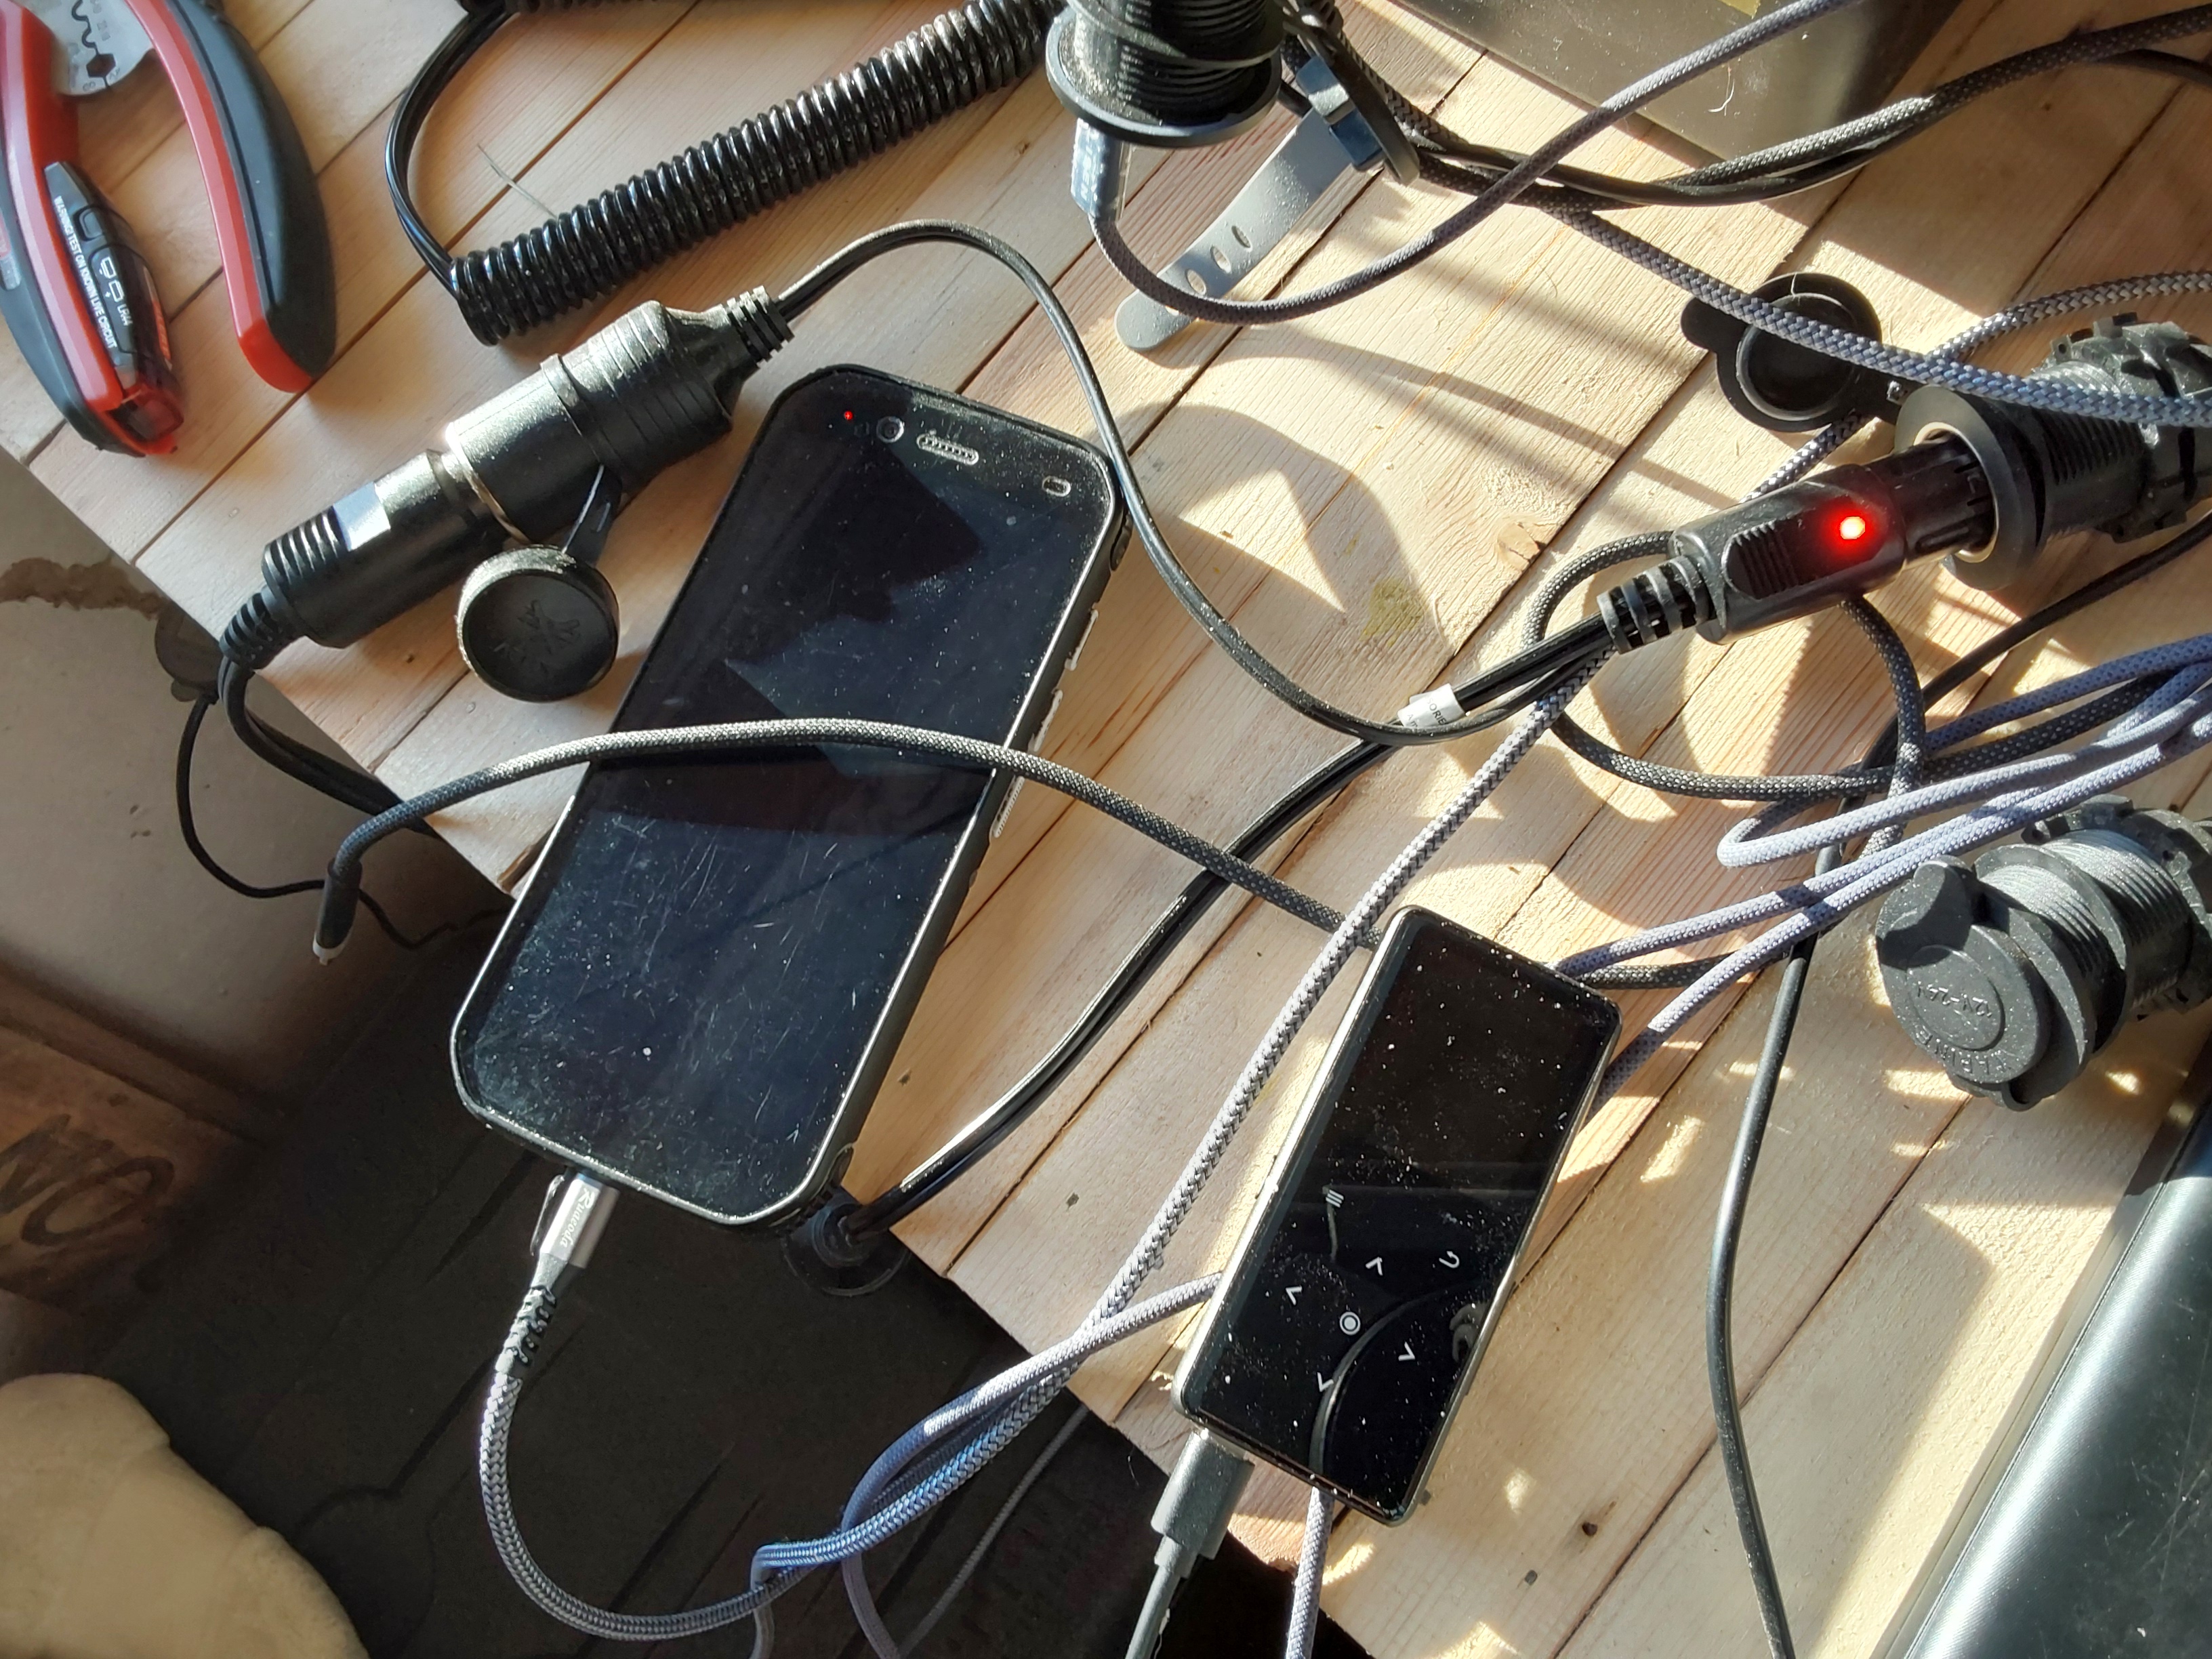
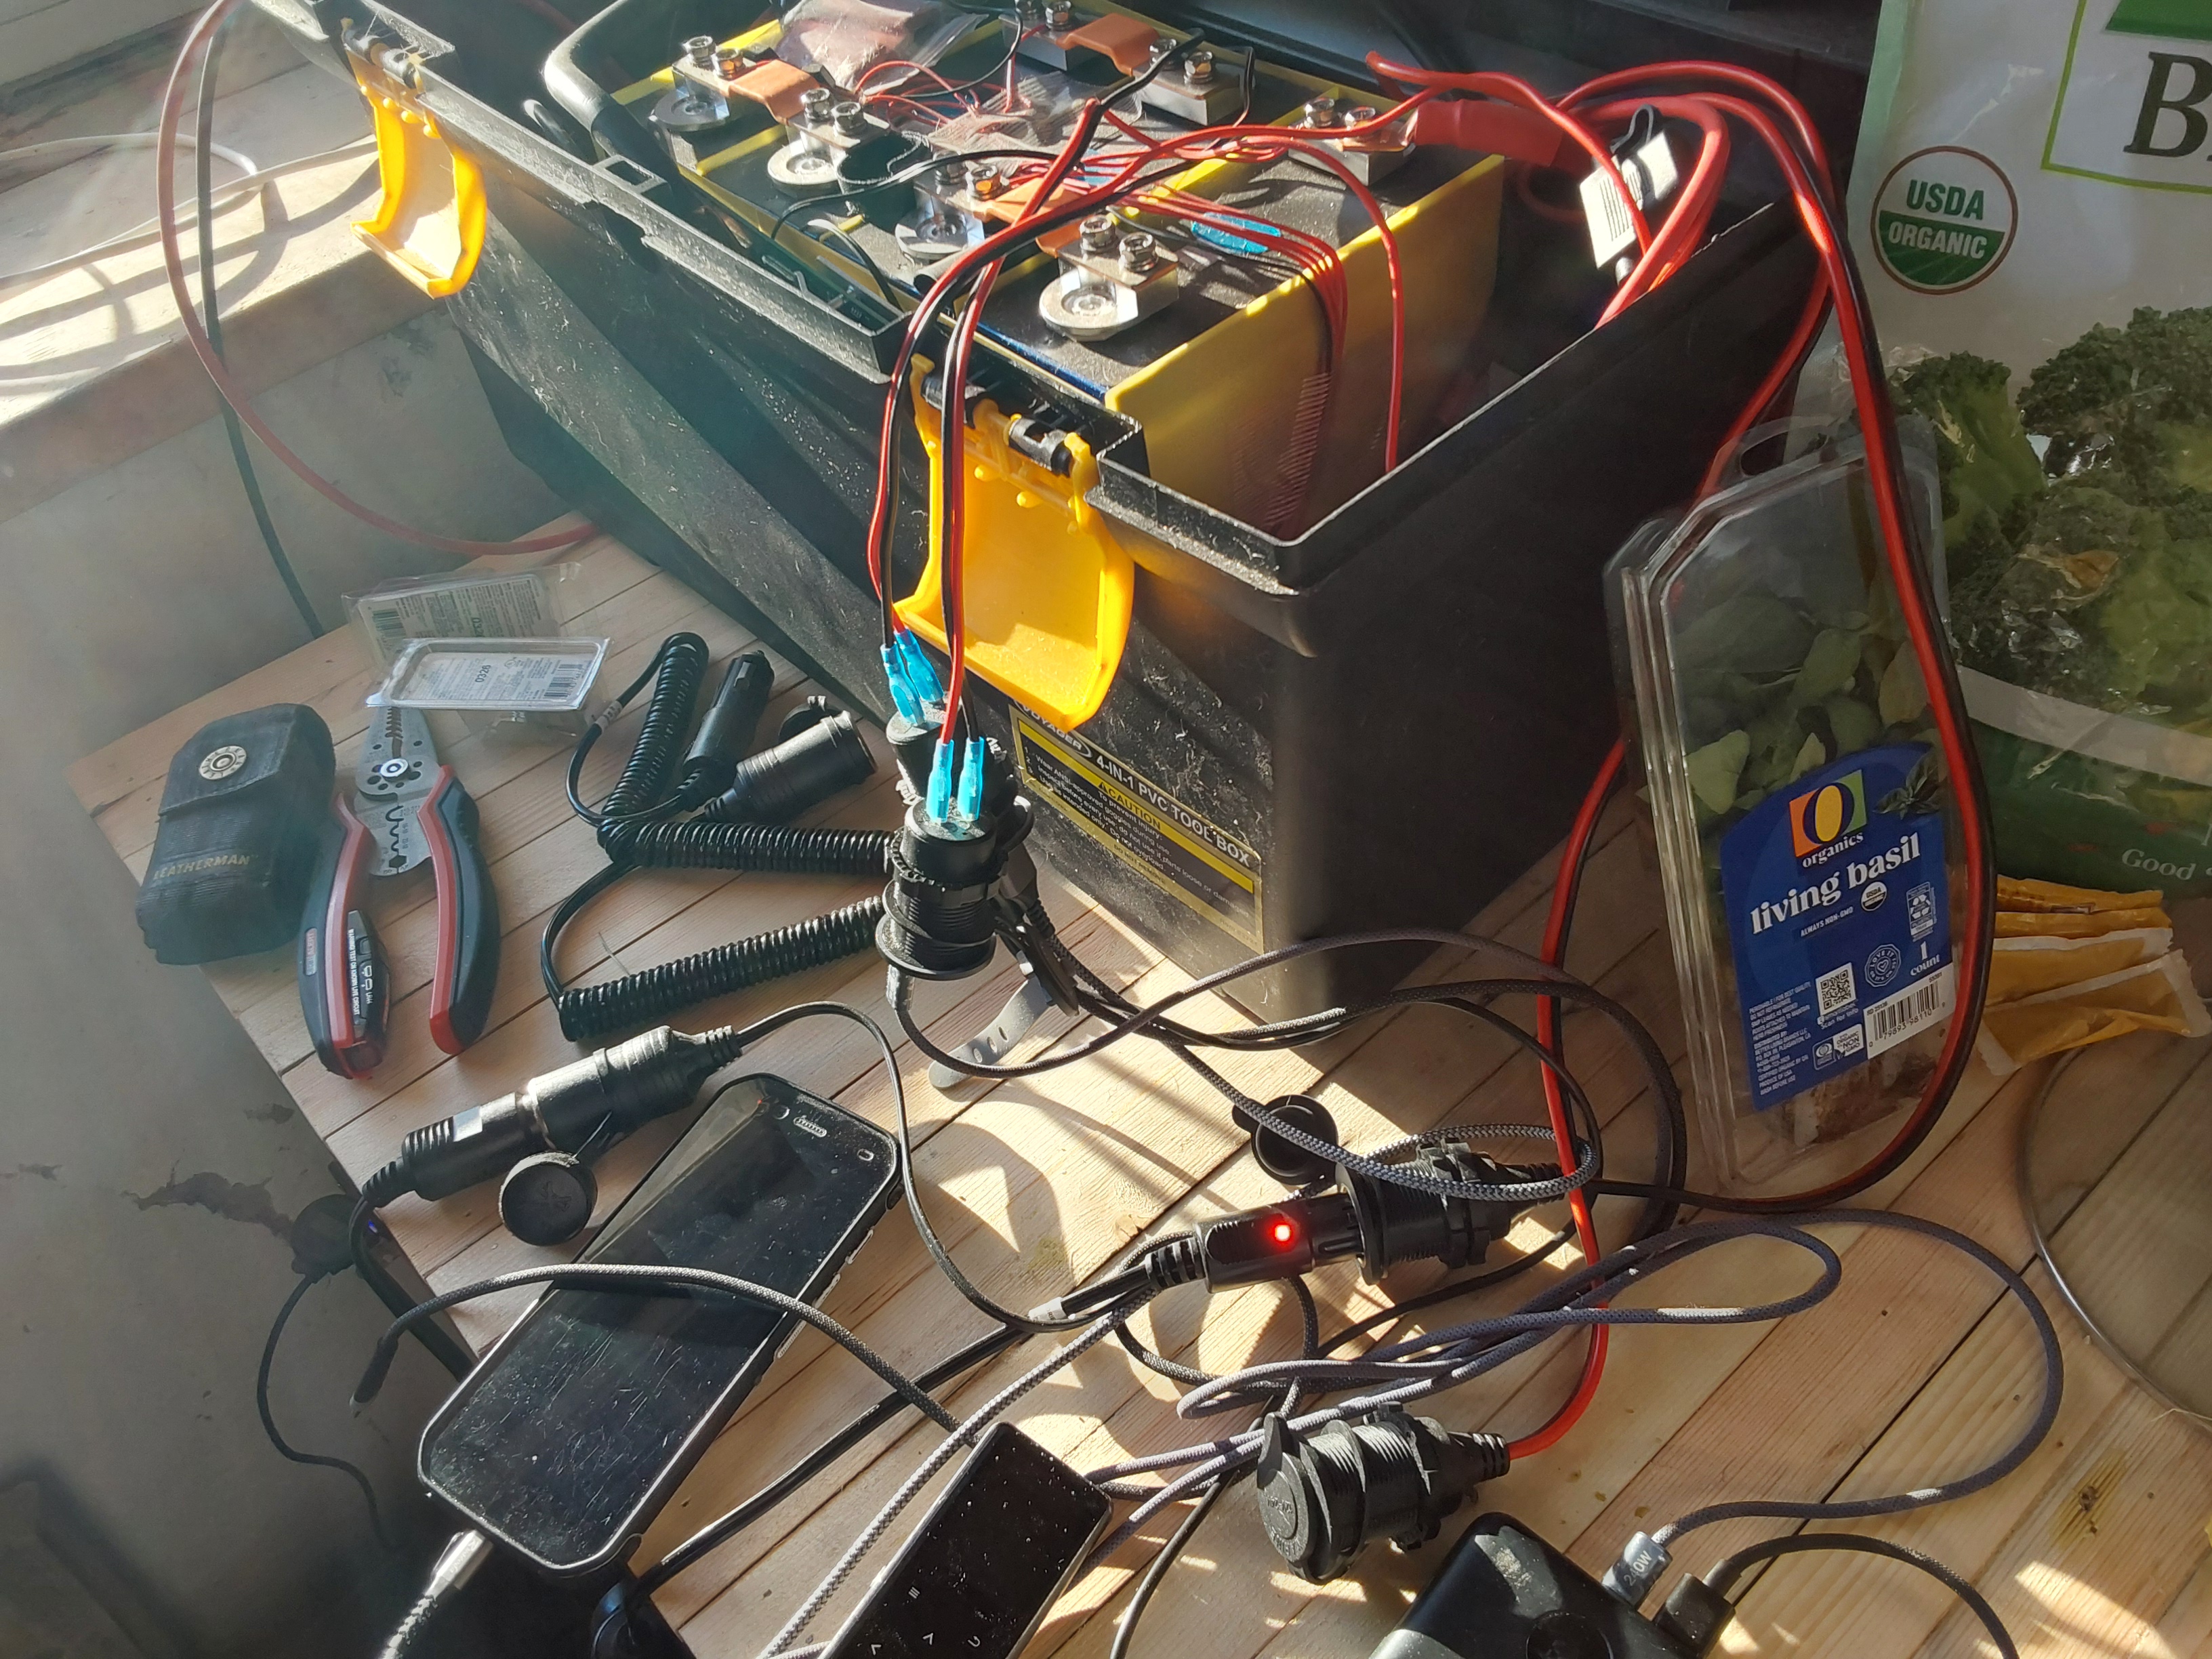
Where the negative bus bar is going - note, a USB charger port is connected to the negative battery post to "cheat" and bypass the BMS while I was working on the negative battery cables. It's charging the tablet that's taking these pictures:


Fast-forward to the present, and I did replace the 35-amp controller with a 50 amp one, so there are 2 50 amp controllers and 1 30 amp one. Not that it mattered this trip, because I forgot to bring all the PV cables, and initially could only connect 400 watts of panels, so I used the 30-amp controller, and went shopping locally for some more PV cable and some MC4 connectors, then I added the other 400 watts of panels.

I never drilled the case to mount the BMS power switch, the 12 Vdc sockets, or the USB outlets, but they're still working just fine, with the lid open. Not the prettiest setup, but functional enough to LIVE off of for the past week.

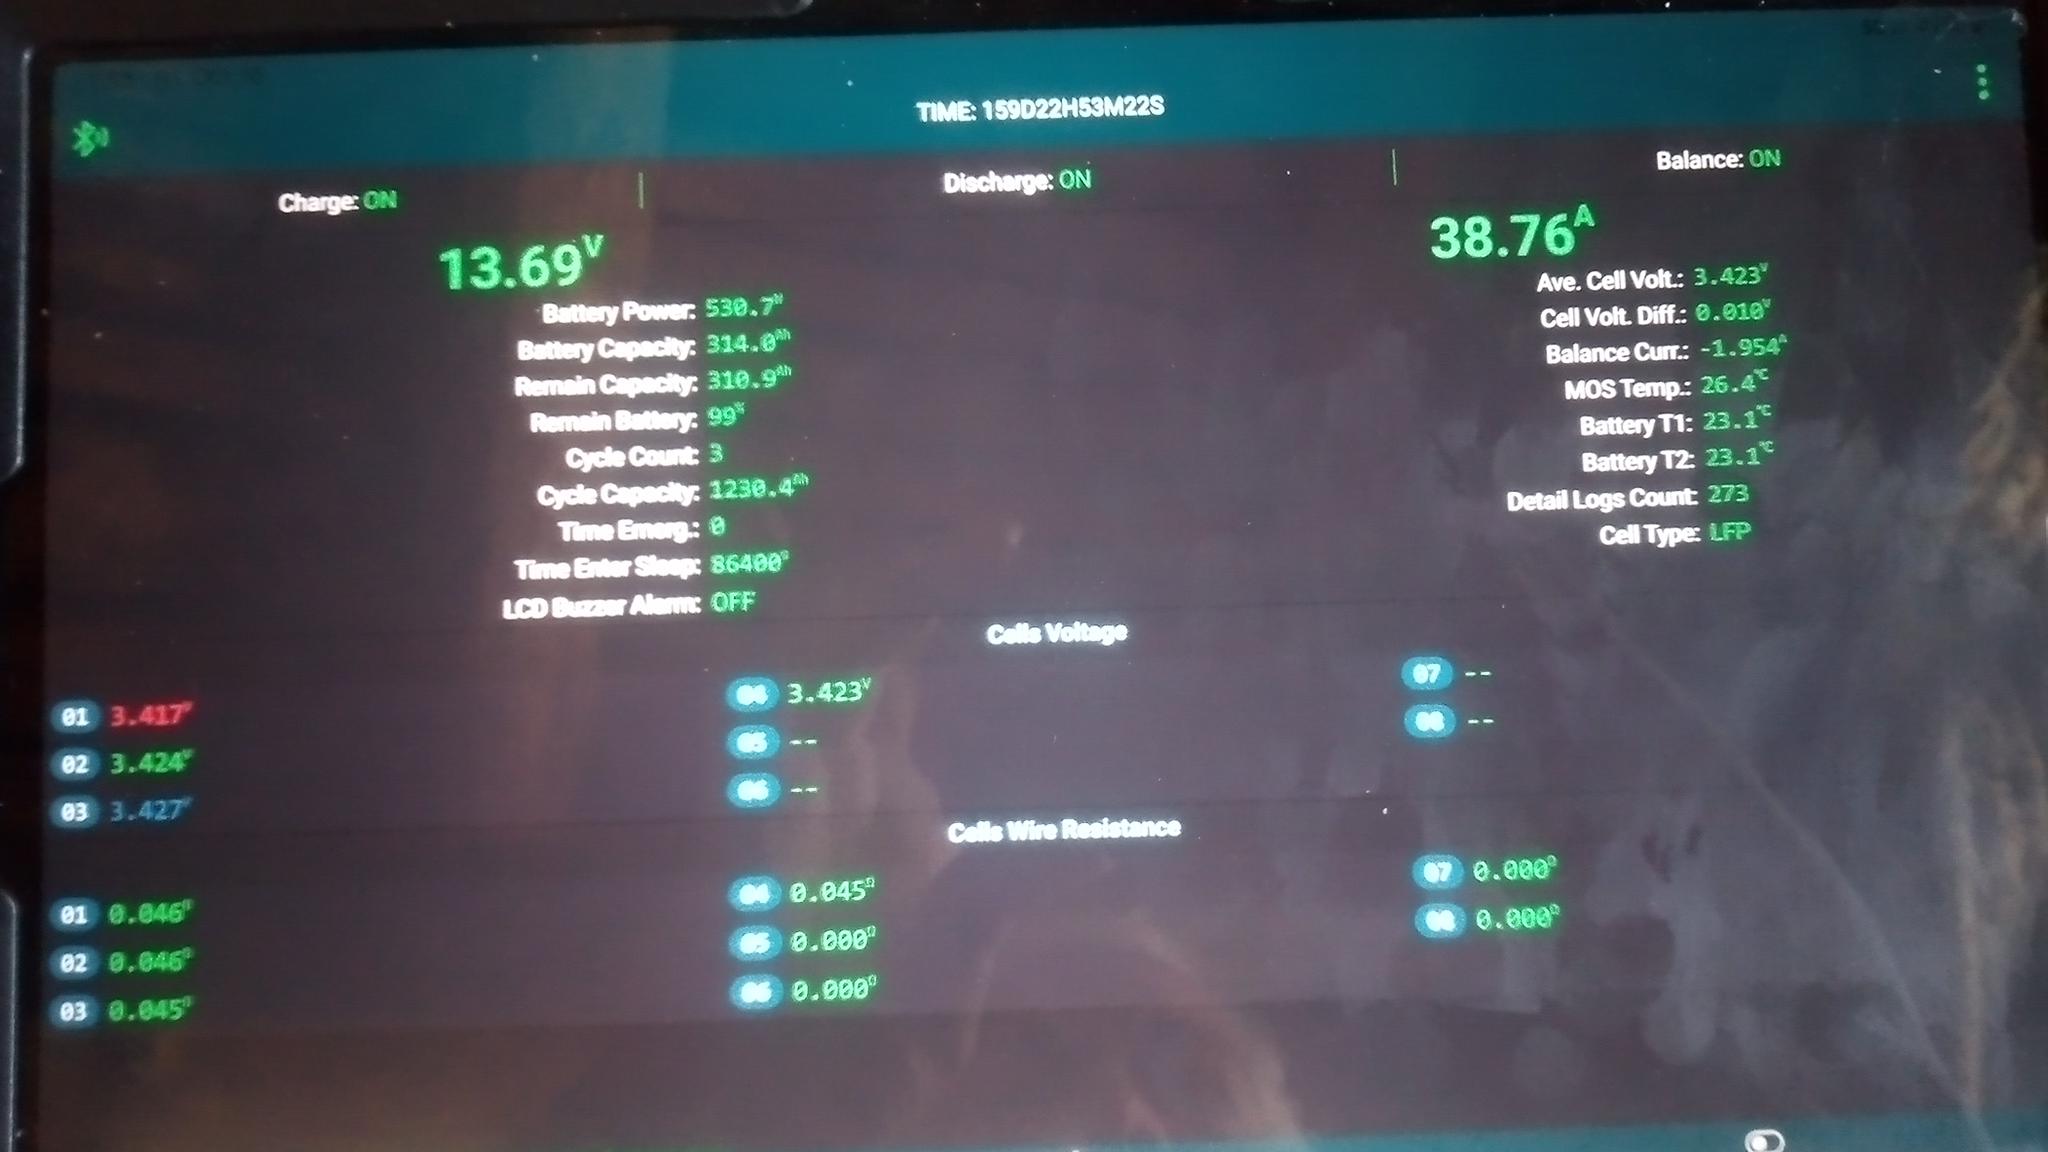
This is our last full day here at Allerton Abbey, and at 2 pm, our battery is 99%+ charged, so we will pack up the panels later this afternoon and just run on batteries until we get back to Illinois (other than trickle charging from the vehicle).

I have spotty cellular coverage here at Allerton Abbey, so posting the rest of the pictures is challenging... I'll keep trying until I get there, but it may look odd until then...
1000015522.jpg
The box in service, after jury-rigging to bypass the breaker I couldn't connect to without a Allen wrench
1000015523.jpg
Cable entry at the Abbey
1000015524.jpg
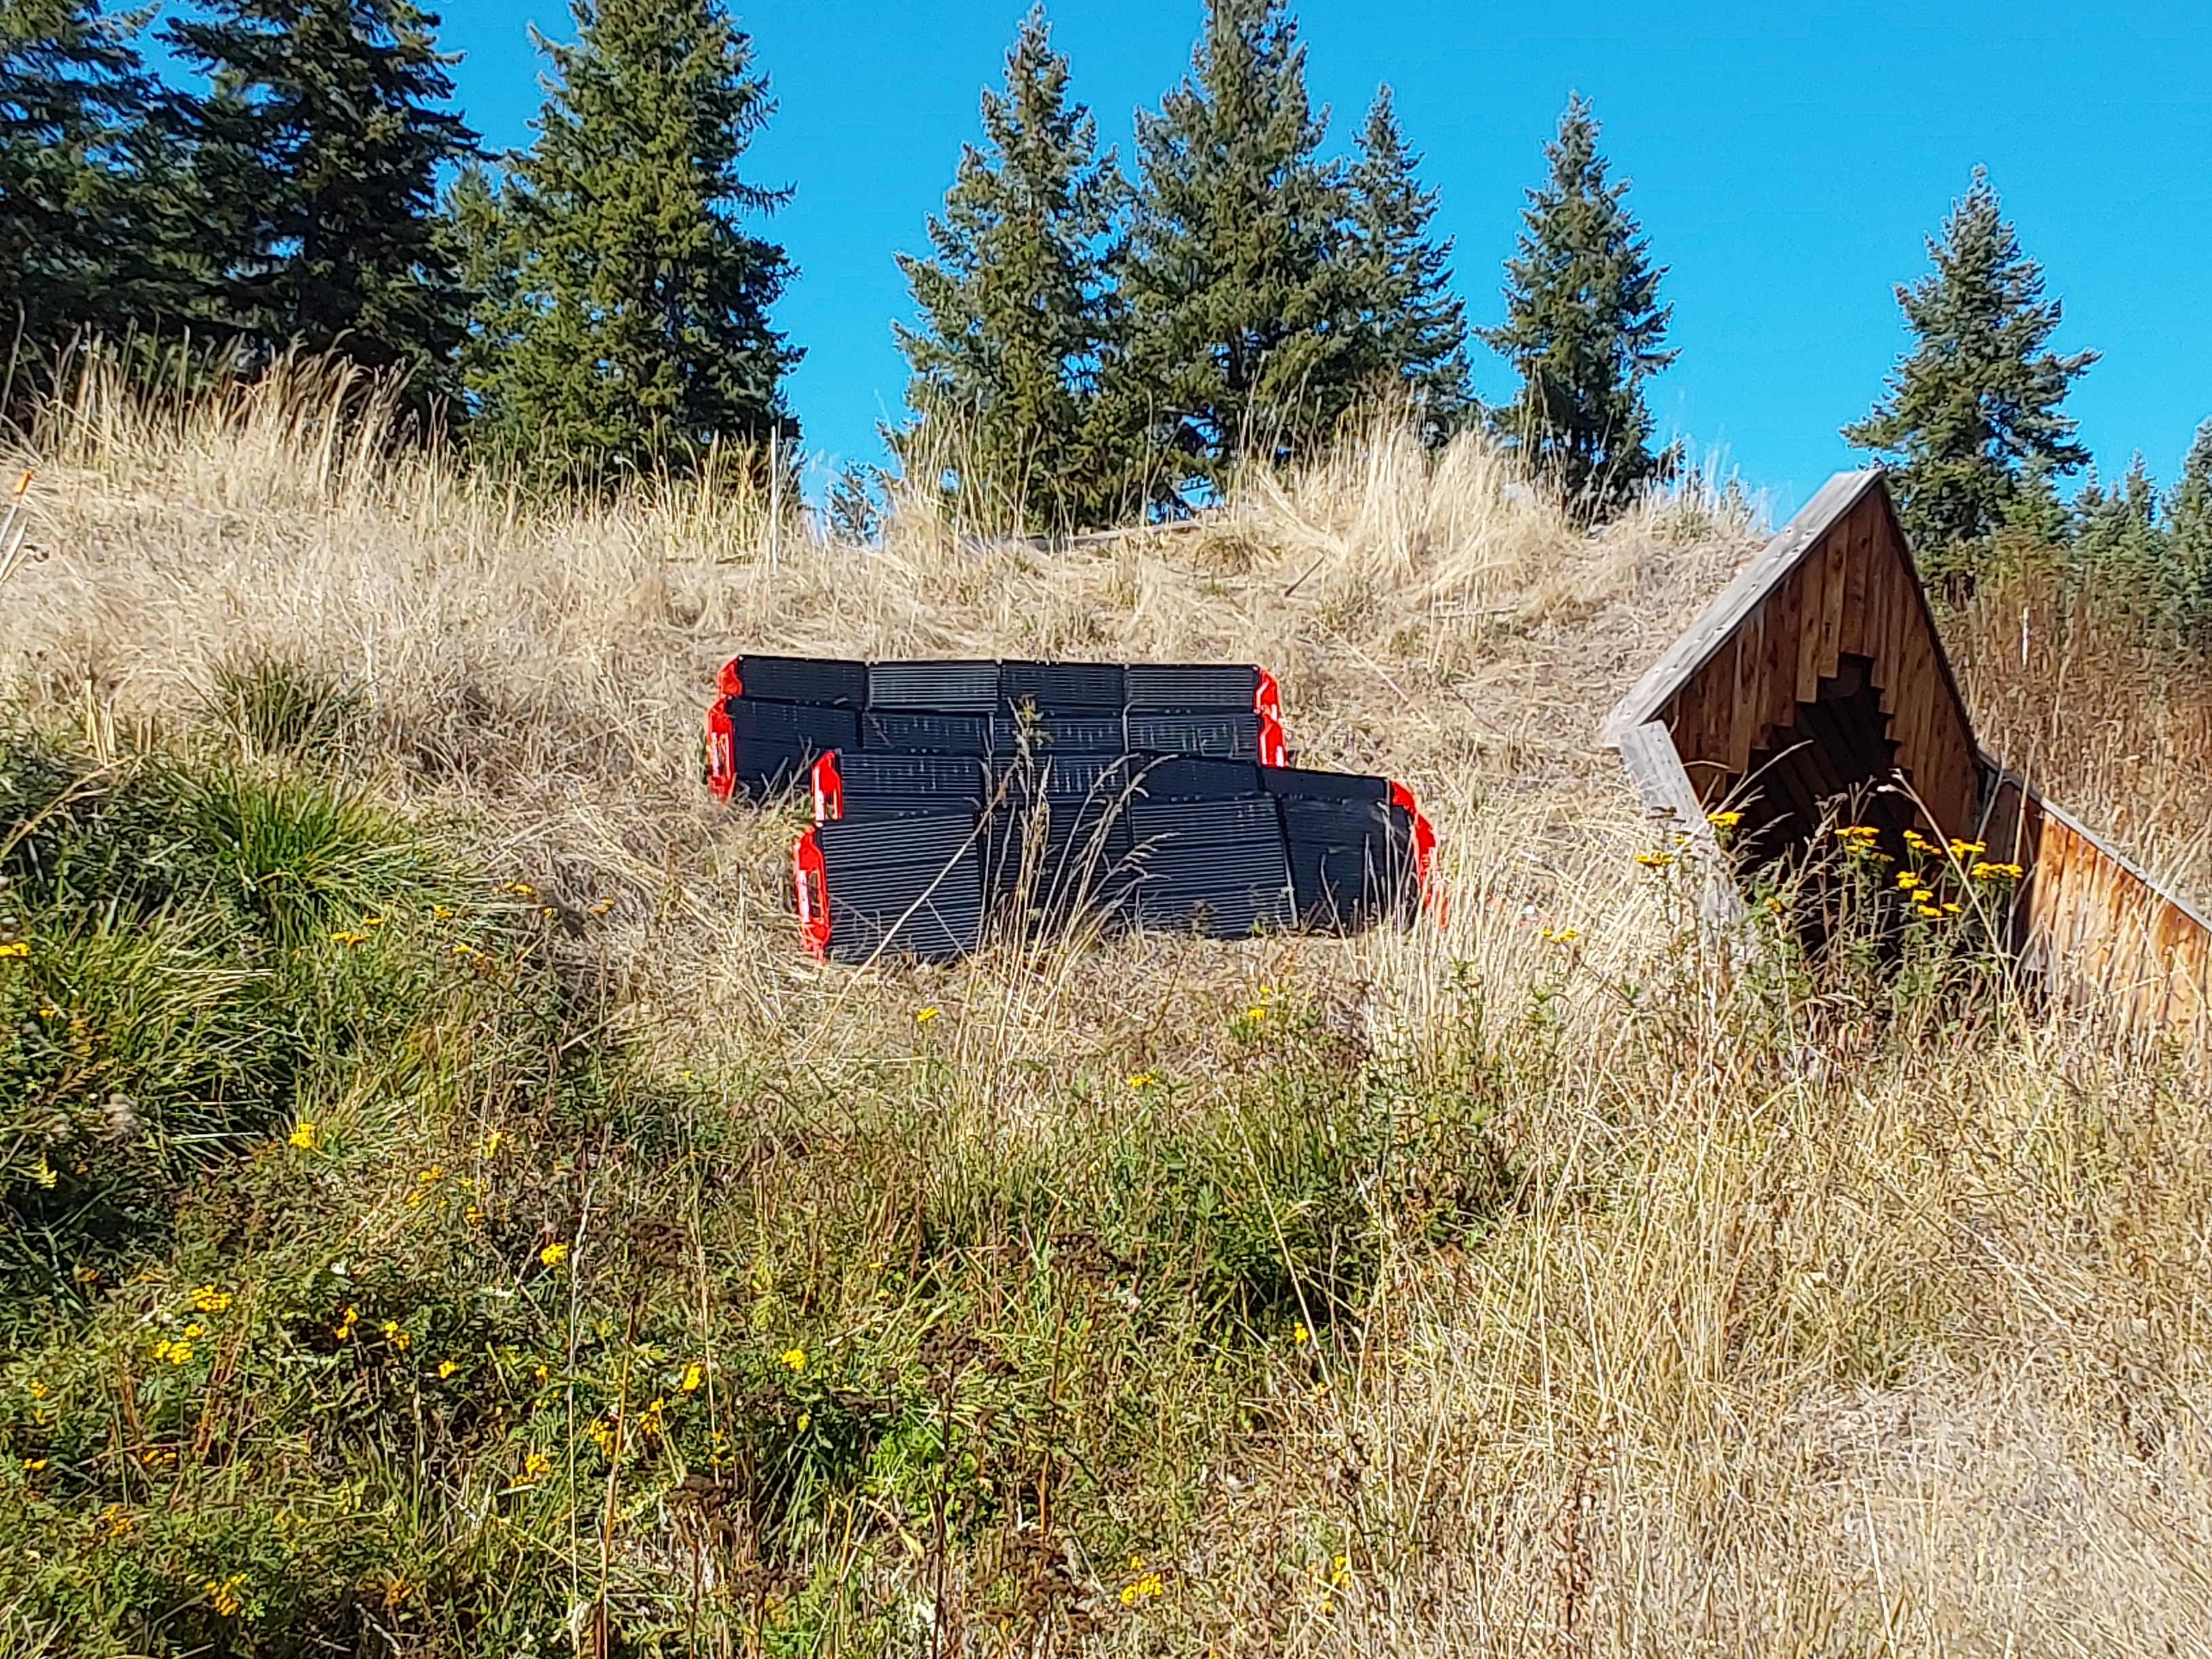
Solar panels ahoy!
Solar panels ahoy!
1000015577.jpg
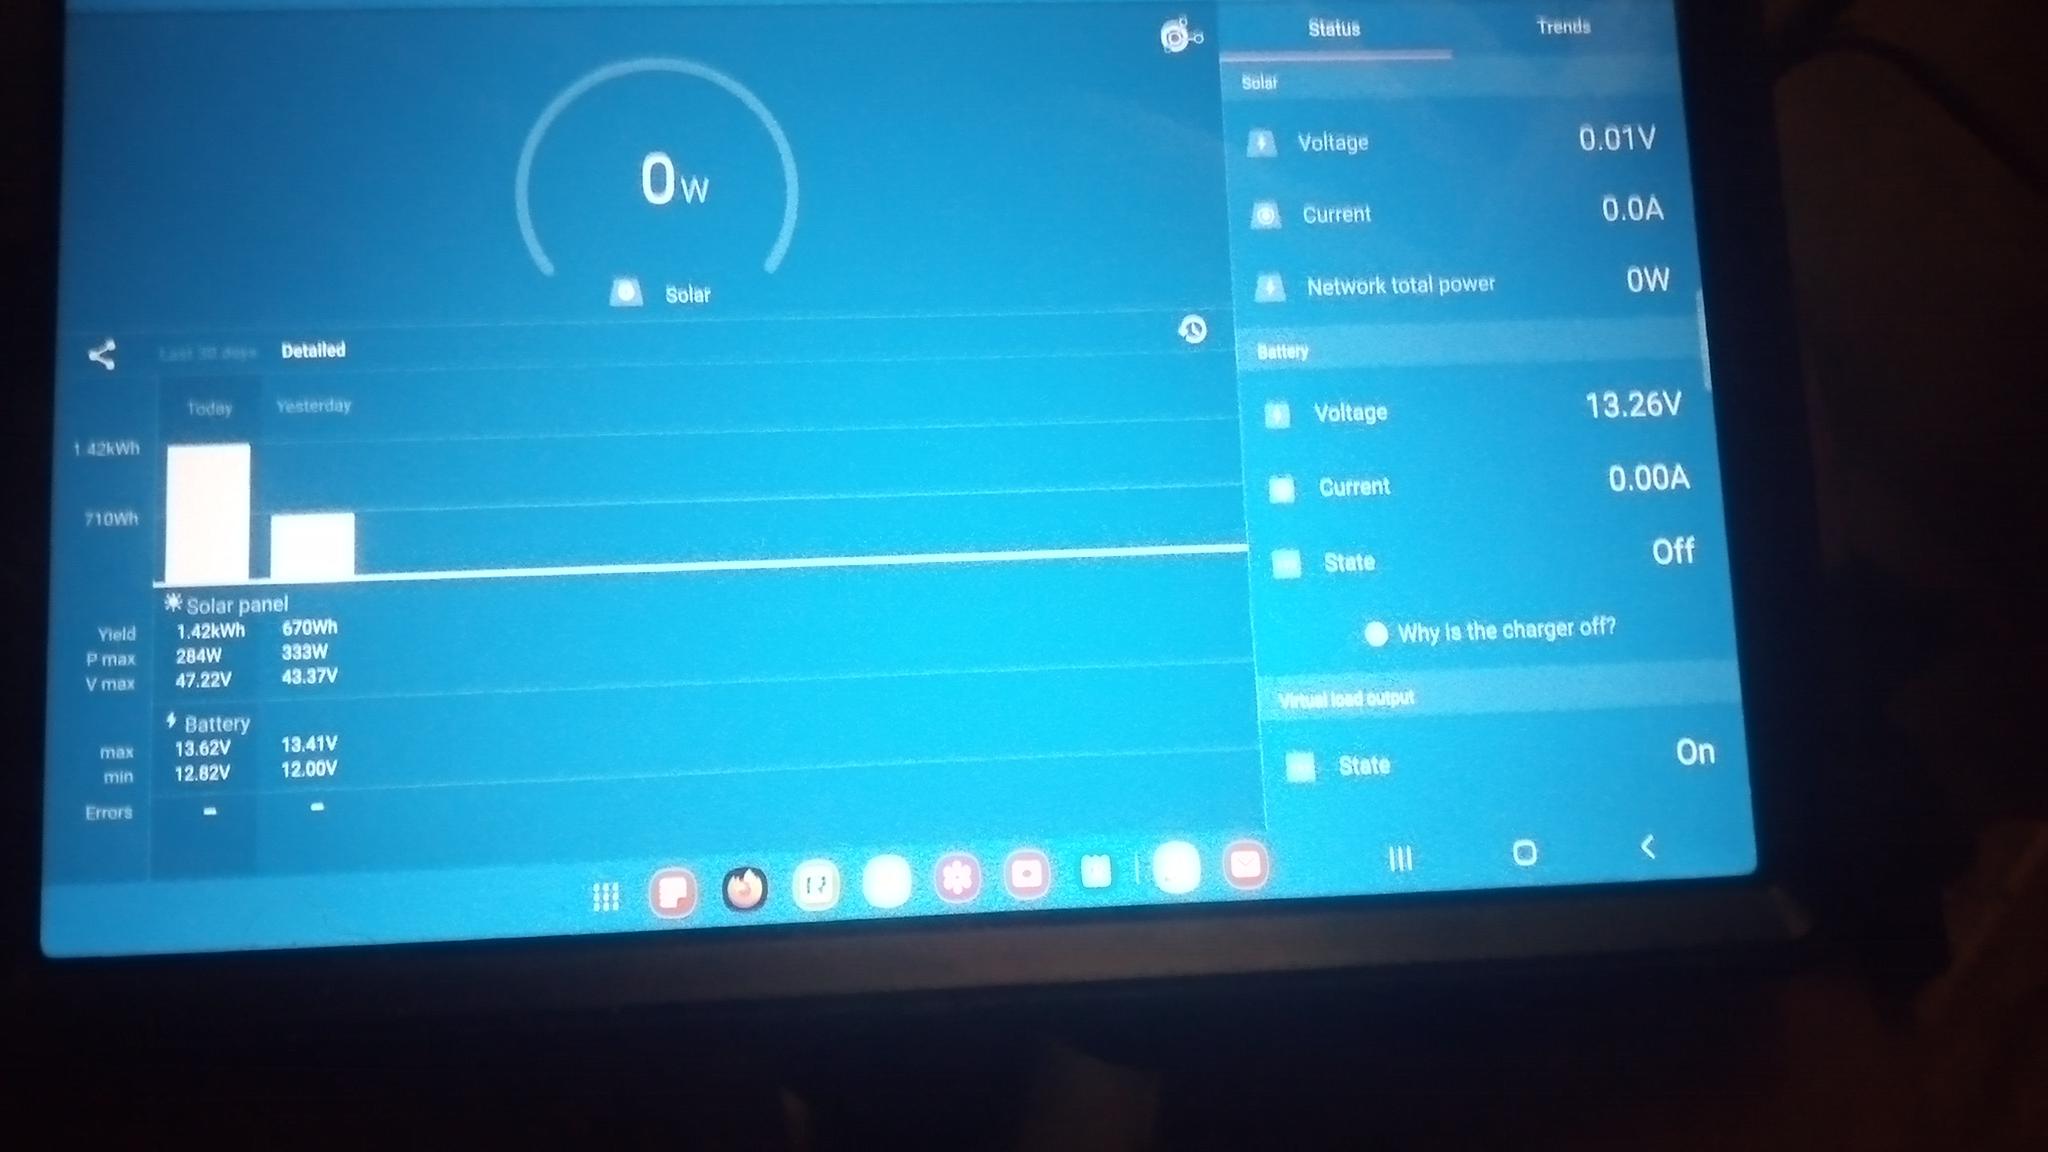
Last night, we'd come up to 87%, after starting the week at zero - we're charging faster than we are using power!
1000015578.jpg
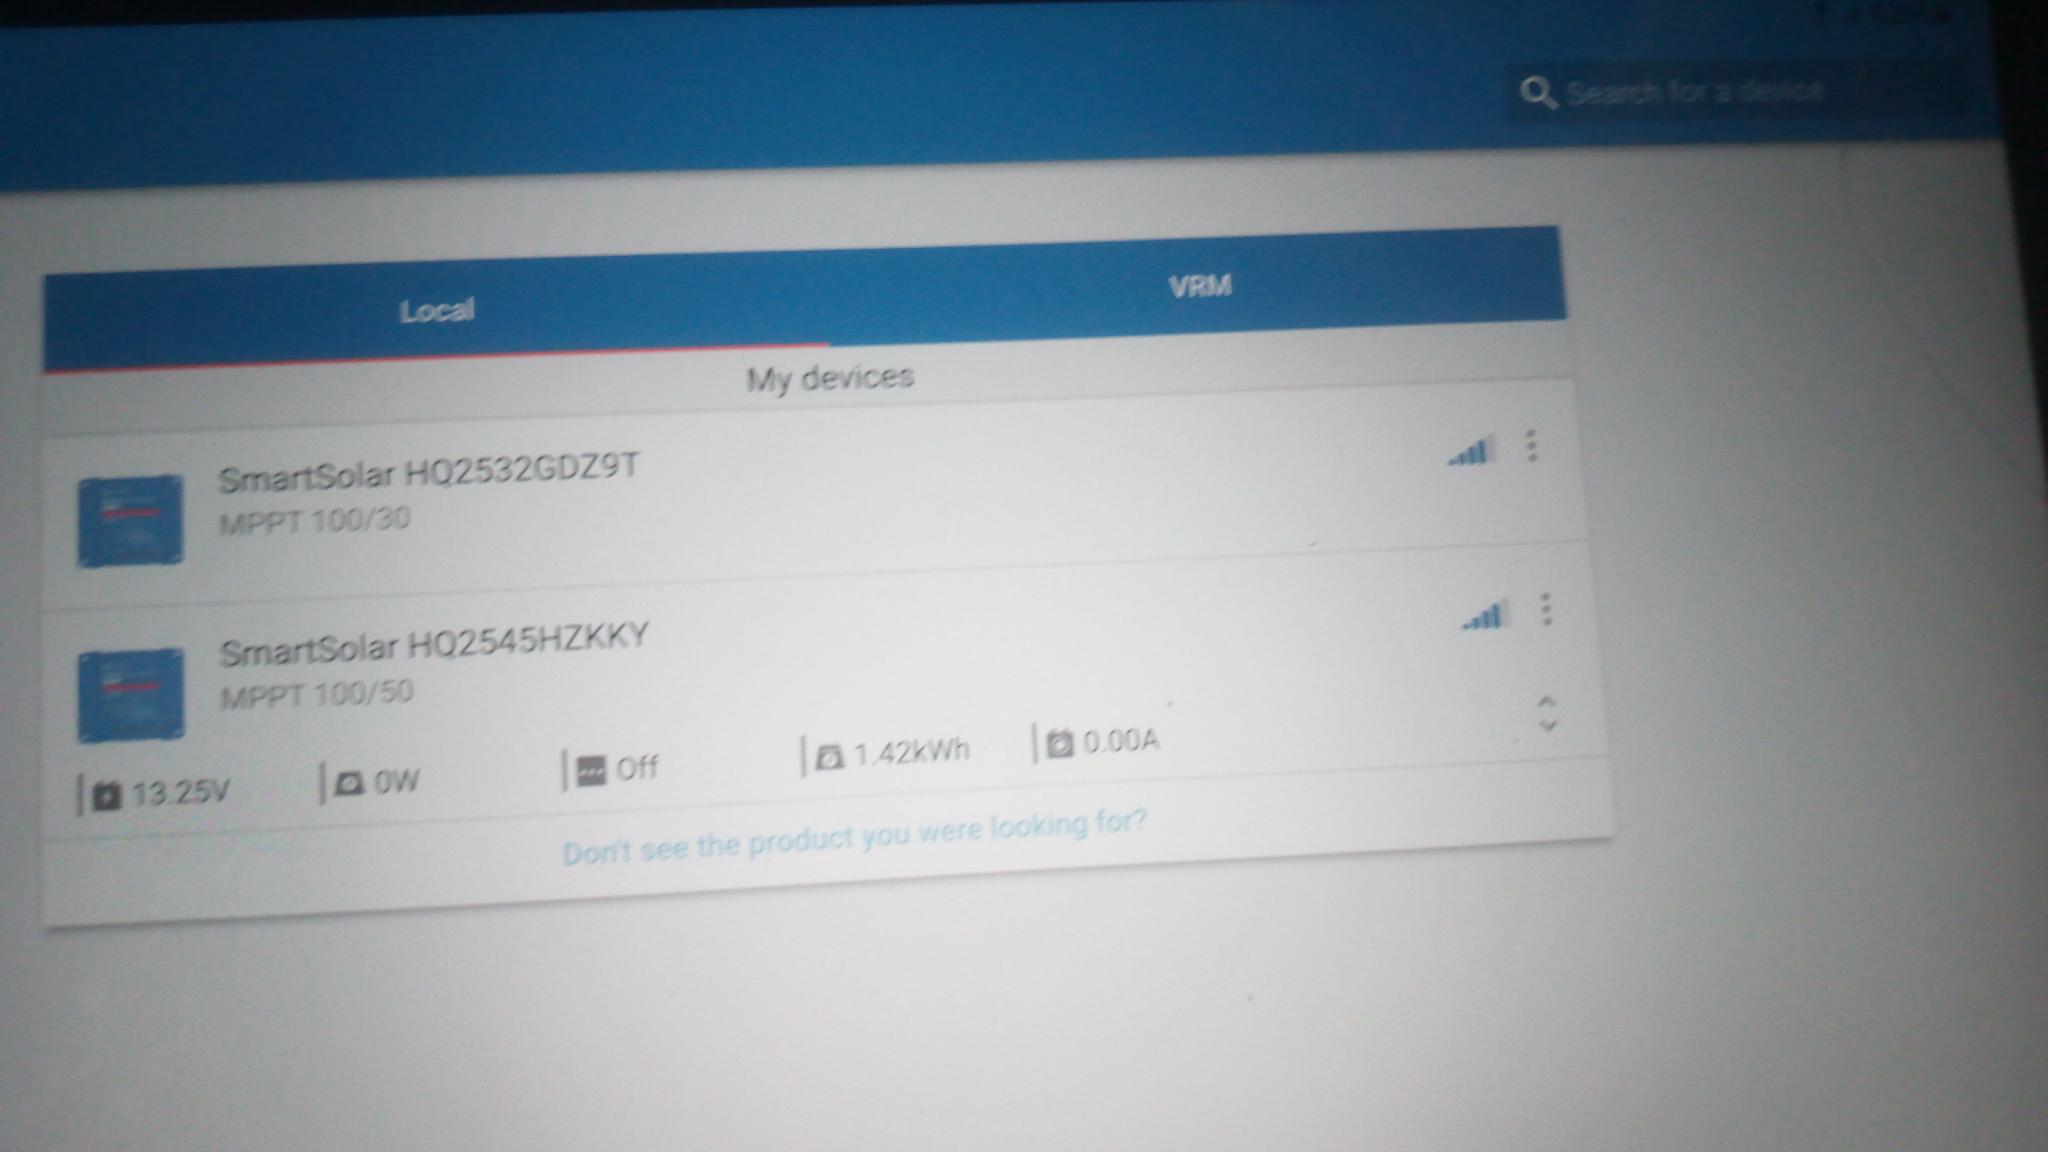
Yes Veronica, there is a Santa Claus, and Victron controllers do network nicely!
1000015580.jpg
I can log into either of them and still get a glimpse of the total power collection!
1000015590.jpg
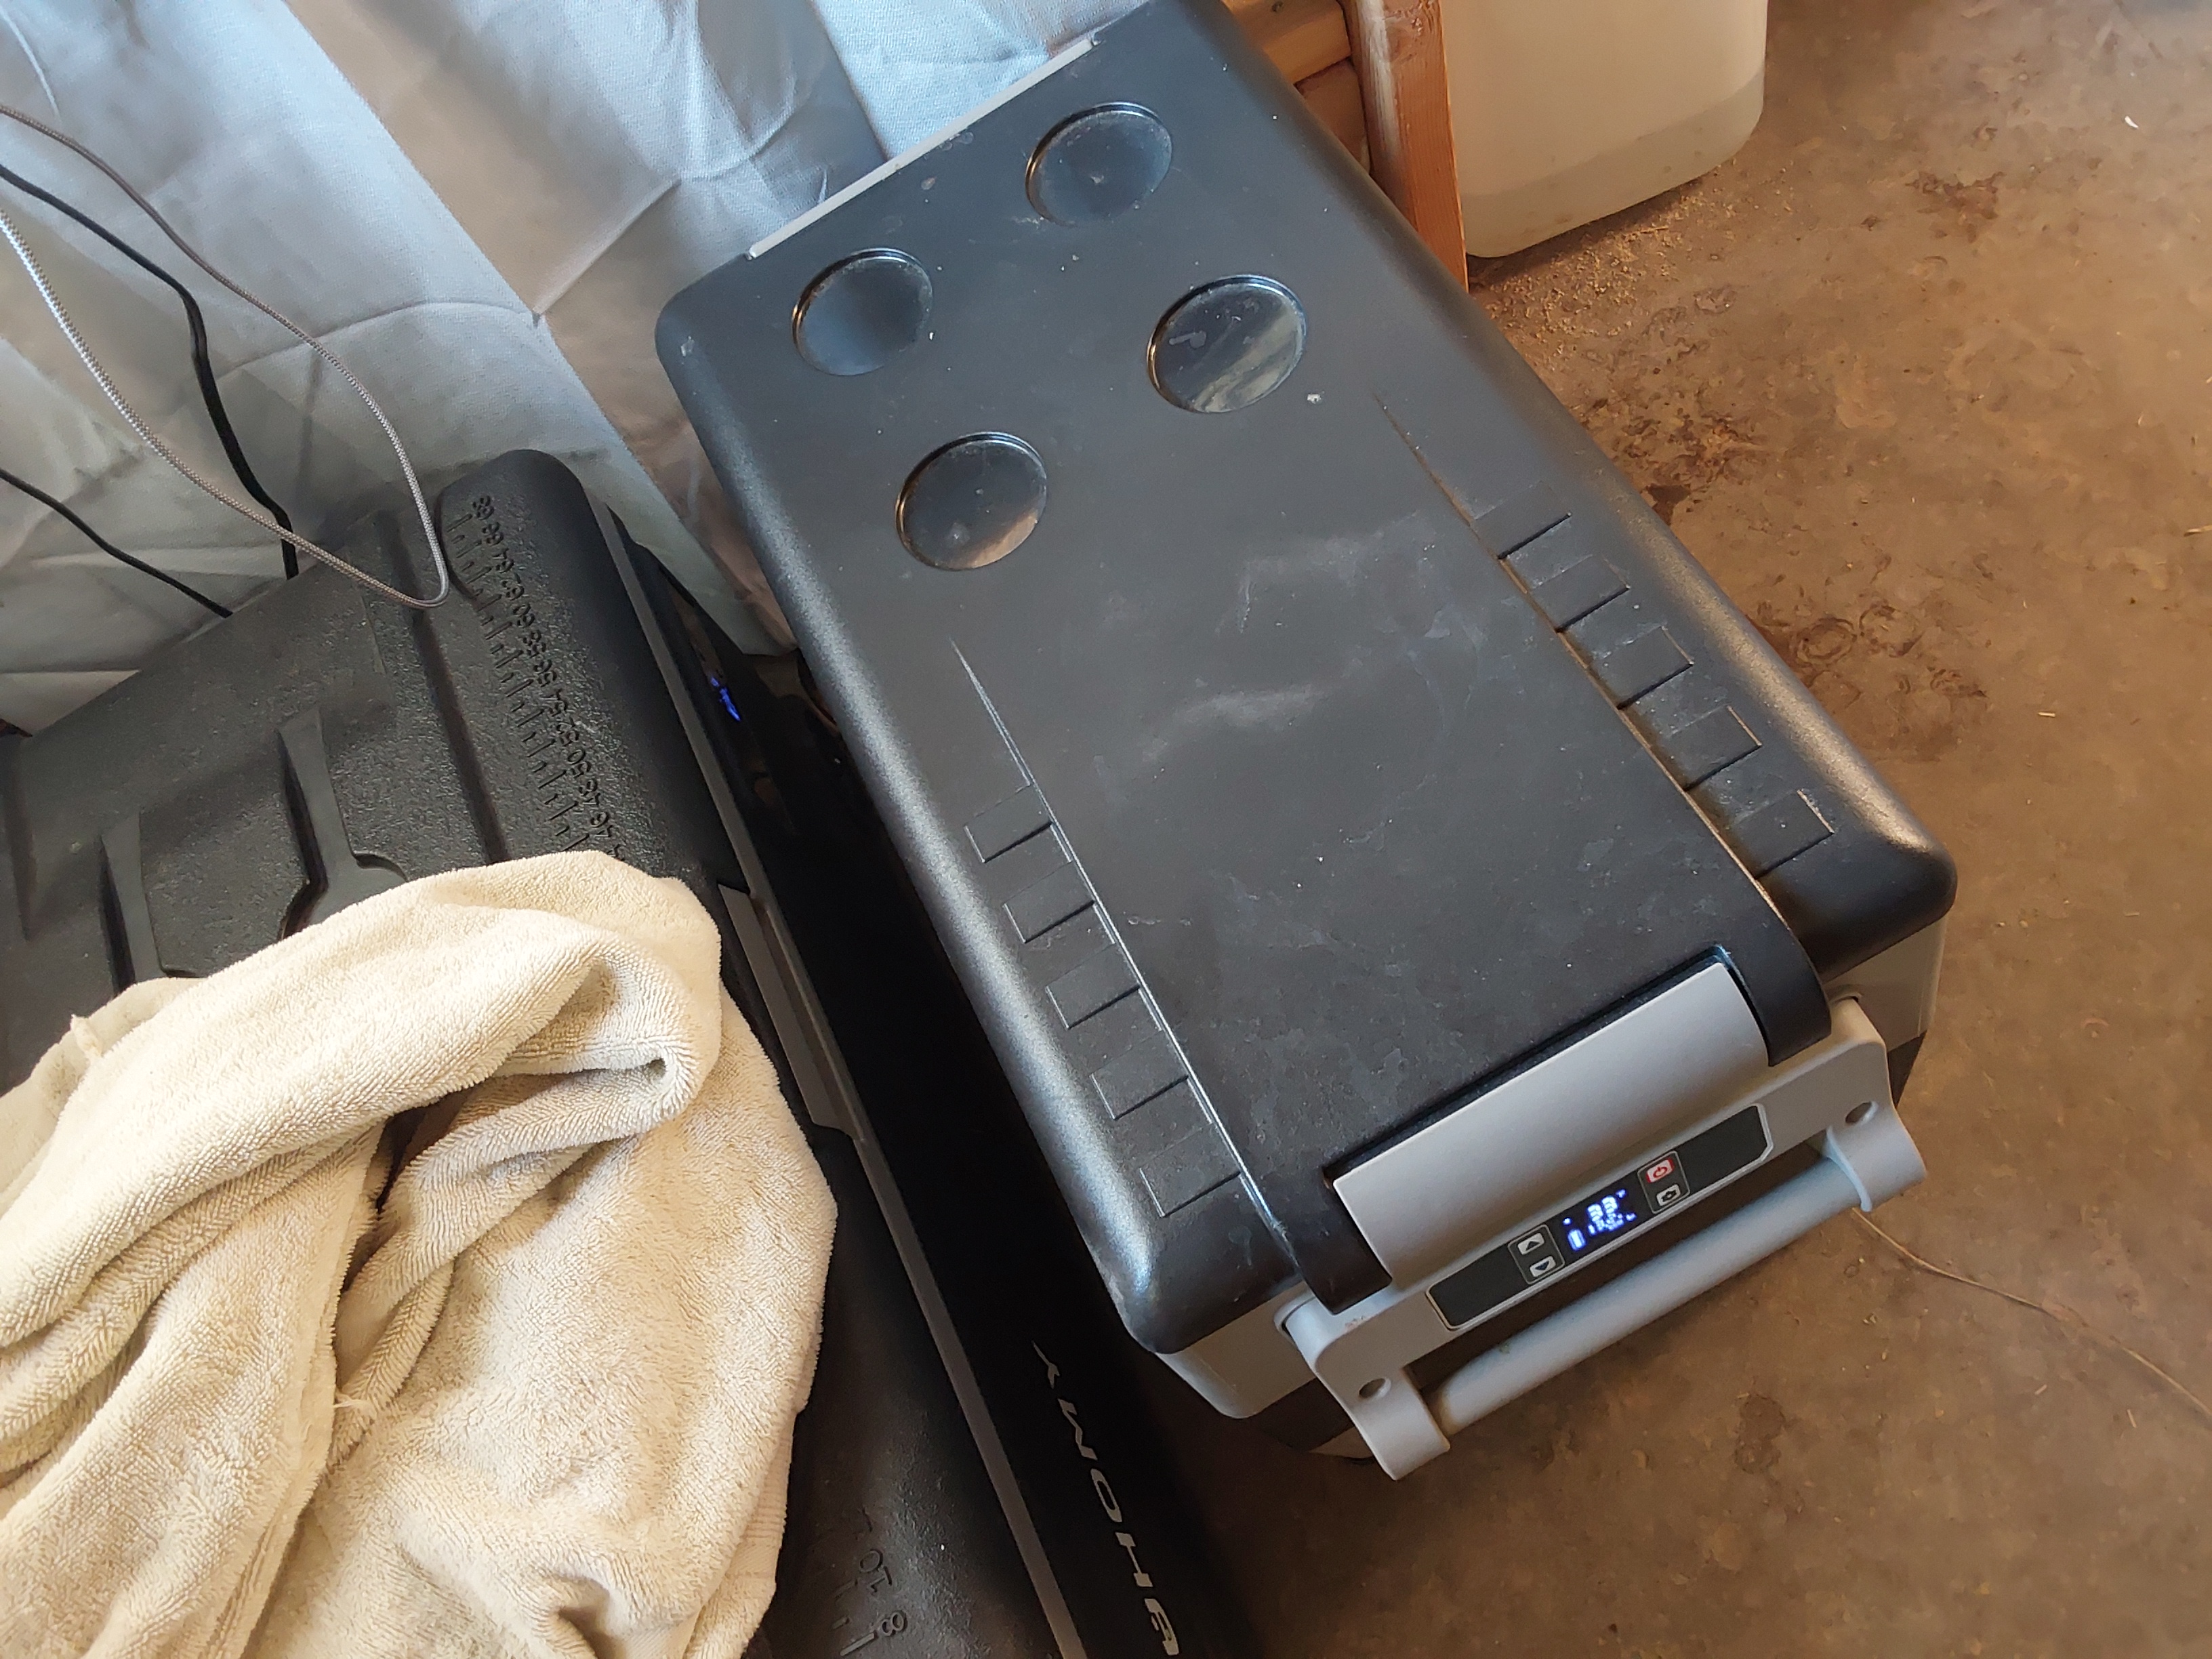
Running the DC refrigerator and freezer
1000015591.jpg
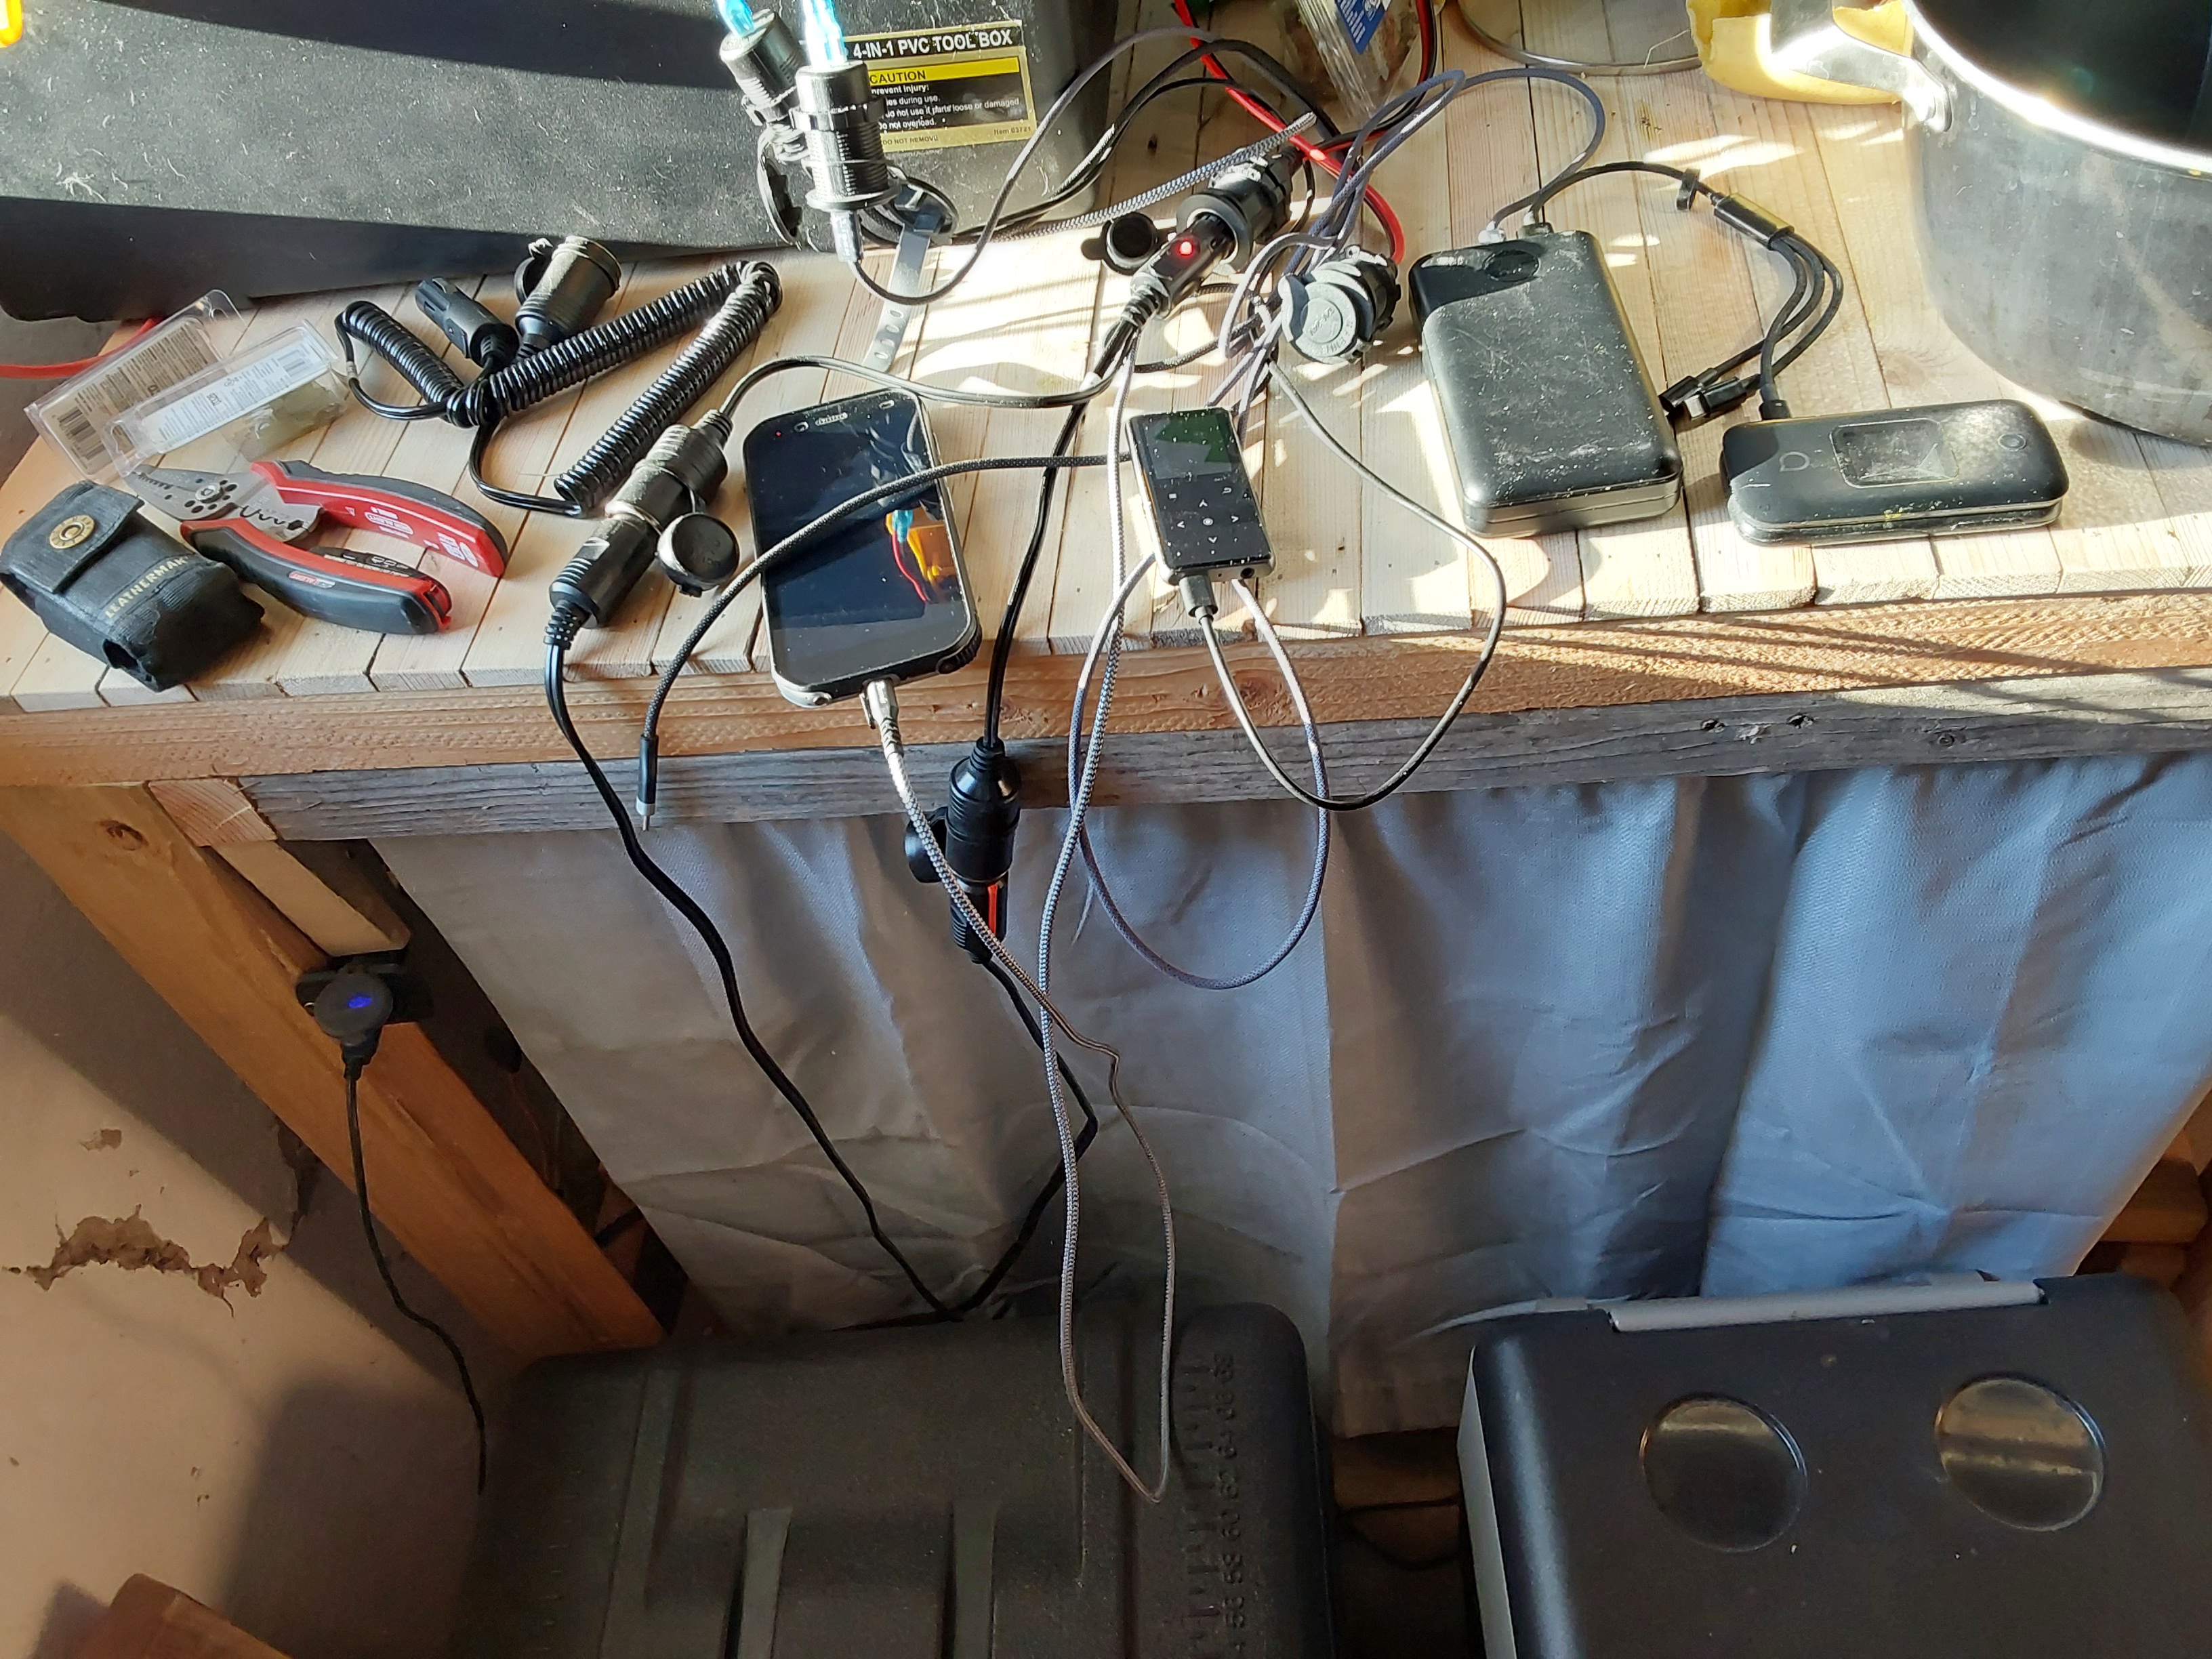
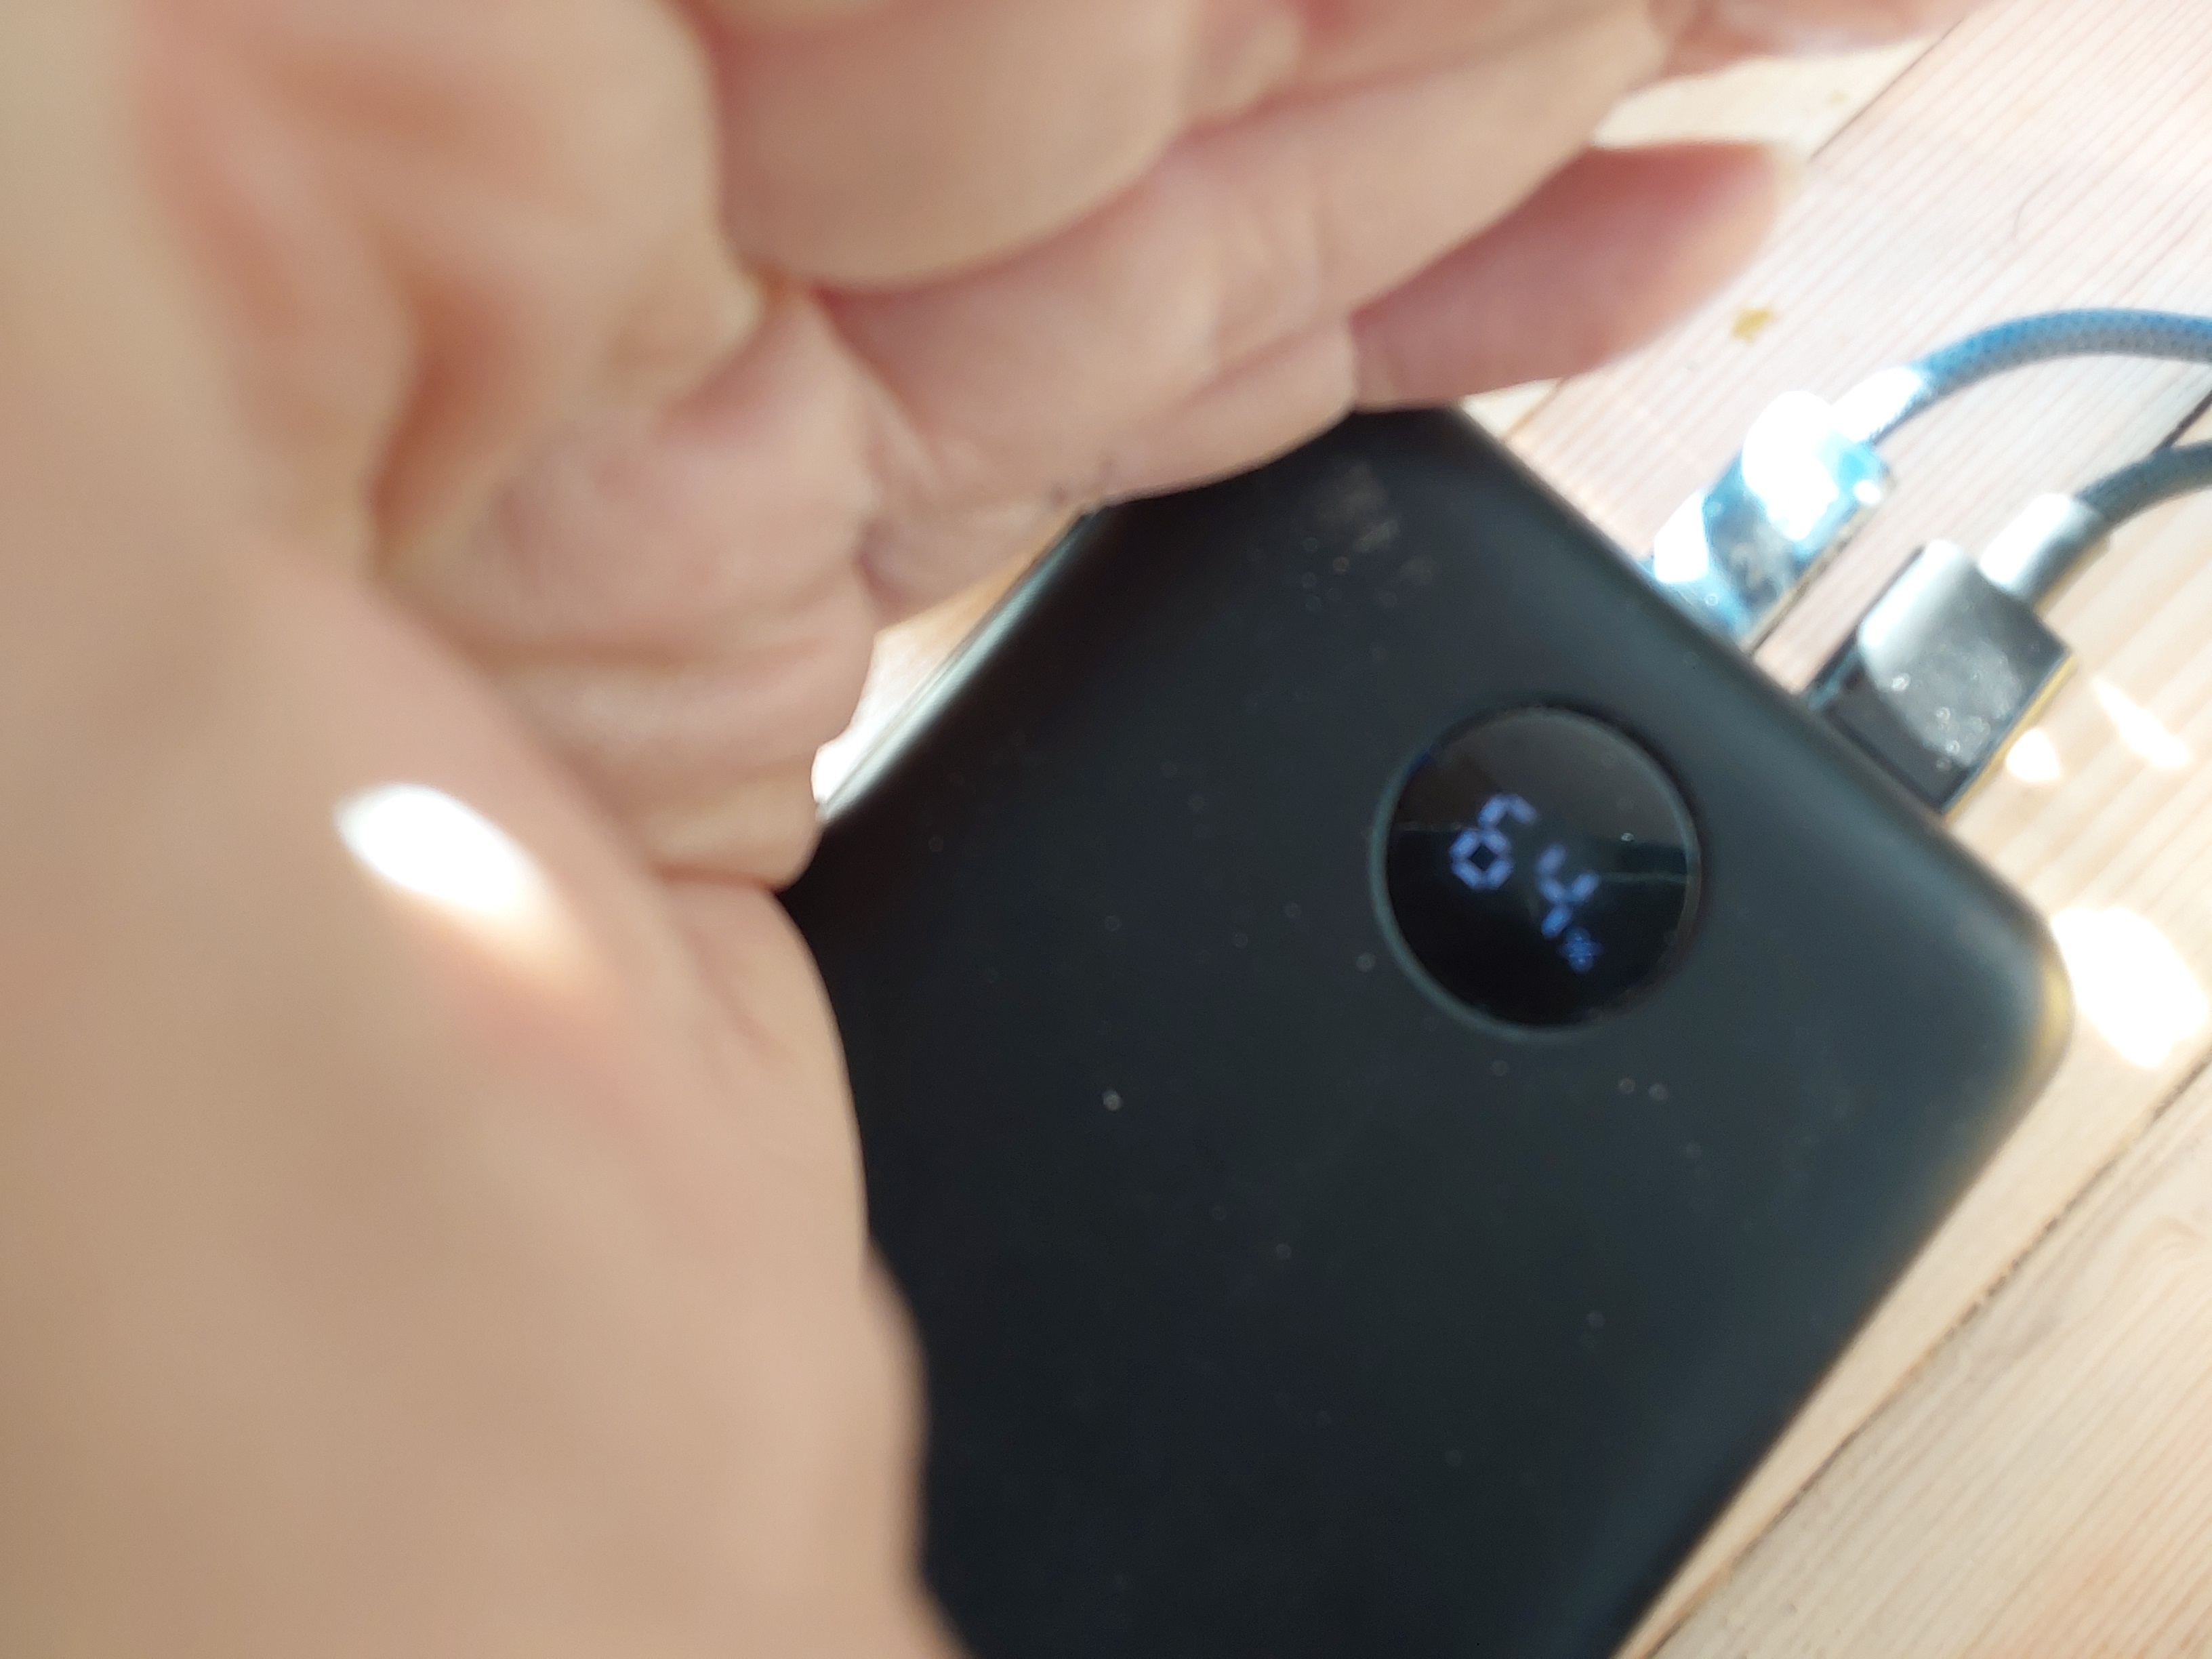
Various other USB devices charging too
1000015594.jpg
[Thumbnail for 1000015594.jpg]
1000015595.jpg
[Thumbnail for 1000015595.jpg]
1000015596.jpg
[Thumbnail for 1000015596.jpg]
1000015598.jpg
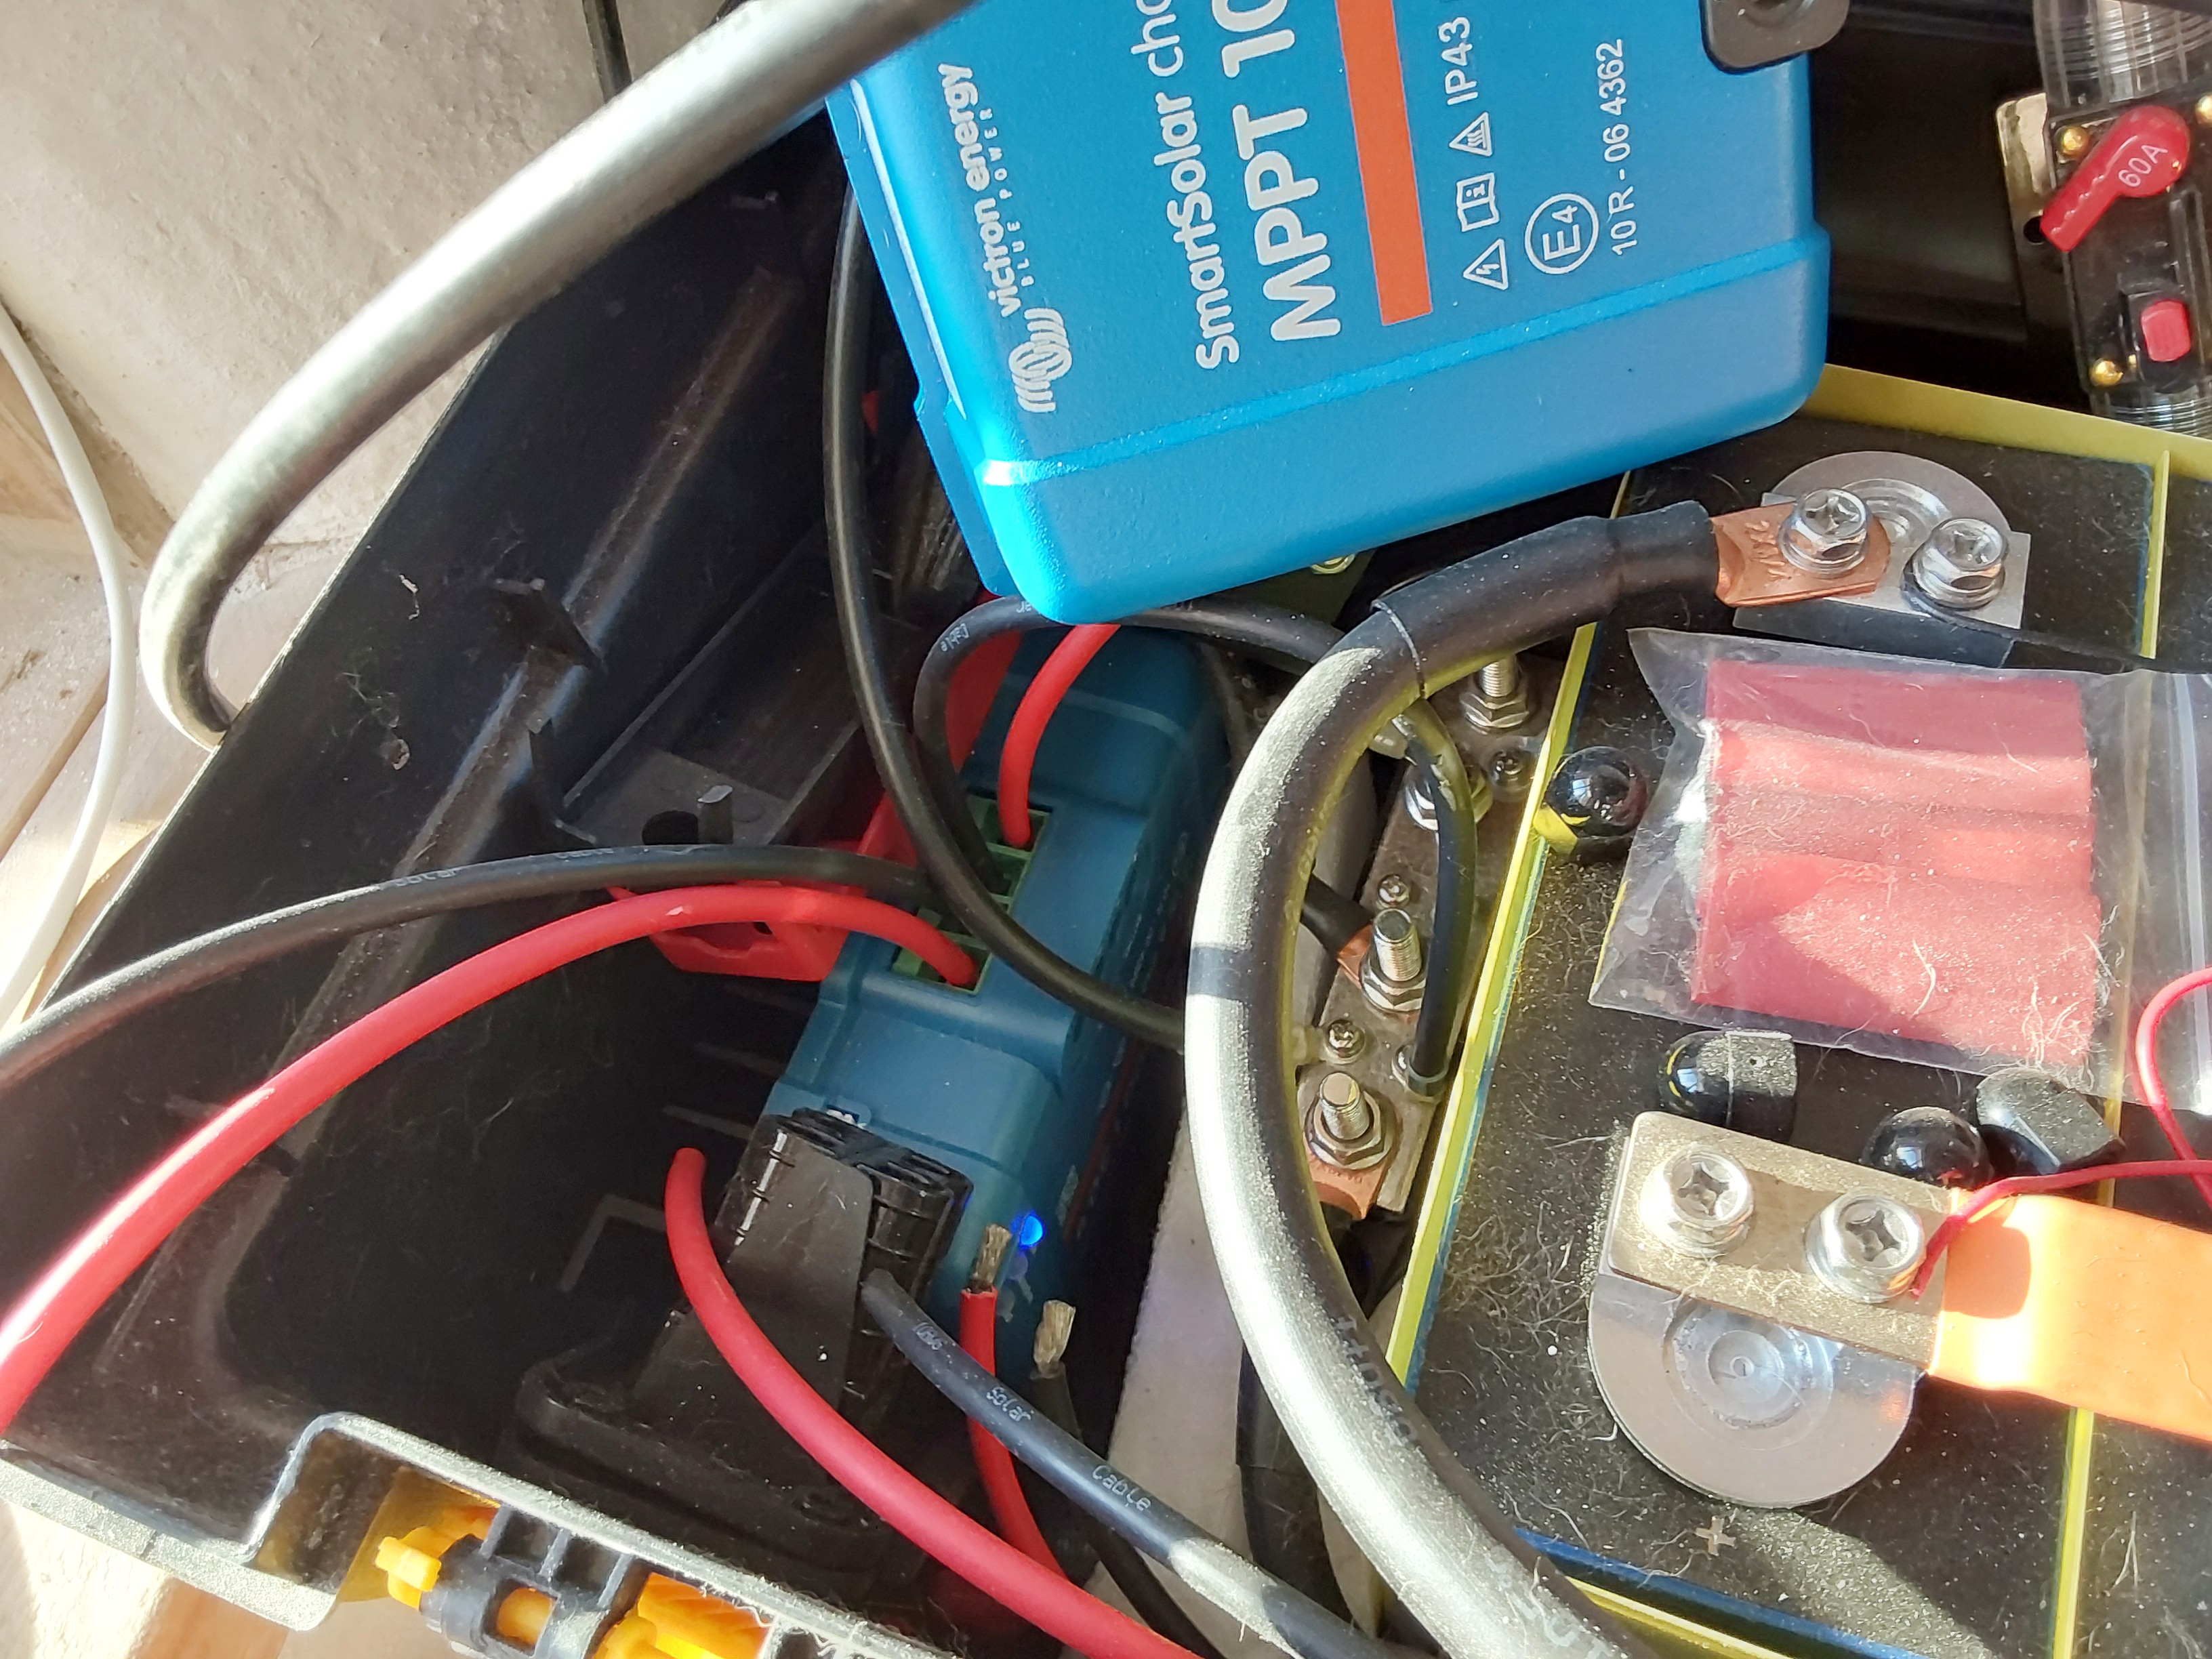
The 30-amp controller is deep in the belly of the beast, but working fine
1000015621.jpg
At 2pm, our battery was nearly full!
Staff note (gir bot) :

Someone flagged this submission as an edge case.
BBV price: 0
Note: Could you include the picture of the Parts before you install/assemble them

 
Patriotism is the virtue of the vicious - Oscar Wilde
grow your own garden and build your own home in the gardening gardeners program
https://wheaton-labs.com/bootcamp
reply
    Bookmark Topic Watch Topic
  • New Topic