• Post Reply Bookmark Topic Watch Topic
  • New Topic
permaculture forums growies critters building homesteading energy monies kitchen purity ungarbage community wilderness fiber arts art permaculture artisans regional education skip experiences global resources cider press projects digital market permies.com pie forums private forums all forums
this forum made possible by our volunteer staff, including ...
master stewards:
  • Nancy Reading
  • Carla Burke
  • r ranson
  • John F Dean
  • paul wheaton
  • Pearl Sutton
stewards:
  • Jay Angler
  • Liv Smith
  • Leigh Tate
master gardeners:
  • Christopher Weeks
  • Timothy Norton
gardeners:
  • thomas rubino
  • Jeremy VanGelder
  • Maieshe Ljin

!!!! SEPP to Boot: Stephen's Experience (BEL)

 
pollinator
Posts: 1237
Location: Wheaton Labs, Montana, USA
2292
9
home care trees books wofati food preservation bike bee building writing seed
  • Likes 6
  • Mark post as helpful
  • send pies
    Number of slices to send:
    Optional 'thank-you' note:
  • Quote
  • Report post to moderator
BRK #516

Happy Taco Tuesday to you...!

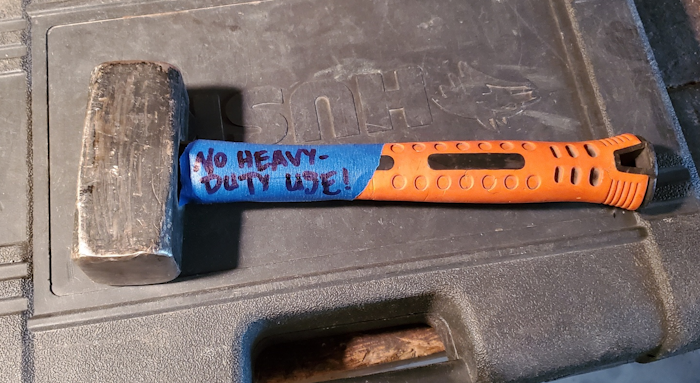
We put a lot of stuff back together today. For example, one of the mallets we use for the kindling crackers popped its head off. I re-attached it with some hammering, then added a temporary label to encourage folks to be a bit gentler with it. We'll also be able to see just how much abuse it can withstand: if it falls right off again after some light taps, for example, then it's time for it to be retired and then creatively included in a future project. That hammer head is too lovely to let go.


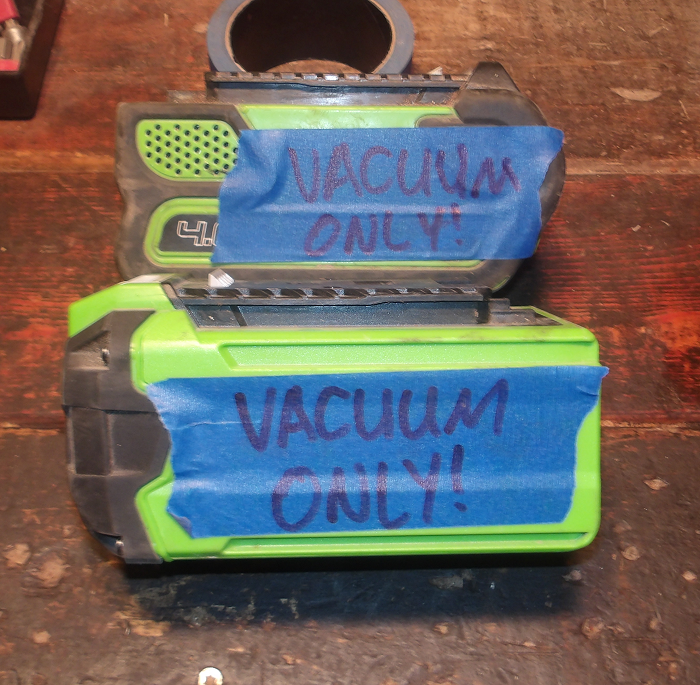
Some of our batteries are showing their age, too. Fortunately, we have a portable shop-vac that uses 2AH (that is, "2 amp-hour") batteries quite judiciously. So one of our 4AH batteries that's long in the tooth is being added to our shop-vac's selection of batteries, alongside the original 2AH battery that came with the unit.


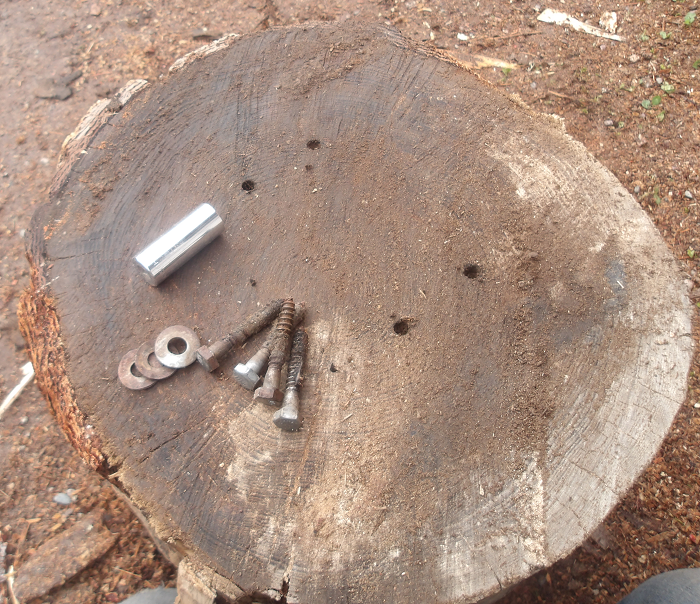
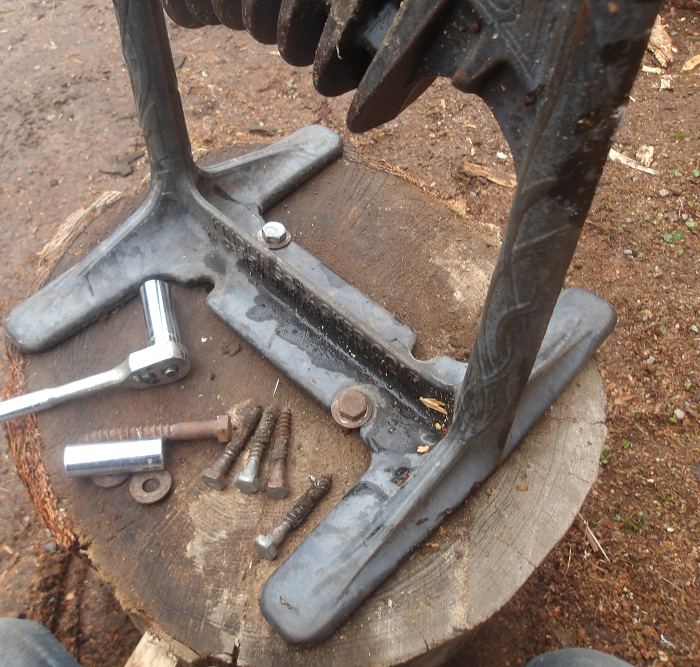
And speaking of the kindling cracker... One of them popped off its stump. So I re-attached it today with a pair of longer bolts. We didn't have any more at Basecamp that fit well enough, so I think I'll go digging in one of our storage spots up at the lab. Just a couple more lag bolts, and this thing will be as good as new. It also made me think of ways to make these more portable without having to yank on the kindling cracker itself (which stresses the bolts and caused these shorter ones in the first photo to detach from the stump). Maybe I'll work on that one of these Sunday afternoons.

Here's the kindling cracker before the repair:


And here it is after, with the longer bolts sunken into the original holes.


That's all for now. Thanks for reading, and enjoy your day...!
 
Stephen B. Thomas
pollinator
Posts: 1237
Location: Wheaton Labs, Montana, USA
2292
9
home care trees books wofati food preservation bike bee building writing seed
  • Likes 6
  • Mark post as helpful
  • send pies
    Number of slices to send:
    Optional 'thank-you' note:
  • Quote
  • Report post to moderator
BRK #517

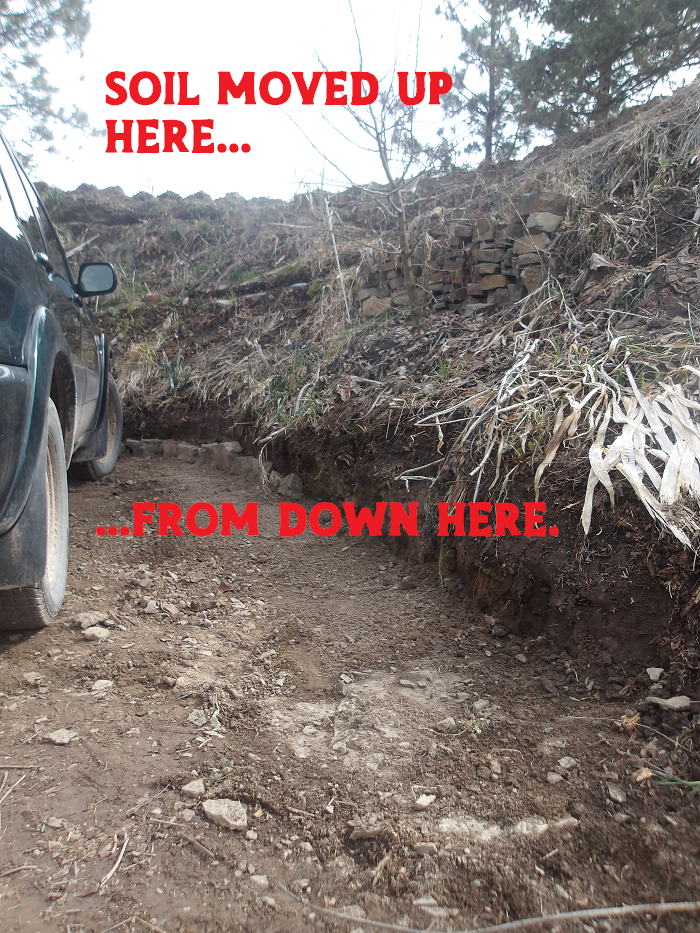
Today's major project was to finish up our "berm refurbs" at Basecamp. Ava and I had completed the south side of the parking pad, where we took soil that had spread out along the bottom, and then dropped it off on the top of the nearby berms.


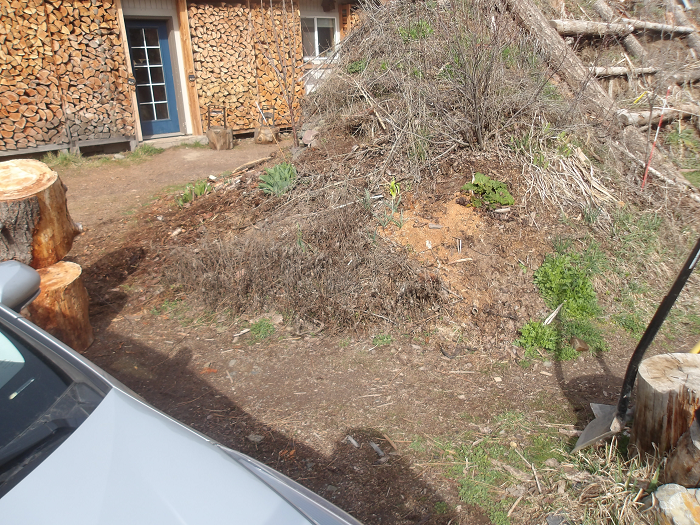
Today I did the work to sort out the northern side of the parking pad. Here's what it looked like at the outset:


I spent a large part of the afternoon shift picking away at this area with a mattox, shoveling the dirt into pails, then dumping the pails on the top of the same berm. To help me with the process, I added an additional step to the nearby scaffolding, and then deepened the step for the one that was already there.


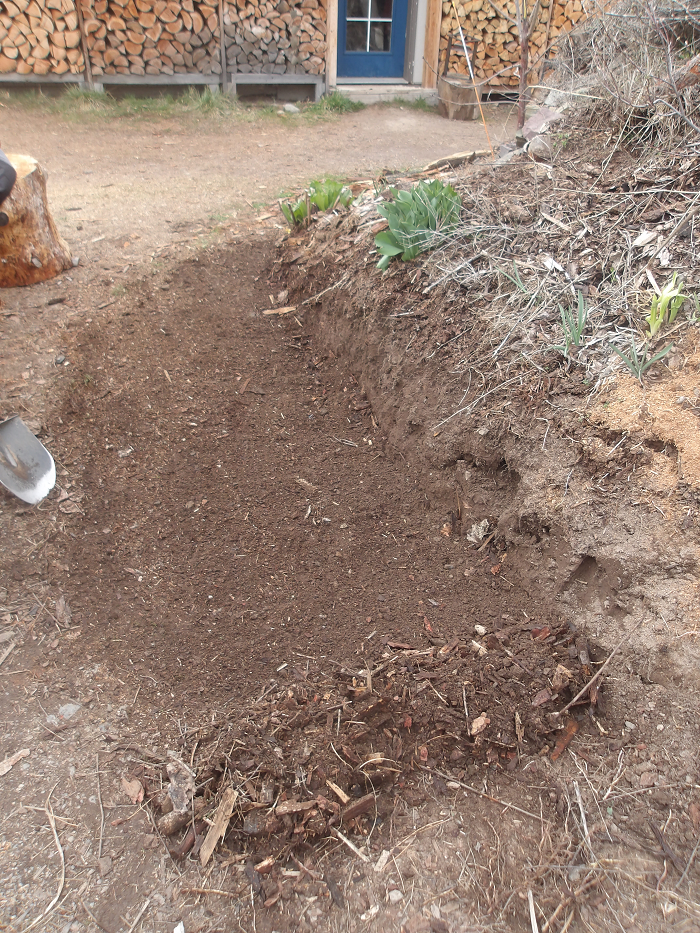
Here's the cleared-out area at the foot of the berm. The edge was moved back maybe three or possibly four feet into the berm.


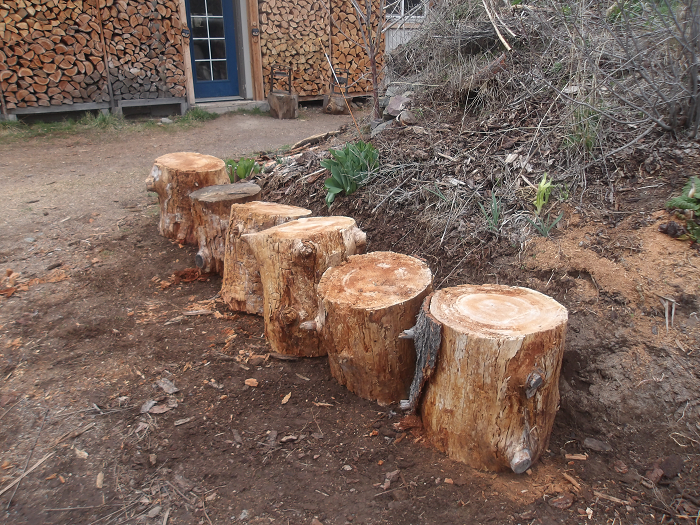
I moved these large stumps back in place along the new edge. They're only temporary, as they're going to be used as steps later on when we do a bit more earthworks in these berms.


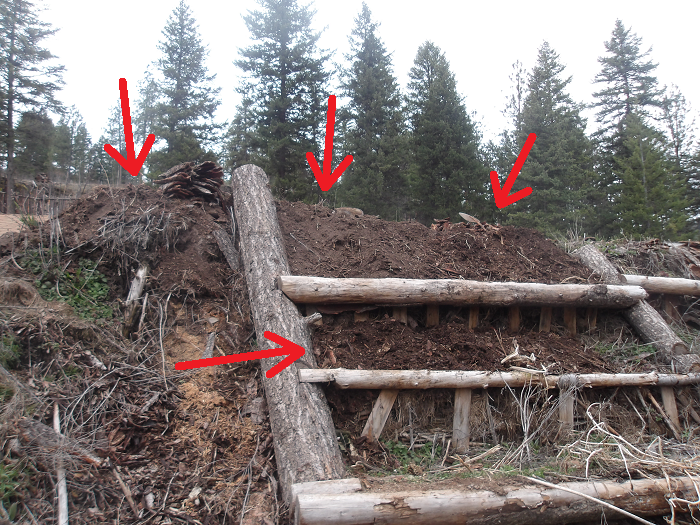
Here's the nearby berm, with lots of new soil added to it. It's much improved now, though it still has a ways to go.


Tomorrow I'll be up at the Lab. While out there today, I noticed one of the sections of fence surrounding Allerton Abbey had toppled, so that's the main project on the agenda.

However... That's all for now. Thanks for reading, and enjoy your day...!
 
Stephen B. Thomas
pollinator
Posts: 1237
Location: Wheaton Labs, Montana, USA
2292
9
home care trees books wofati food preservation bike bee building writing seed
  • Likes 5
  • Mark post as helpful
  • send pies
    Number of slices to send:
    Optional 'thank-you' note:
  • Quote
  • Report post to moderator
BRK #518

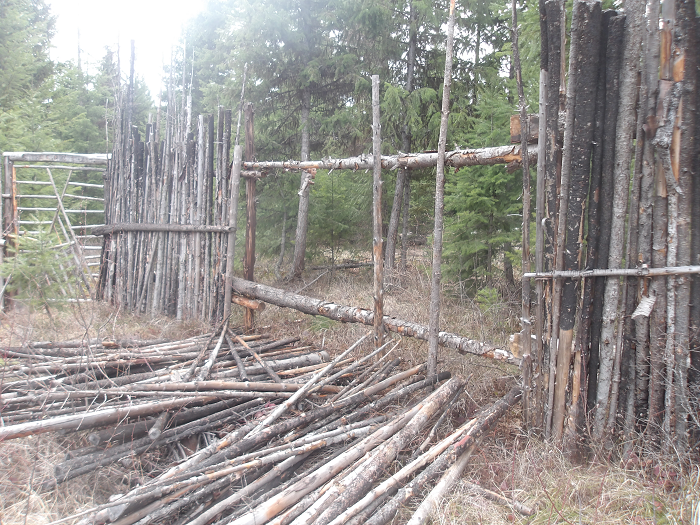
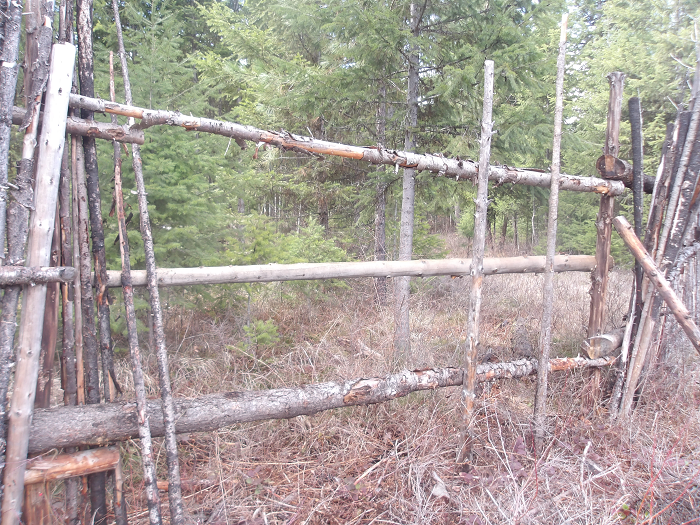
So here's the view of the knocked-over junkpole fence I found yesterday, while up at the Abbey planting tree seeds.


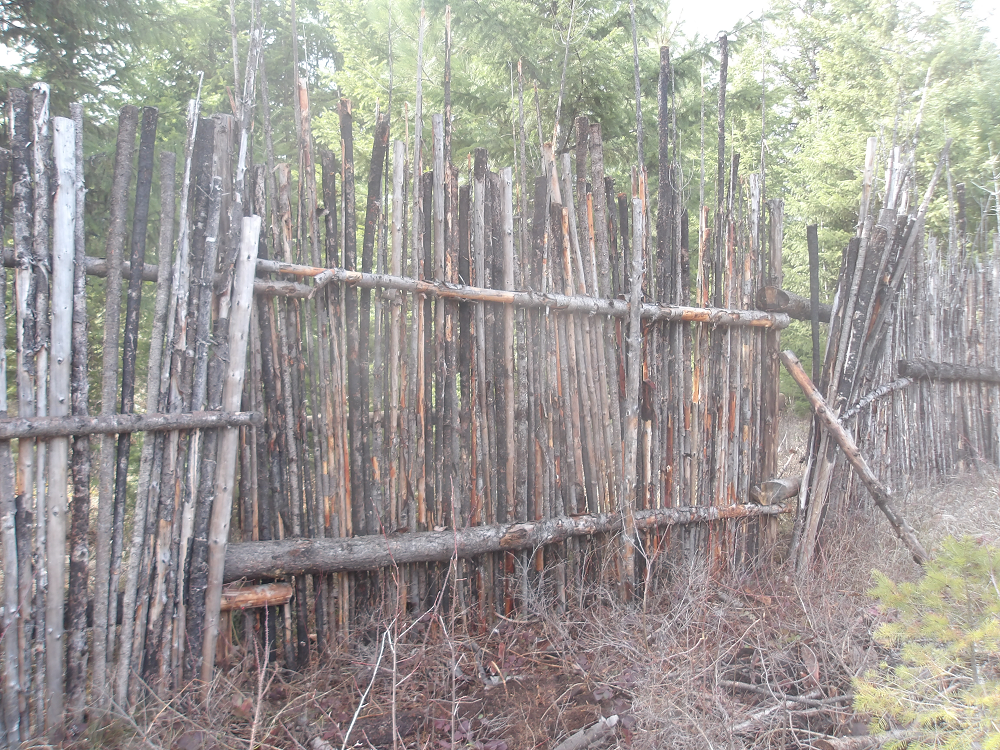
This afternoon, Ava and I went up there to repair the fence using the improved practices developed through the various iterations of junkpole fence over the years. We resolved to not use any screws, and the only metal fasteners we applied here were nails from a pneumatic nailgun.


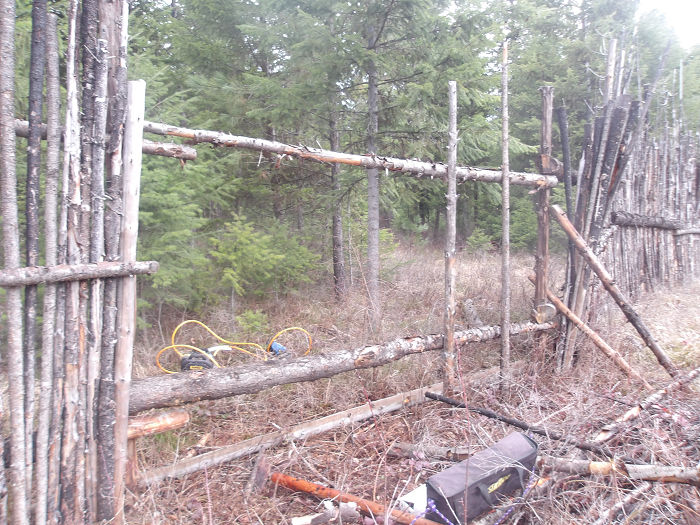
We cleared-out all the fallen fence components, then shored-up one side of it with an angled log. I think in the relatively near future we'll need to put some rock jacks in on several spots of this fence, though there wasn't time for that today.

We cut the mid-level, horizontal support "bar" to length, shaped a saddle joint into one side of it, then used the nailgun to toe-nail it into place. This time, the support went on the outside wall of the fence, connected to the vertical support poles at each end (in the previous version, all three horizontal bars were on the same side of the vertical supports, so there was a lot of weight mainly hanging there, and not held upright by anything other than a bunch of horizontal screws).


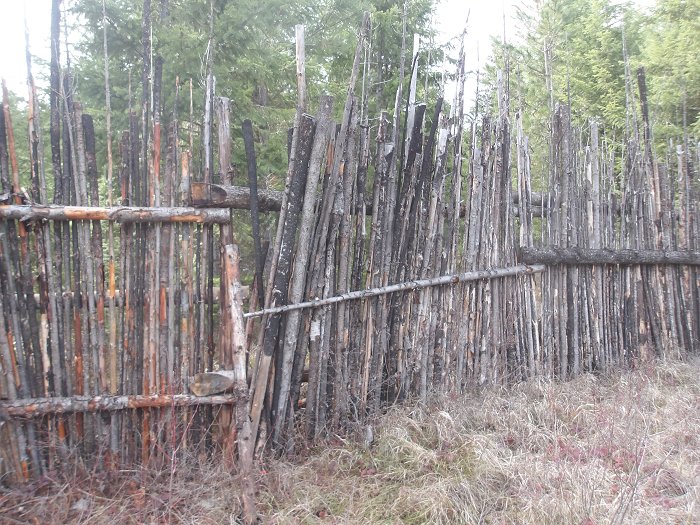
After the three support bars were secured, we then threaded the vertical slats in-between. No additional nails were needed for any of these slats, though we did keep one of the vertical posts that was attached to the top support bar. It looks out of place, but at least it's not hurting the structure.


I suspect that either the same time next year, or more likely this autumn, the junkpole fence section to the right of what we just repaired will need to be completely replaced. We did a little band-aid action on it today, but as they say, it's only a matter of time. We'll be watching this one closely through the growing season.


That's all for now. Thanks for reading, and enjoy your day...!
 
Stephen B. Thomas
pollinator
Posts: 1237
Location: Wheaton Labs, Montana, USA
2292
9
home care trees books wofati food preservation bike bee building writing seed
  • Likes 8
  • Mark post as helpful
  • send pies
    Number of slices to send:
    Optional 'thank-you' note:
  • Quote
  • Report post to moderator
BRK #519

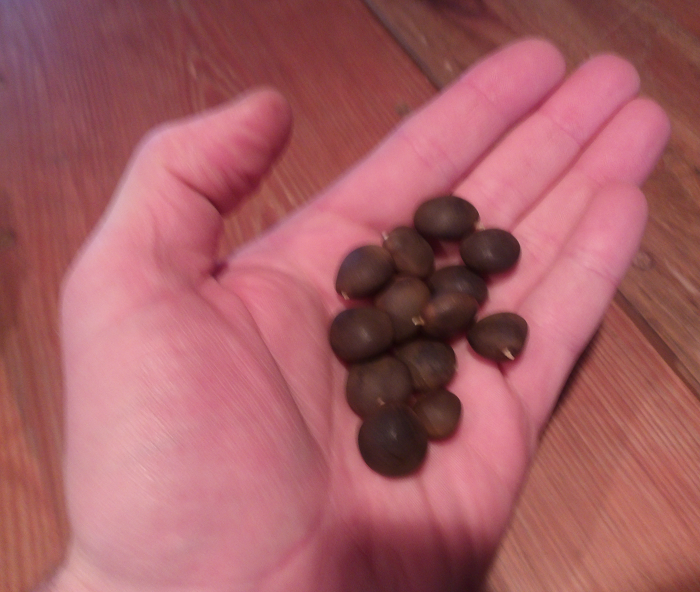
First off: BIG THANKS to Greg Martin for his donation of Kentucky Coffee Tree seeds! The package arrived today. There are two varieties for us to plant and nurture, starting this growing season. It's much appreciated...!


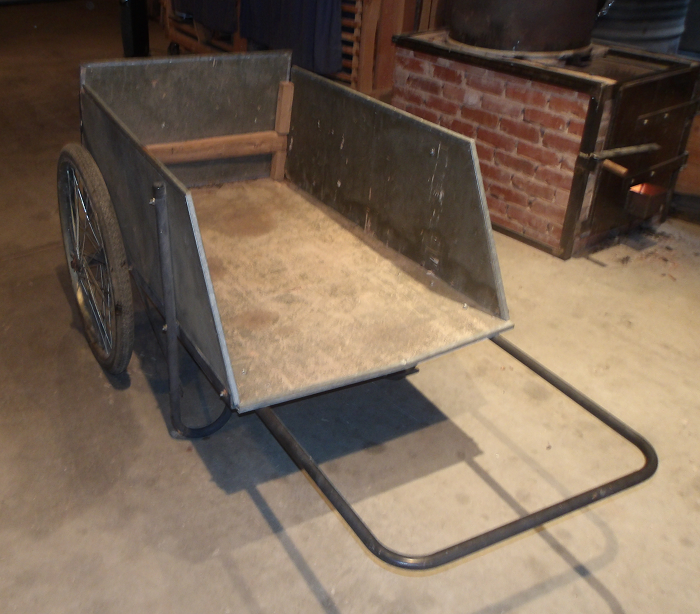
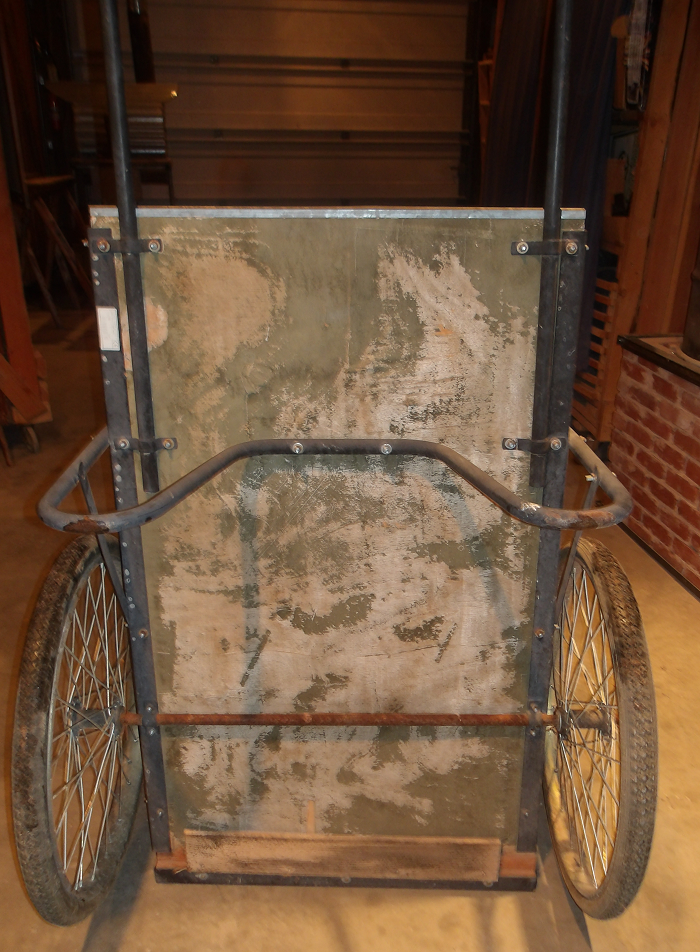
Next up: there were a number of things that were done this week that I've not recorded here, and my favourite among them is the hand-cart-refurbishing project. So there's a hand-drawn cart here made with a metal frame and plywood siding. The plywood is shredding and deteriorating, so it's being rebuilt. Here's the cart in the "before" state:


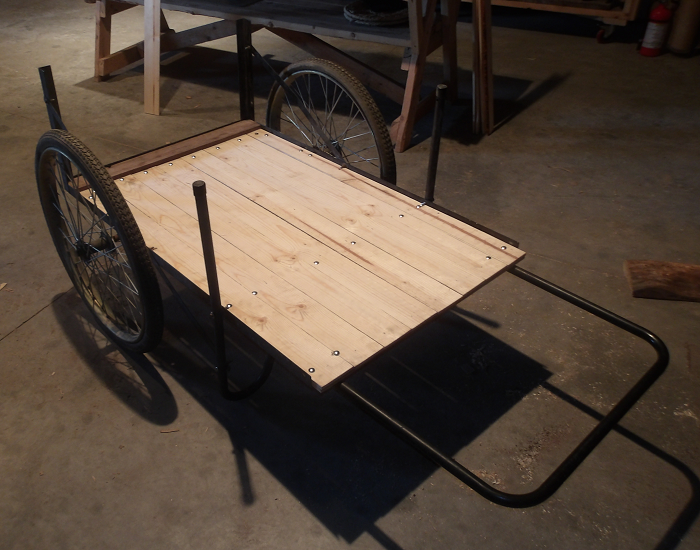
The bottom surface is the most messed-up plywood of the lot, so we prioritized replacing it.


After two shifts of work, I'm pleased with the progress. We're using planks we've milled here at Wheaton Labs for all the sides.


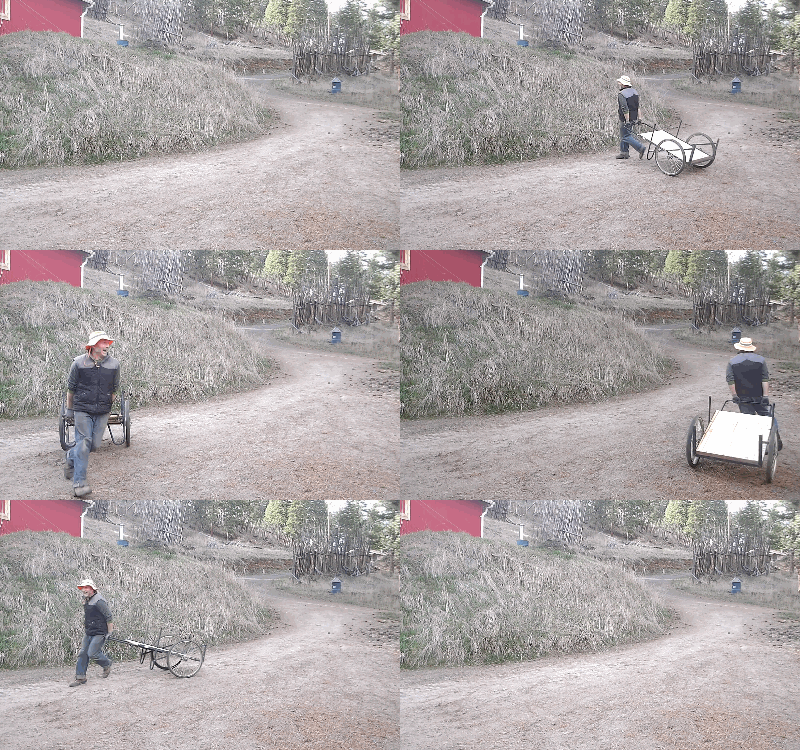
In fact, I'm so pleased with it I decided to run around in circles for a little bit:


That's all for now. Thanks for reading, and enjoy your weekend!!!
 
Stephen B. Thomas
pollinator
Posts: 1237
Location: Wheaton Labs, Montana, USA
2292
9
home care trees books wofati food preservation bike bee building writing seed
  • Likes 5
  • Mark post as helpful
  • send pies
    Number of slices to send:
    Optional 'thank-you' note:
  • Quote
  • Report post to moderator
BRK #520

Happy Saturday to you...!

Here's the general process I've been using when planting trees.

Some general notes and consequences:
- we don't know how many will germinate, so we tend to plant a lot at once.
- we mark the area where we plant the trees: either in a long row (see our Appleseed Day video for an example) or in a marked area.
- some trees develop a taproot, and yes: we know that when we transplant, we'll lose the taproot.

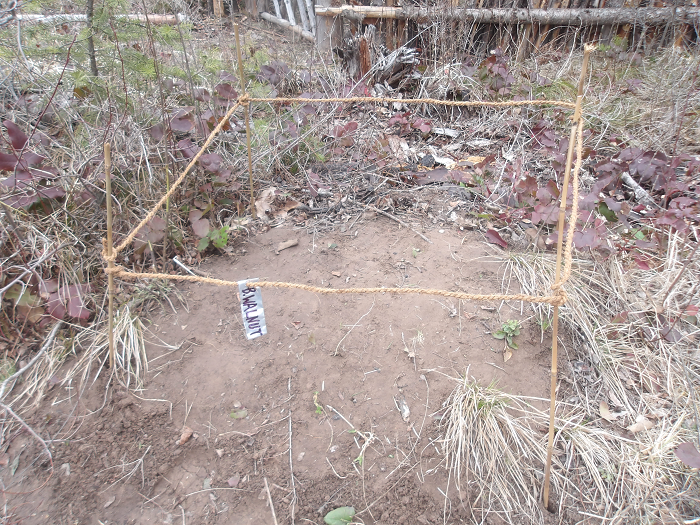
Black Walnut in particular is rather hostile to other plants, but we're trying to cultivate it regardless. In this example, the area where they are planted isn't near any hugel berms or other tree-planting spots. I'd still like to see a black walnut grow inside the fence at Allerton Abbey.

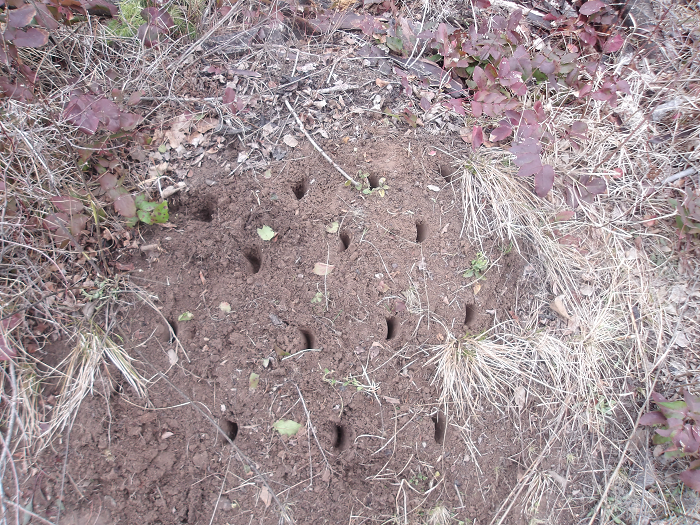
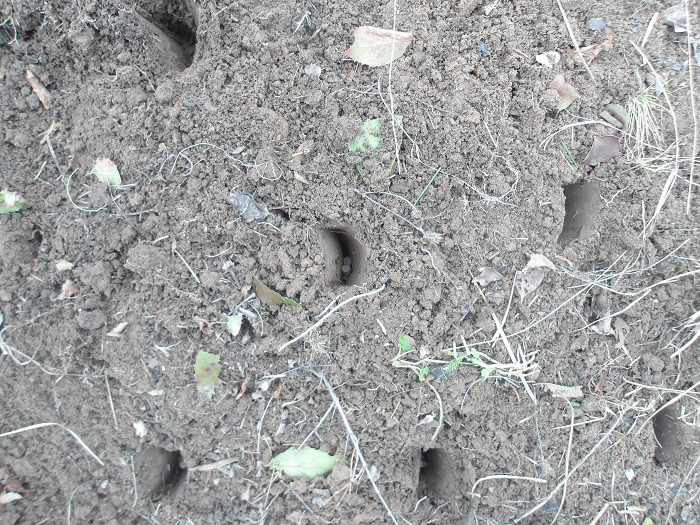
Step One: in a relatively cleared area, make a hole about 2 inches deep. I used a hori hori knife to make these holes.


Step Two: drop a couple alfalfa pellets in each hole. Too many, and you'll burn the seed you're trying to germinate, so resist the temptation to use a lot of pellets in there.


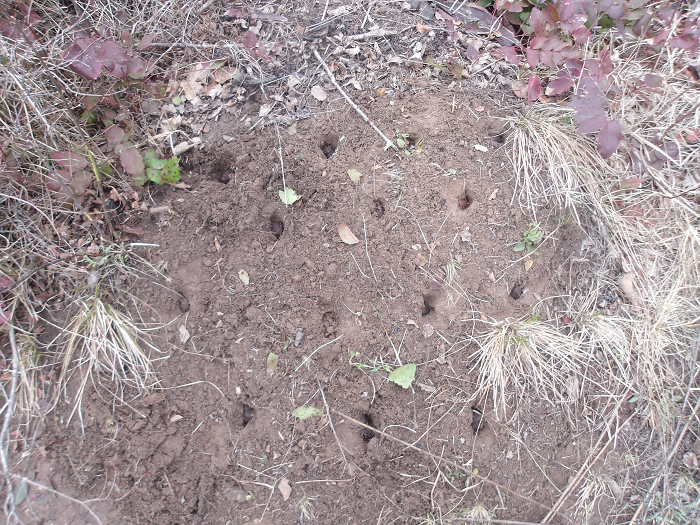
Step Three: drop in your seeds, and press them into the soil. At the very least, they ought to be below the surface of the earth around the hole you've made.


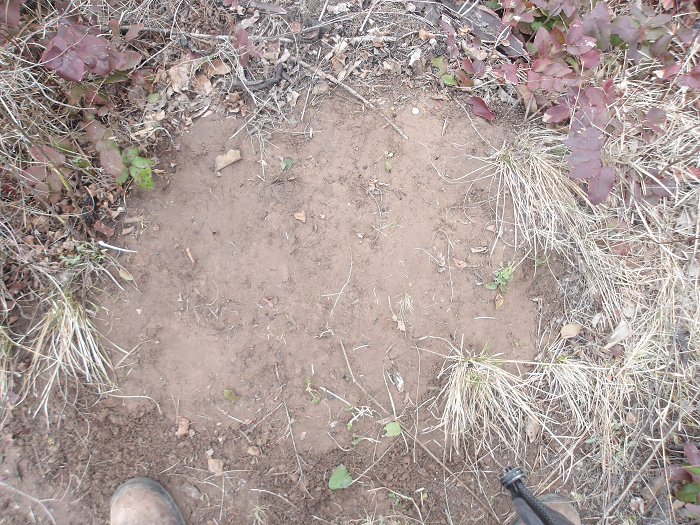
Step Four: Water your seeds and then cover them with soil. Pat-down the soil so it compresses around the seeds you just dropped in there.


Step Five: mark off your area with labels and sticks joined with cordage of some kind. This way, you'll know where to look for sprouts.


That's it! If the weather isn't rainy, come back to check soil conditions. If it appears very dry, be sure to water the area around your marks.

That's all for now. Thanks for reading, and enjoy your day...!
 
And then we all jump out and yell "surprise! we got you this tiny ad!"
Switching from electric heat to a rocket mass heater reduces your carbon footprint as much as parking 7 cars
http://woodheat.net
reply