• Post Reply Bookmark Topic Watch Topic
  • New Topic
permaculture forums growies critters building homesteading energy monies kitchen purity ungarbage community wilderness fiber arts art permaculture artisans regional education skip experiences global resources cider press projects digital market permies.com pie forums private forums all forums
this forum made possible by our volunteer staff, including ...
master stewards:
  • Nancy Reading
  • Carla Burke
  • r ranson
  • John F Dean
  • paul wheaton
  • Pearl Sutton
stewards:
  • Jay Angler
  • Liv Smith
  • Leigh Tate
master gardeners:
  • Christopher Weeks
  • Timothy Norton
gardeners:
  • thomas rubino
  • Jeremy VanGelder
  • Maieshe Ljin

Flush a Water Heater - PEP BB plumbing.sand.tiny.flushheater

BB plumbing and hot water - sand badge
  • Likes 5
  • Mark post as helpful
  • send pies
    Number of slices to send:
    Optional 'thank-you' note:
  • Quote
  • Report post to moderator
This is a badge bit (BB) that is part of the PEP curriculum.  Completing this BB is part of getting the sand badge in Plumbing.

In this Badge Bit, you will flush a water heater.  (Note that this BB is part of a 6-part choose your own adventure list BB called the Tiny List. You must complete six Badge Bits in the Tiny List.)


Some related articles
  - How to Flush Water Heater to Remove Sediment
  - How to Flush Your Hot Water Heater
  - How to Flush a Water Heater
  - How to Flush Your Water Heater
  - How to Flush an Entire House Plumbing System


To complete this BB, the minimum requirements are:
 - flush the water heater

To show you've completed this Badge Bit, you must provide:
   - a before picture of the water heater
   - an in progress shot of you flushing the water heater
   - an after picture of the flushed water heater
   - a description of the previous and current state of the water heater
   - OR a 2-minute video of you doing this
COMMENTS:
 
gardener
Posts: 1331
Location: Miami, 11a, Am, apartment dweller
886
8
hugelkultur kids forest garden trees books wofati cooking bike rocket stoves
  • Likes 3
  • Mark post as helpful
  • send pies
    Number of slices to send:
    Optional 'thank-you' note:
  • Quote
  • Report post to moderator
Approved submission
Been meaning to do this for awhile. Given the state of some of the other appliances where I'm renting, I'm guessing this hasn't been done in possibly years.

It took longer than I expected to break the vacuum and get tank to drain. I kept checking the (very) simple instructions in the manual. I'd done them all. I should pencil in a "Step 5: Patience."

Lotsa gunk came out, the drain hose and the open tub/sink HW taps. Eventually got everything to run clean.
IMG_20200825_162418.jpg
WH before
WH before
IMG_20200825_190052.jpg
Gas off
Gas off
IMG_20200825_190100.jpg
Water supply off
Water supply off
IMG_20200825_190042.jpg
Drain on
Drain on
IMG_20200825_163209.jpg
Faucet open
Faucet open
IMG_20200825_192842_1.jpg
Draining!
Draining!
IMG_20200825_211915.jpg
Reassembled
Reassembled
IMG_20200825_184404_1.jpg
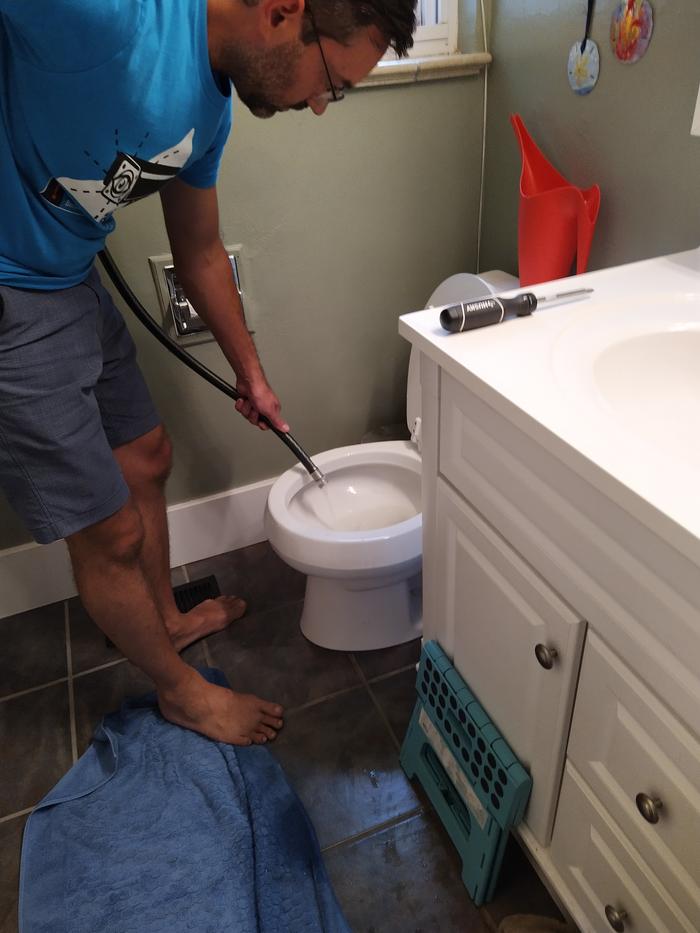
Some of first flush water went to the toilet, so I could see how much gunk there was. I'm now cleaning the toilet
Staff note (Mike Barkley) :

I certify this BB is complete.

 
pioneer
Posts: 84
Location: Upstate South Carolina, USA
32
7
kids hunting foraging building bee rocket stoves
  • Likes 2
  • Mark post as helpful
  • send pies
    Number of slices to send:
    Optional 'thank-you' note:
  • Quote
  • Report post to moderator
Approved submission
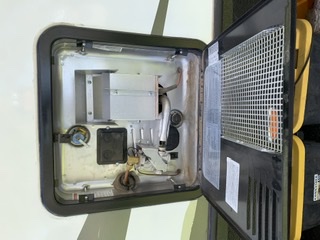
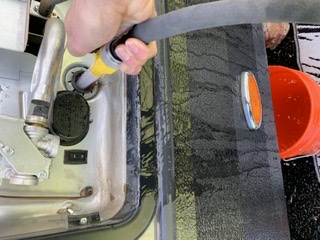
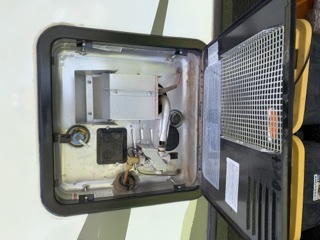
My badge bit submission for flush a water heater. We live in a RV full time right now, so this task was performed on that water heater. We were getting sediment stuck in faucet aerators, so I figured it must be time.
When I pulled out the old anode, which I also replaced, lots of sediment came out. More was obvious when I flushed the tank out. Eventually subsequent flushes ran clear.
21120EBE-FBFF-4CDF-BAF8-E37E63704223.jpeg
My “before” pic
My “before” pic
7784ECDD-C5E3-430B-940D-A4FD7021993D.jpeg
Flushing the tank out
BDD22435-6FF0-4DCA-99F3-C12F2B2F3EF6.jpeg
My “after” pic of cleaned tank, new anode replaced.
Staff note (gir bot) :

Mike Haasl approved this submission.

 
Posts: 34
Location: Eastern Missouri 6a
24
kids dog trees chicken bike building
  • Likes 3
  • Mark post as helpful
  • send pies
    Number of slices to send:
    Optional 'thank-you' note:
  • Quote
  • Report post to moderator
Approved submission
Had to change our rod so I figured I'd get two badges for it!

Here's my entry for the rod replacement for more pics if needed: https://permies.com/p/1291109
IMG_20210721_150117_425.jpg
Secured power
Secured power
IMG_20210721_150150_394.jpg
Secured water
Secured water
IMG_20210721_154328_562.jpg
Draining it out (I need a couple more hoses going to this drain I think)
IMG_20210721_161349_983.jpg
Water back on
Water back on
IMG_20210721_161405_898.jpg
Power back on
Power back on
Staff note (gir bot) :

Mike Haasl approved this submission.

 
gardener
Posts: 388
Location: Zone 7a
264
6
kids rabbit chicken food preservation fiber arts
  • Likes 3
  • Mark post as helpful
  • send pies
    Number of slices to send:
    Optional 'thank-you' note:
  • Quote
  • Report post to moderator
Approved submission
After I replaced the anode it became obvious that a flush was in order. Generally speaking there are no issues with the hot water, no off colors or smells. The point of the flush is to keep things in working order. Now that I'm done it's back to normal. The water runs clear and hot.
before water heater
water heat flushing in progress
water heater after flushing
Staff note (gir bot) :

Mike Haasl approved this submission.

 
steward
Posts: 15505
Location: Northern WI (zone 4)
4846
7
hunting trees books food preservation solar woodworking
  • Likes 2
  • Mark post as helpful
  • send pies
    Number of slices to send:
    Optional 'thank-you' note:
  • Quote
  • Report post to moderator
Approved submission
I got to do this one along with changing the anode rod. One thing I learned.....

To flush it well, keep the water turned on to the water heater.  Then when you open the drain, water will get pushed out along with the junk.  If you just rely on gravity, it might not get as much stuff.

The water was amazingly clean, I'm surprised.  It was a 7 year old water heater so maybe I actually did it in time...
Before.jpg
Before
Before
During.jpg
During
During
After.jpg
After
After
Staff note (gir bot) :

Mike Barkley approved this submission.

 
gardener
Posts: 1569
Location: Washington State
985
6
forest garden trees rabbit earthworks composting toilet fiber arts sheep wood heat woodworking rocket stoves homestead
  • Likes 3
  • Mark post as helpful
  • send pies
    Number of slices to send:
    Optional 'thank-you' note:
  • Quote
  • Report post to moderator
Approved submission
Here is my submission for the Plumbing Aspect - Sand for Straw - Flush a Water Heater BB.

Wheaton Labs: Fisher-Price House
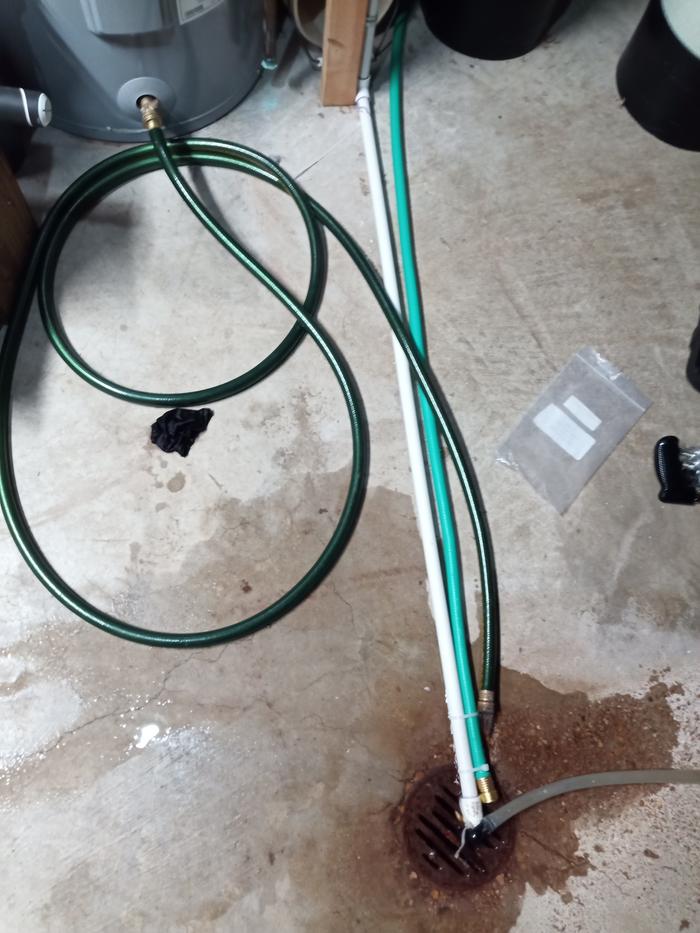
A new anode was purchased for installation so I decided to tackle both projects.  With the hosed attached and the power off, I opened the drain valve and checked the outlet.  By the time, I traveled from the water heater to the end of the hose it was running clear and there was no visible sediment at the mouth of the hose.  


To document the completion of the BB, I have provided the following:
   - a before picture of the water heater
   - an in-progress shot of you flushing the water heater
   - an after picture of the flushed water heater
   - a description of the previous and current state of the water heater
1.JPG
Water Heater
Water Heater
2.JPG
Hose Attached (power/water off)
3.JPG
flush water
flush water
4.JPG
After
After
Staff note (gir bot) :

jordan barton approved this submission.

 
gardener
Posts: 325
Location: NW Washington - Zone 8b (15 to 20 °F / -9.4 to -6.7 °C)
270
2
cattle goat foraging trees earthworks cooking building solar sheep wood heat
  • Likes 2
  • Mark post as helpful
  • send pies
    Number of slices to send:
    Optional 'thank-you' note:
  • Quote
  • Report post to moderator
Approved submission
Time to flush the domestic hot water heater.  It is the upper tank and is electric.  The lower tank is for hydronic radiant floor heat.
20221030_115542.jpg
Before flushing.
Before flushing.
20221030_115635.jpg
Turning off the power.
20221030_115812.jpg
Attaching the hose.
Attaching the hose.
20221030_120132.jpg
Turn off the water supply.
20221030_115829.jpg
Open the drain valve.
20221030_120320.jpg
Open the faucet valves.
20221030_120417.jpg
Water flowing out the hose.
20221030_125158.jpg
All done.
All done.
Staff note (gir bot) :

Someone approved this submission.

 
Posts: 25
4
cat chicken food preservation
  • Mark post as helpful
  • send pies
    Number of slices to send:
    Optional 'thank-you' note:
  • Quote
  • Report post to moderator
Approved submission
I started this since I was doing the water heater anode replacement I thought I would go ahead and knock this out at the same time.

I did not notice any issues with the water but since the water heater was purchased in 2012 it was long overdue.
I did find that during the process opening the temp pressure release valve while performing the flush speed up the process.
I had to run it through 3-4 times after the complete drain to have the water come out clear.

Once completed I was able to fill tank back up and check this off my home maintenance list.
IMG_4778.jpeg
Before
Before
IMG_4771.jpeg
during the flush
during the flush
IMG_4779.jpeg
After flush was completed
Staff note (gir bot) :

Someone approved this submission.
Note: Looks good!

 
Posts: 22
Location: Baltimore, MD
8
transportation tiny house bike
  • Mark post as helpful
  • send pies
    Number of slices to send:
    Optional 'thank-you' note:
  • Quote
  • Report post to moderator
Approved submission
No issues with the water heater before, but I don't think it had been drained in a few years. Opened the ball valve and no water came out, too much sediment blocking the exit. I had to poke a hole in the sediment wall, then it started draining just fine. Opened the water supply after a while to push things along. Lots of sediment at first, but seemed to run clear not too much longer. Put everything back together, and it's working fine.
1-before.jpg
[Thumbnail for 1-before.jpg]
2-burner-off.jpg
[Thumbnail for 2-burner-off.jpg]
3-water-supply-off.jpg
[Thumbnail for 3-water-supply-off.jpg]
4-faucet-draining.jpg
[Thumbnail for 4-faucet-draining.jpg]
5-hose-connected.jpg
[Thumbnail for 5-hose-connected.jpg]
6-hose-to-drain.jpg
[Thumbnail for 6-hose-to-drain.jpg]
7-draining-slow.jpg
[Thumbnail for 7-draining-slow.jpg]
8-draining-fast.jpg
[Thumbnail for 8-draining-fast.jpg]
9-after.jpg
[Thumbnail for 9-after.jpg]
Staff note (gir bot) :

Someone approved this submission.
Note: Glad debris is cleaned out.

 
Apprentice Rocket Scientist
Posts: 853
Location: 4a, high mountain dessert
410
3
kids foraging rabbit fiber arts medical herbs bee
  • Mark post as helpful
  • send pies
    Number of slices to send:
    Optional 'thank-you' note:
  • Quote
  • Report post to moderator
Approved submission
I flushed our water heaters. We have two, side by side. One is just for storage, to warm the water to room temperature before we heat the water. This saves us money on water heating! But we do have to flush them both. We have hard water, so the water heaters get pretty crusty. If we don't flush them for over a year, they actually plug up.
20240616_192527.jpg
Water heaters before
20240616_192550.jpg
Water intake valve closed for the flushing.
20240616_192615.jpg
I flush the not-heated vessel with a bucket. Here it is draining
20240616_192747.jpg
There are quite a few crusties!!
20240616_192925.jpg
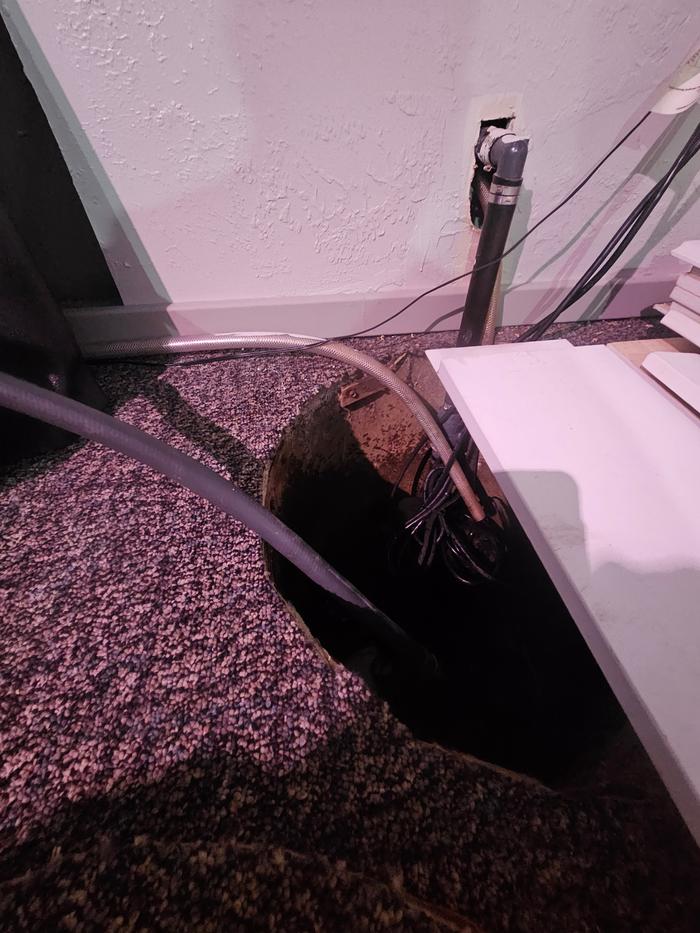
The heaters are in a basement, so we drain them into a well with a sump pump, which pumps it out to the driveway
Staff note (gir bot) :

Jeremy VanGelder approved this submission.

 
this tiny ad is trying to guide you away from the dark side!
Heat your home with the twigs that naturally fall of the trees in your yard
http://woodheat.net
reply
    Bookmark Topic Watch Topic
  • New Topic