gift
Diego Footer on Permaculture Based Homesteads - from the Eat Your Dirt Summit
will be released to subscribers in: soon!
  • Post Reply Bookmark Topic Watch Topic
  • New Topic
permaculture forums growies critters building homesteading energy monies kitchen purity ungarbage community wilderness fiber arts art permaculture artisans regional education skip experiences global resources cider press projects digital market permies.com pie forums private forums all forums
this forum made possible by our volunteer staff, including ...
master stewards:
  • Carla Burke
  • John F Dean
  • Timothy Norton
  • Nancy Reading
  • r ranson
  • Jay Angler
  • Pearl Sutton
stewards:
  • paul wheaton
  • Tereza Okava
  • AndrĂ©s Bernal
master gardeners:
  • Christopher Weeks
gardeners:
  • Jeremy VanGelder
  • M Ljin
  • Matt McSpadden

Carve a first-timer spoon - PEP BB roundwood.sand.spoon

BB round wood woodworking - sand badge
 
pollinator
Posts: 153
17
2
foraging building homestead ungarbage
  • Mark post as helpful
  • send pies
    Number of slices to send:
    Optional 'thank-you' note:
  • Quote
  • Report post to moderator
Approved submission
For the spoon, I started with a piece of Mulberry.  Then split it with a hatchet and carve the handle with a pocket knife. I used a couple chisels and a pocket knife for the bowl part of the spoon, then sanded it with sandpaper.
IMG_0717.jpeg
Starting wood
Starting wood
IMG_0719.jpeg
Split
Split
IMG_0764.jpeg
Carving
Carving
IMG_0759.jpeg
Rough spoon, and the tools
IMG_0768.jpeg
Finished
Finished
Staff note (gir bot) :

Someone approved this submission.

 
Posts: 70
Location: 6b, stony clay, Utah
15
homeschooling forest garden composting
  • Likes 2
  • Mark post as helpful
  • send pies
    Number of slices to send:
    Optional 'thank-you' note:
  • Quote
  • Report post to moderator
Approved submission
I started with a very green maple branch, then whittled, gouged, and sanded. It's totally functional!
20250426_140305-COLLAGE.jpg
[Thumbnail for 20250426_140305-COLLAGE.jpg]
Staff note (gir bot) :

Someone approved this submission.

 
Posts: 9
1
  • Mark post as helpful
  • send pies
    Number of slices to send:
    Optional 'thank-you' note:
  • Quote
  • Report post to moderator
Approved submission
Madrone
IMG_20250430_180508.jpg
[Thumbnail for IMG_20250430_180508.jpg]
IMG_20250501_172909.jpg
[Thumbnail for IMG_20250501_172909.jpg]
IMG_20250501_184730.jpg
[Thumbnail for IMG_20250501_184730.jpg]
IMG_20250501_184841.jpg
[Thumbnail for IMG_20250501_184841.jpg]
Staff note (gir bot) :

Pete Podurgiel approved this submission.

 
pollinator
Posts: 201
Location: Fairfield, Idaho, USA
60
hugelkultur purity monies dog duck books chicken cooking food preservation fiber arts medical herbs
  • Likes 1
  • Mark post as helpful
  • send pies
    Number of slices to send:
    Optional 'thank-you' note:
  • Quote
  • Report post to moderator
Approved submission
This was fun! And I only sliced open my fingers four times!

Minimum requirements:
  - useful size and shape
  - smooth
  - something you might actually use
  - made with hand tools only

To get certified for this BB, post three pics.  

 - Your chunk of wood that you are starting with  
 - Progress about half way through, with the hand tools you have decided to use for this
 - Final product

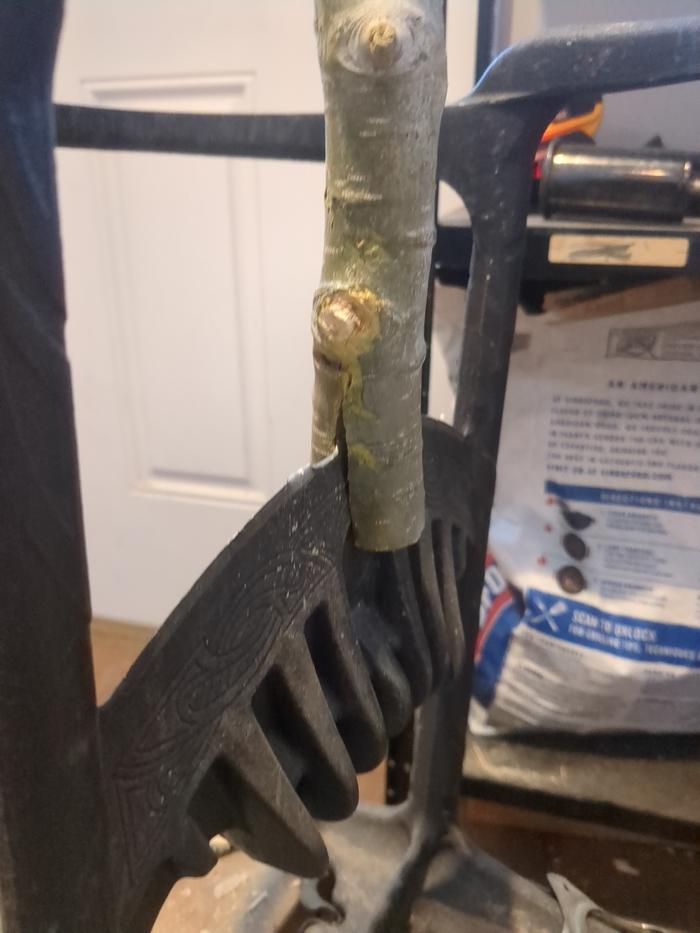
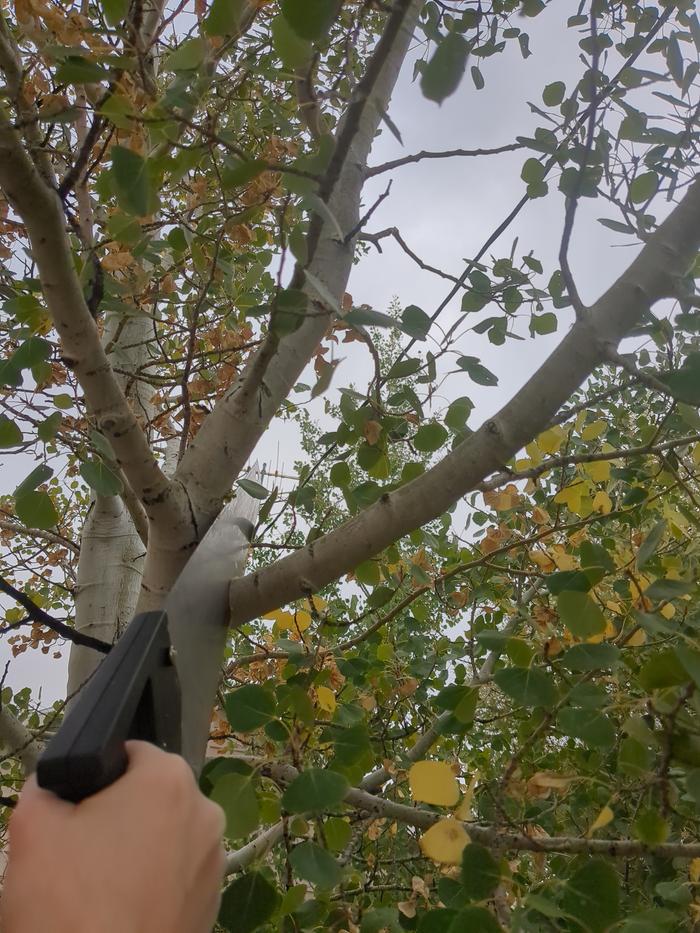
This is a spoon that I made from an aspen. I struggled to find a branch large enough for a spoon that I was willing to part with. This branch I cut down is kind of close to a power line.


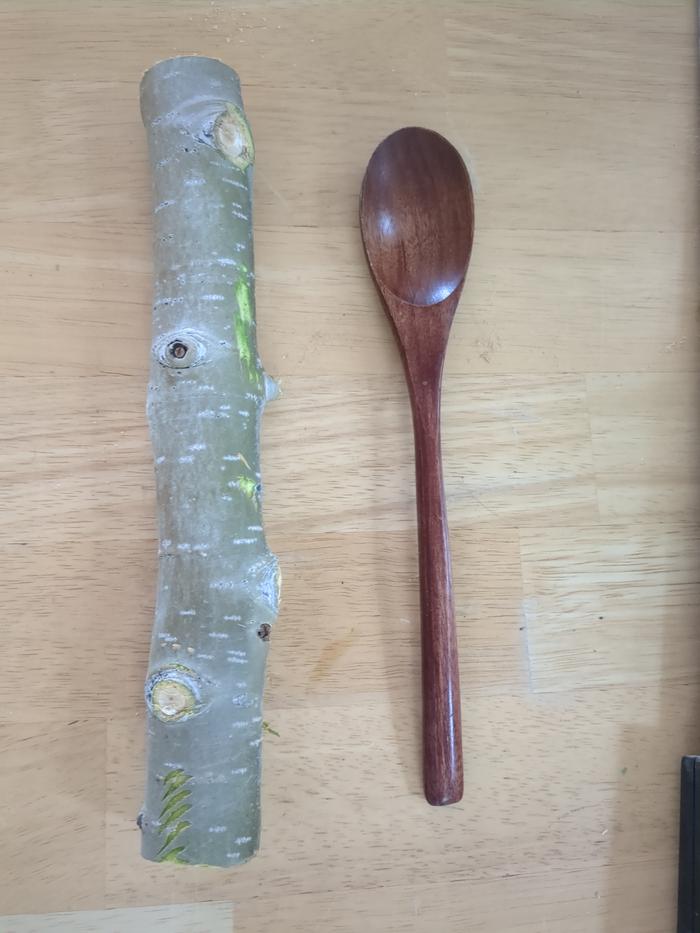
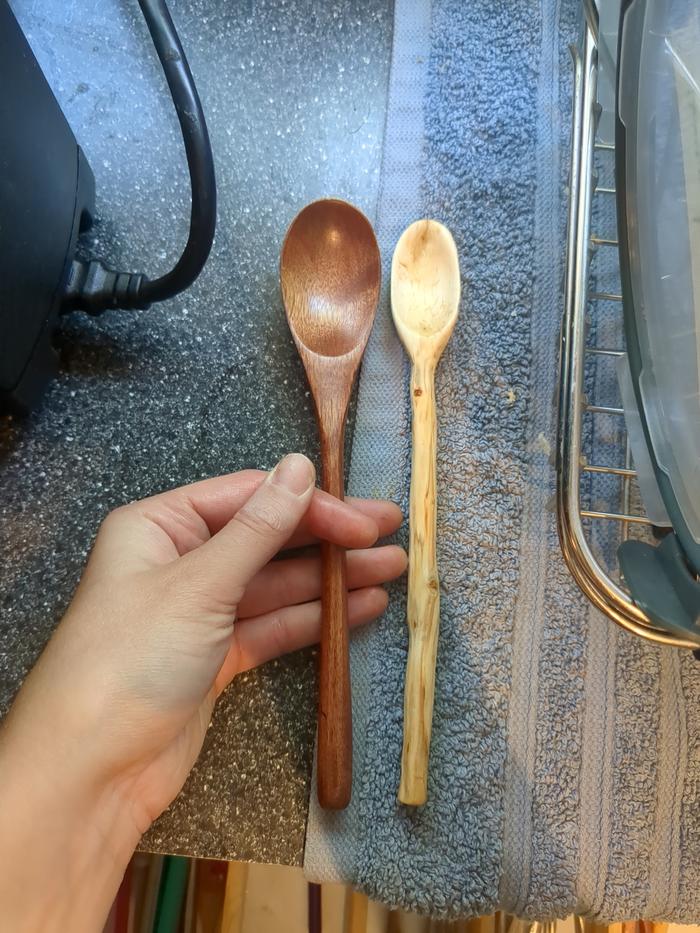
I measured it against a storebought spoon.


I started out by splitting it on the kindling cracker.
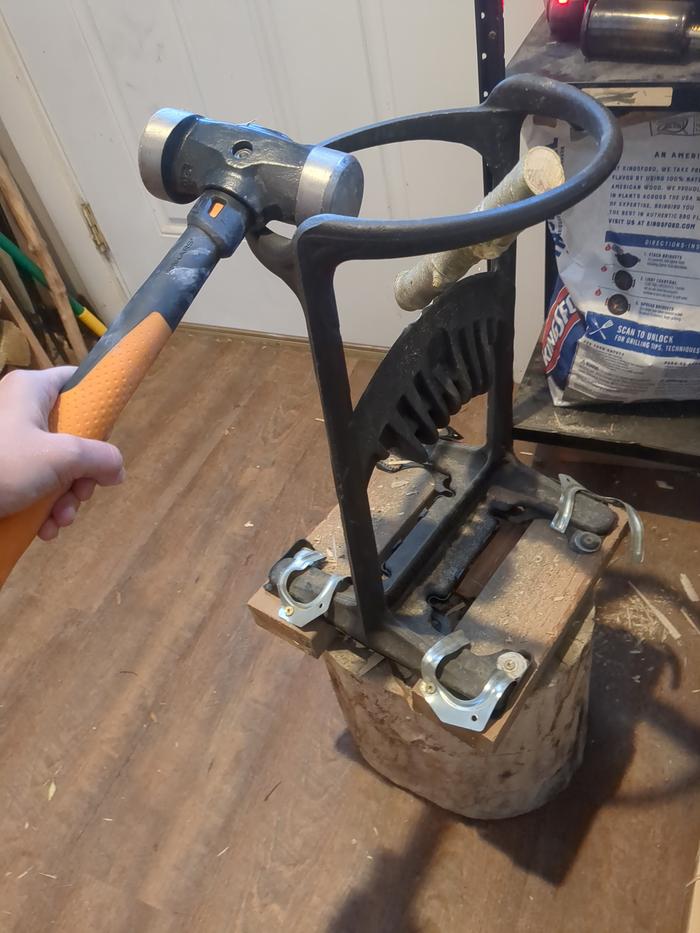


I made smaller slits with a tiny axe multitool and a mallet. I finally have a use for this thing! I just bought it because it was a silly little axe and I was really into multitools. It even has a tiny saw for the knots.
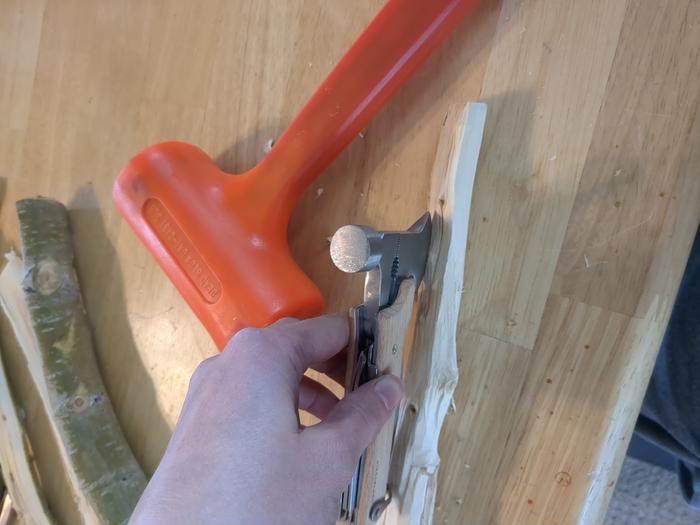
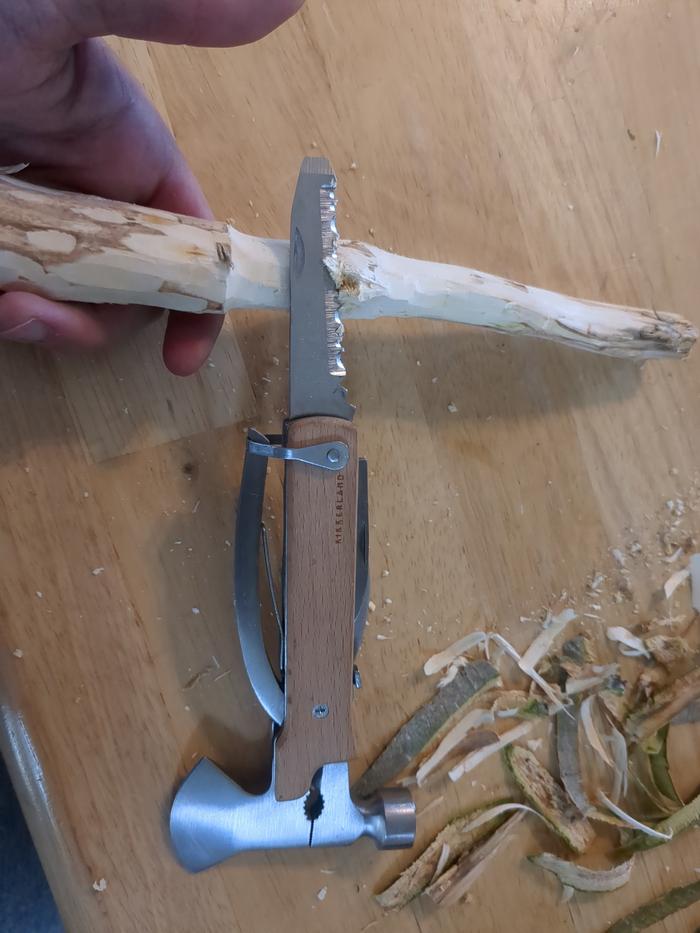


Partway through. I also got a woodcarving-specific multitool with a spoon knife in it. I also learned when it arrived that you should never pull out all the blades at the same time.
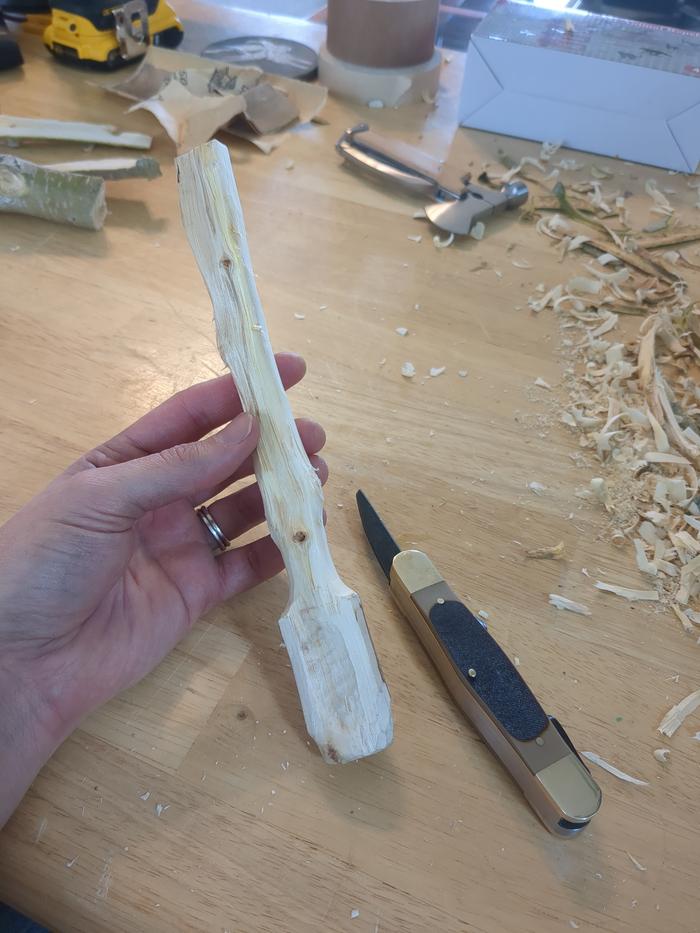


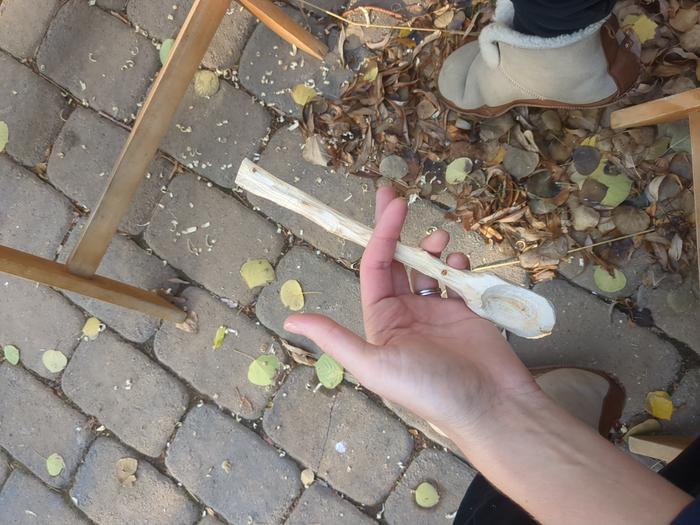
When I first started, I was trying to carve it on my crafting table and it was really putting a strain on my upper back. I then moved outside and bent over so that I could hold the spoon in my right hand with my right elbow resting on my knee and only my left arm with the blade was moving. This was a million times more ergonomic and saved my back. Sorry this picture is sideways. But this is the spoon most of the way through.


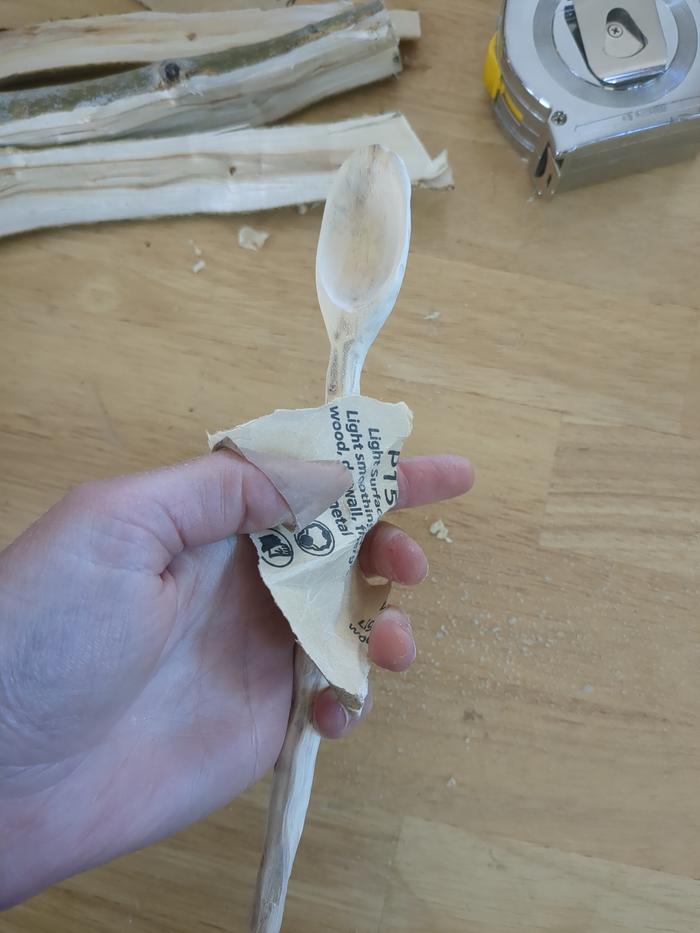
Sanding.


It's about the same length as the storebought spoon, although the bowl is smaller.


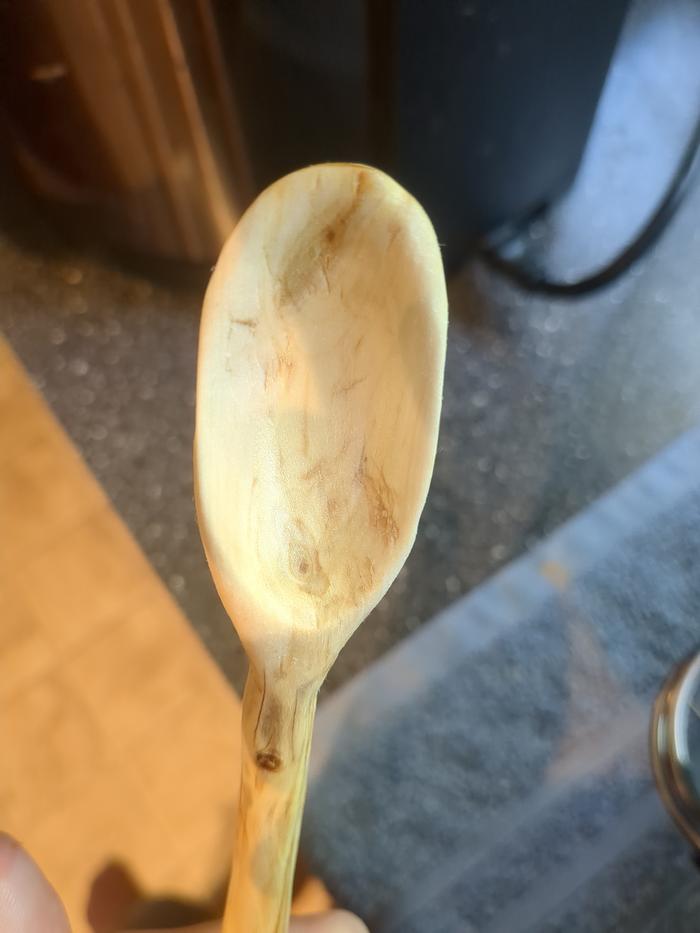
Closeup.


Here is the spoon next to the first spoon I tried carving for the BB that turned out too small.
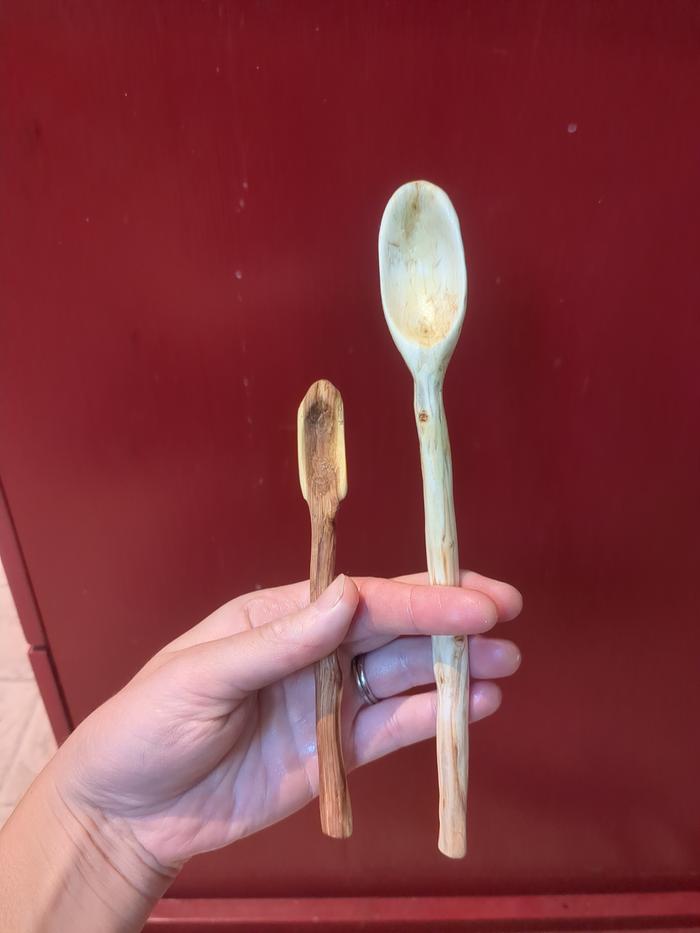


After oiling with walnut oil five or six times. It kept absorbing it almost immediately. All done!
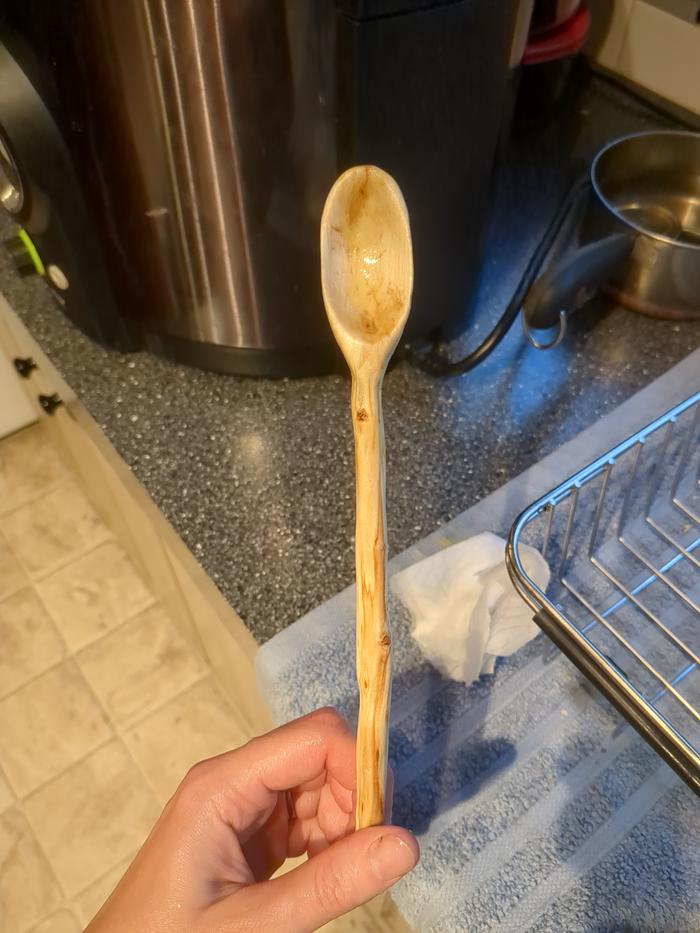
Staff note (gir bot) :

Jeremy VanGelder approved this submission.
Note: That's a good spoon!

 
pollinator
Posts: 251
Location: Salado, Texas
54
hugelkultur forest garden fungi foraging medical herbs ungarbage
  • Mark post as helpful
  • send pies
    Number of slices to send:
    Optional 'thank-you' note:
  • Quote
  • Report post to moderator
Approved submission
wooden spoon made with saw, pocket knife, and fire:

The spoon and the other half of the stick


Burning out the bowl of the spoon


Finished spoons
https://permies.com/t/273224/a/273409/thumb-twospoons.jpg
Staff note (gir bot) :

Someone approved this submission.

 
James Bradford
pollinator
Posts: 251
Location: Salado, Texas
54
hugelkultur forest garden fungi foraging medical herbs ungarbage
  • Likes 1
  • Mark post as helpful
  • send pies
    Number of slices to send:
    Optional 'thank-you' note:
  • Quote
  • Report post to moderator
Approved submission
Ok, please ignore my submission above ...didn't quite document that one so well.   This one is my 3rd spoon, and it is a serving sized spoon made from black walnut

tools used:  bow saw, hand saw, vice grip, 2lb hammer, machete, channel locks, gardening trowel, and buck pocket knife.


bowlburn.jpg
used channel locks to handle the coals
cuttingshoulders.jpg
splitting out excess material around the handles
finished1.jpg
Finished!
Finished!
finishedotherhalf.jpg
Other half of the stick is ready to be the next spoon
Harvesting.jpg
Camden layer long gone, wood beetles already fed, starting to fall anyway
roughoutdone.jpg
sawed what I could and one round of whittling done
roughsawing.jpg
roughout with hand saw
splitting4handle.jpg
machete and hammer to split along and existing split
testing.jpg
Works great!
Works great!
tools.jpg
I ended up using more tools than I thought b4.
Staff note (gir bot) :

Paul Fookes approved this submission.
Note: Well done

 
These are the worst of times and these are the best of times. And this is the best tiny ad:
Learn Permaculture through a little hard work
https://wheaton-labs.com/bootcamp
reply
    Bookmark Topic Watch Topic
  • New Topic