

My PEP Badge Tracker: An easier way to track your PEP Badge Progress
will be released to subscribers in:
soon!

|

|

|

|

|
 1
1


J Lane

Skill verified by gir bot")

Skill verified by Jeremy VanGelder")

Skill verified by Mike Haasl")

Skill verified by Mike Haasl")

Skill verified by Alexandra Malecki")
Someone approved this submission.
3
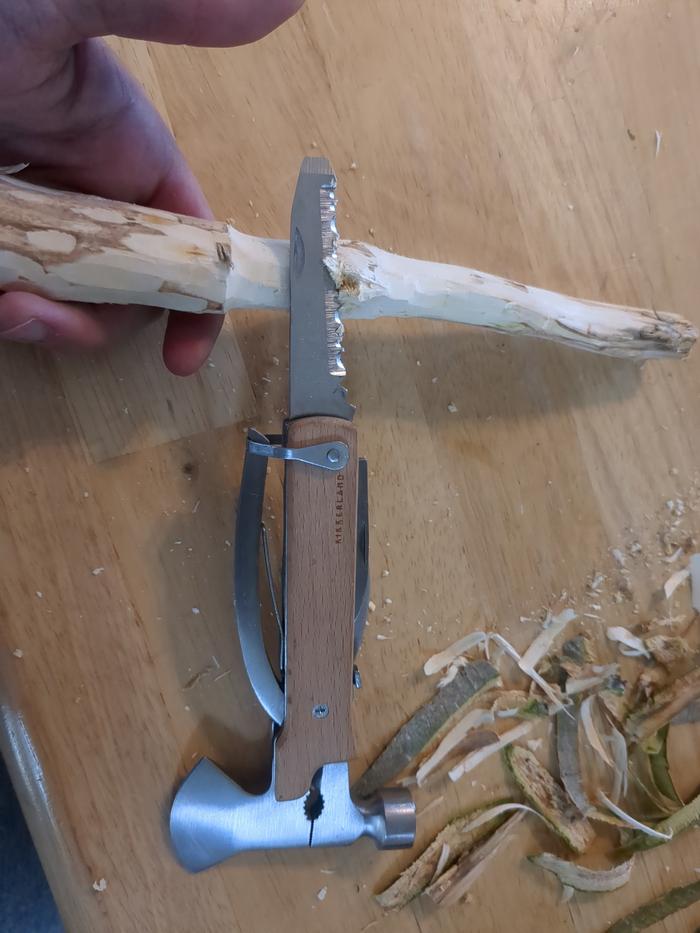
![[Thumbnail for 20250426_140305-COLLAGE.jpg]](/t/99344/a/264334/20250426_140305-COLLAGE.jpg "Filename: 20250426_140305-COLLAGE.jpg
Description:")
"It is better to remain silent at the risk of being thought a fool, than to talk and remove all doubt of it." - Maurice Switzer

Skill verified by gir bot")
Someone approved this submission.
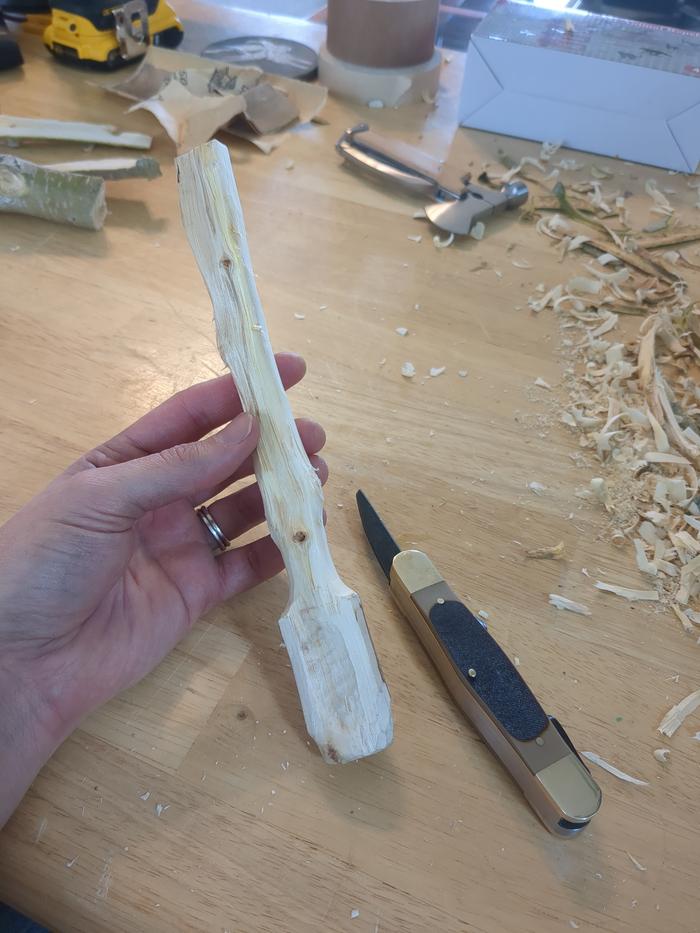
![[Thumbnail for IMG_20250430_180508.jpg]](/t/99344/a/268435/IMG_20250430_180508.jpg "Filename: IMG_20250430_180508.jpg
Description:")
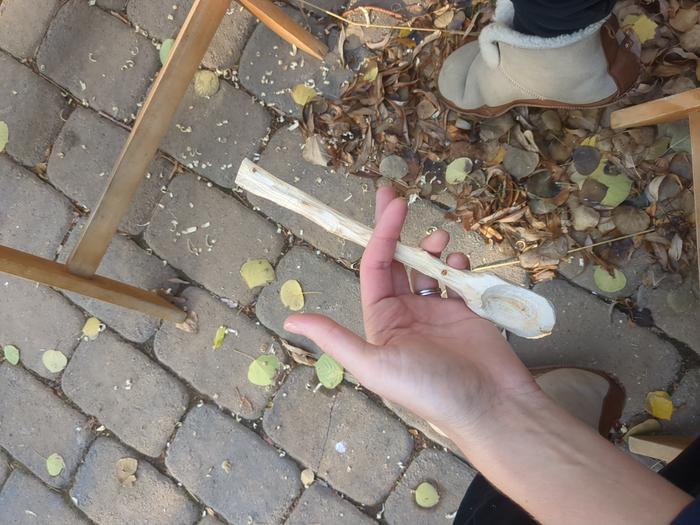
![[Thumbnail for IMG_20250501_172909.jpg]](/t/99344/a/268436/IMG_20250501_172909.jpg "Filename: IMG_20250501_172909.jpg
Description:")
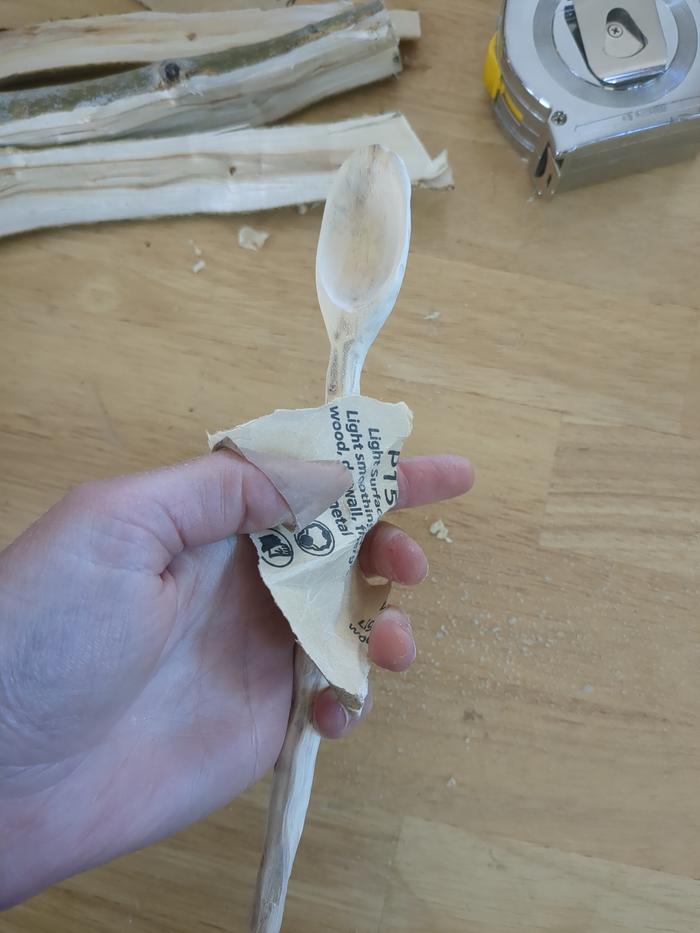
![[Thumbnail for IMG_20250501_184730.jpg]](/t/99344/a/268437/IMG_20250501_184730.jpg "Filename: IMG_20250501_184730.jpg
Description:")
![[Thumbnail for IMG_20250501_184841.jpg]](/t/99344/a/268438/IMG_20250501_184841.jpg "Filename: IMG_20250501_184841.jpg
Description:")

Skill verified by gir bot")
Pete Podurgiel approved this submission.
3

-Halley
I like to make stuff. Check out my compilation of projects! https://halleyschibelportfolio.my.canva.site/

Skill verified by gir bot")

Skill verified by Opalyn Rose")

Skill verified by Jeremy VanGelder")

Skill verified by Jeremy VanGelder")

Skill verified by Alexandra Malecki")
Jeremy VanGelder approved this submission.
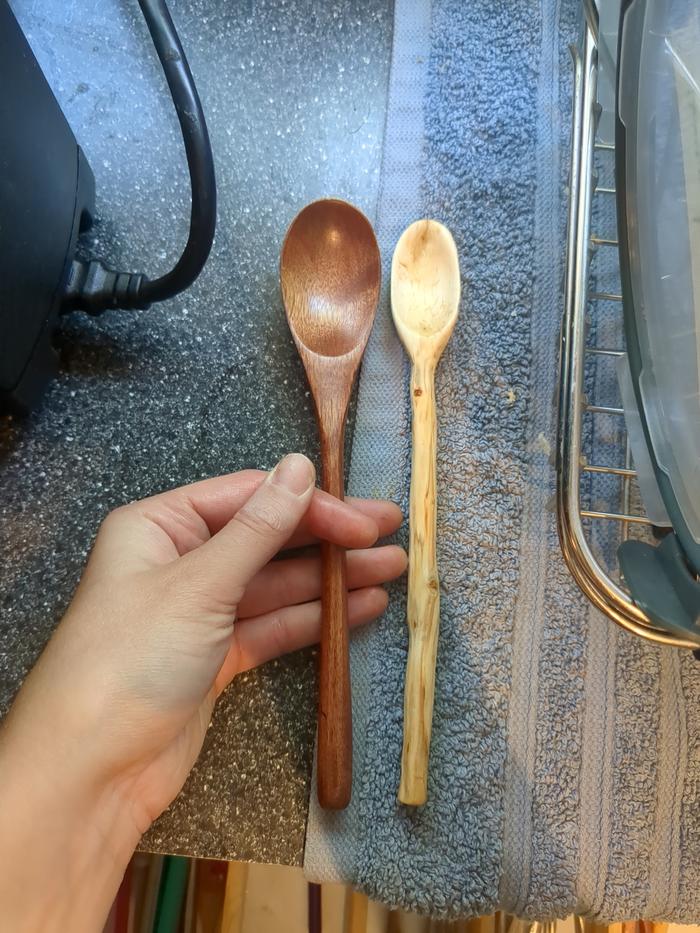
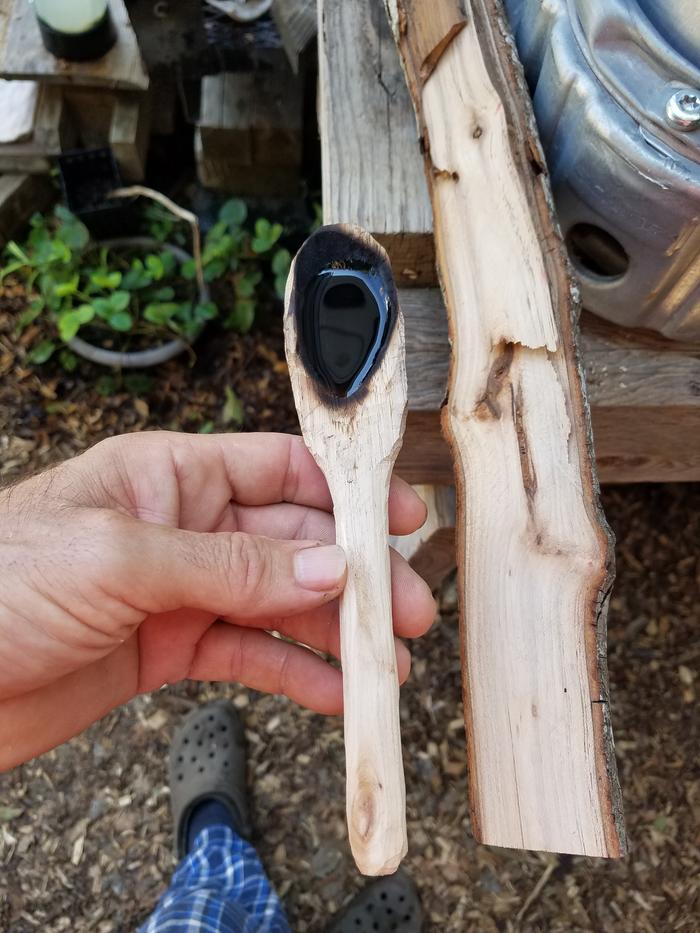
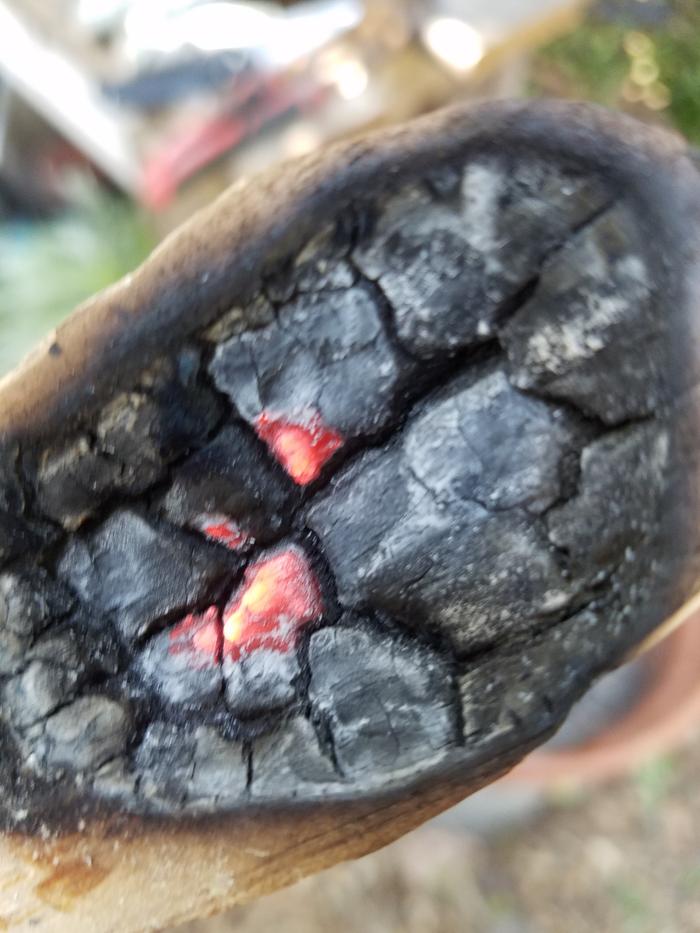
Note: That's a good spoon!
row row row your boat, gently down the stream
merrily merrily merrily, merrily, life is but a dream.

Skill verified by gir bot")
Someone approved this submission.
3


row row row your boat, gently down the stream
merrily merrily merrily, merrily, life is but a dream.
Paul Fookes approved this submission.
Note: Well done


![[Thumbnail for IMG_1393.jpeg]](/t/99344/a/280767/IMG_1393.jpeg "Filename: IMG_1393.jpeg
Description:")


![[Thumbnail for IMG_1397.jpeg]](/t/99344/a/280770/IMG_1397.jpeg "Filename: IMG_1397.jpeg
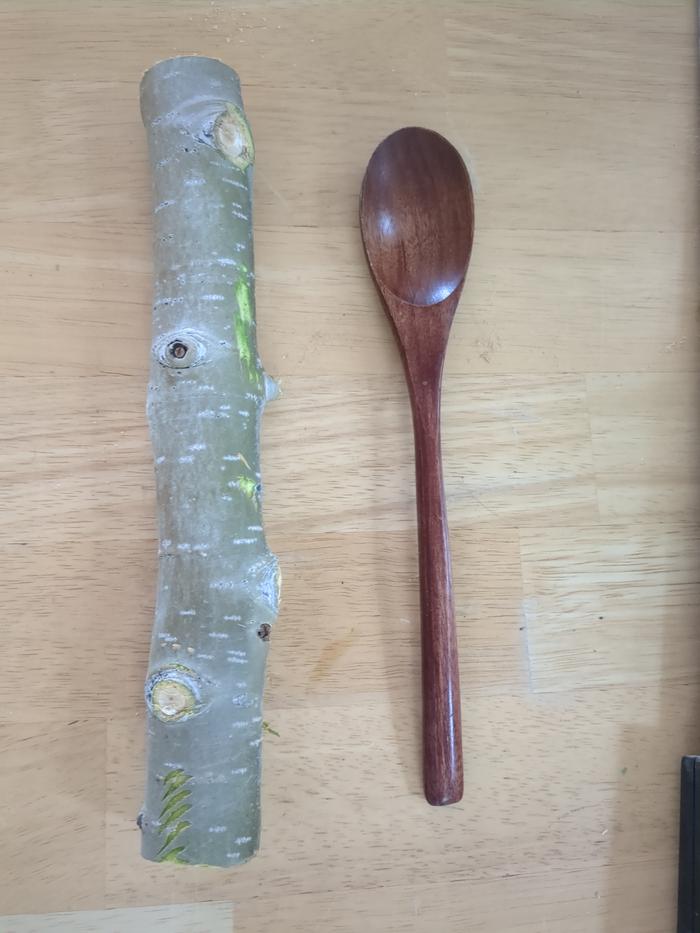
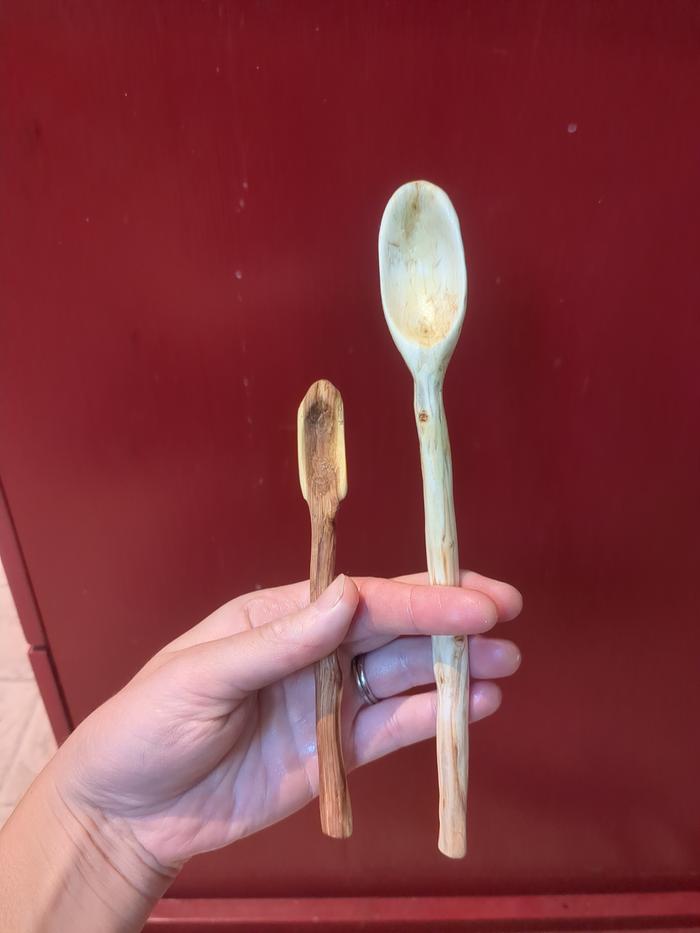
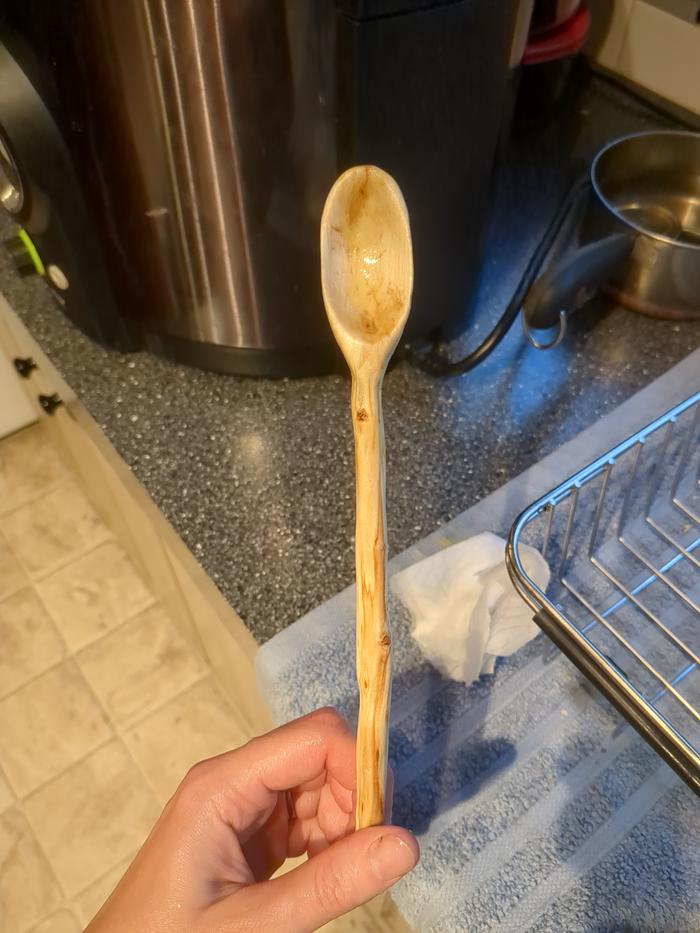
Description: Very long spoon")
One can never be too kind to oneself or others.
Never our fault, always our responsibility
Benjamin Dinkel flagged this submission as an edge case.
BBV price: 1
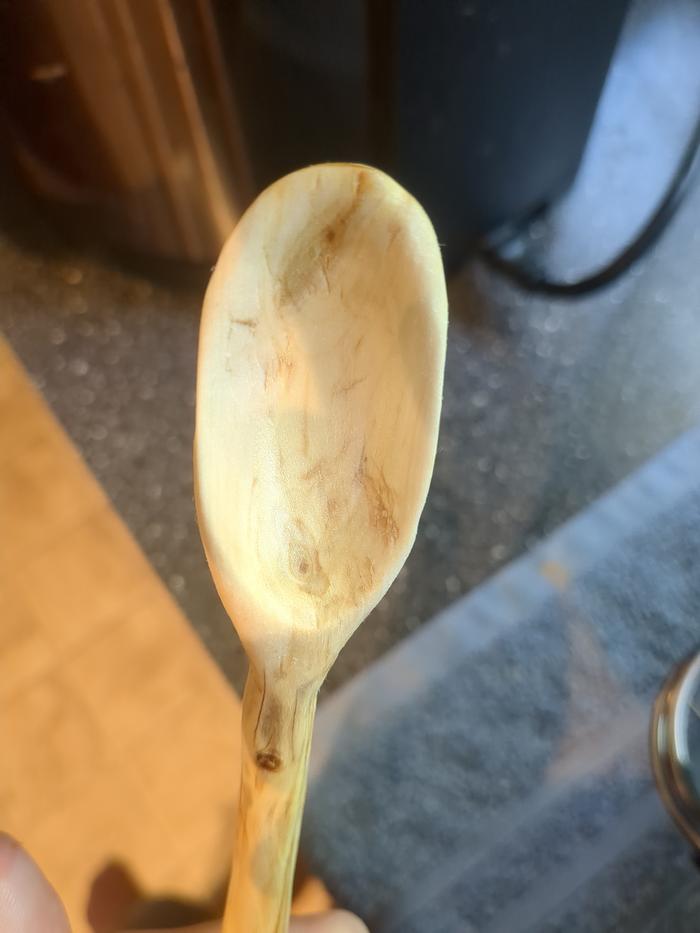
Note: I can't really tell if the "smooth" requirement is met


One can never be too kind to oneself or others.
Never our fault, always our responsibility
Richard Gorny approved this submission.


 2
2


Working toward a permaculture-strong retirement near sunny Sperling.
Someone approved this submission.
3

")


Someone flagged this submission as an edge case.
BBV price: 0
Note: I can't quite tell if this is smooth - the handle has some flyaway fibres that make me feel as though I might get a splinter if I ate from this spoon

|
I have begun to write a book. I already have all the page numbers done! And one tiny ad:
try homesteading without the stress and anxieties of buying a homestead
https://wheaton-labs.com/bootcamp
|


