

|

|

|

|

|

|
|
|
|
|
|
|
|

|

|

|

|

|
 5
5


Skill verified by gir bot")

Skill verified by Nicole Alderman")
I certify that this Badge Bit is complete!
4


Skill verified by gir bot")

Skill verified by Mike Barkley")
I certify that this Badge Bit is complete!
2
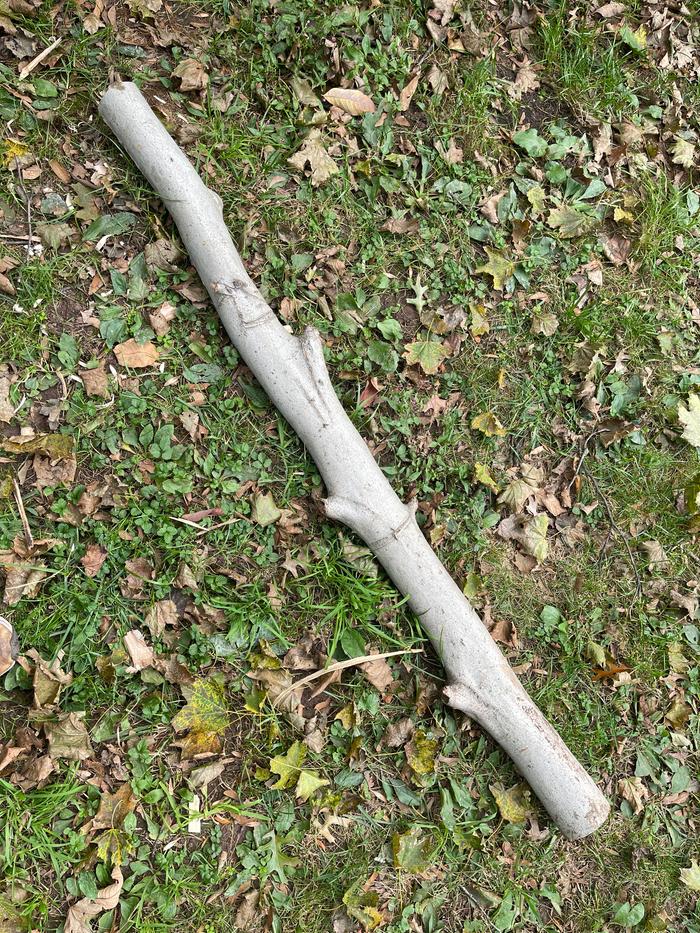
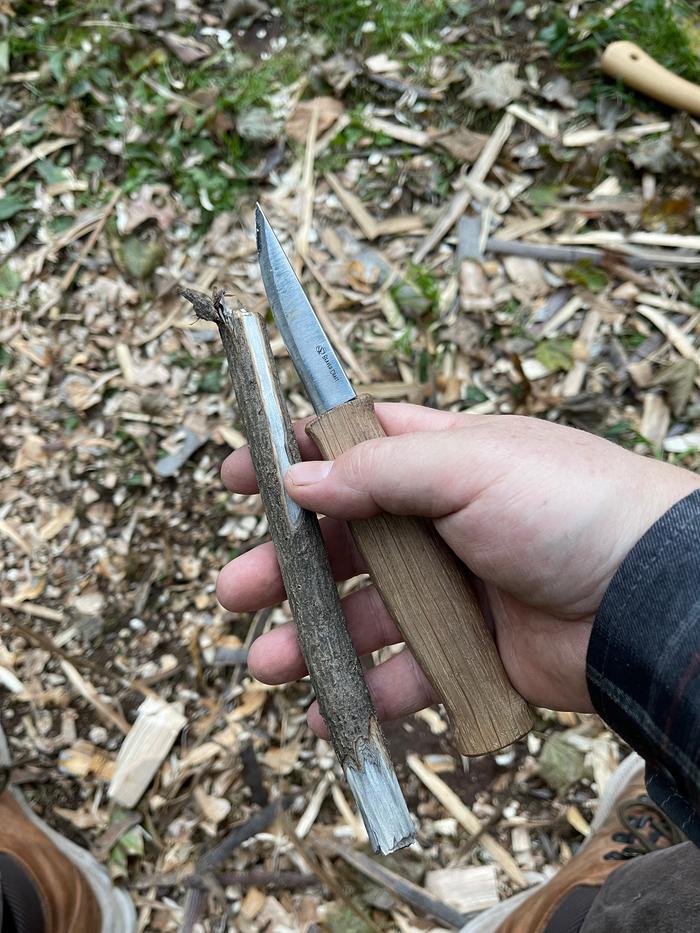
To get certified for this BB, post three pics.
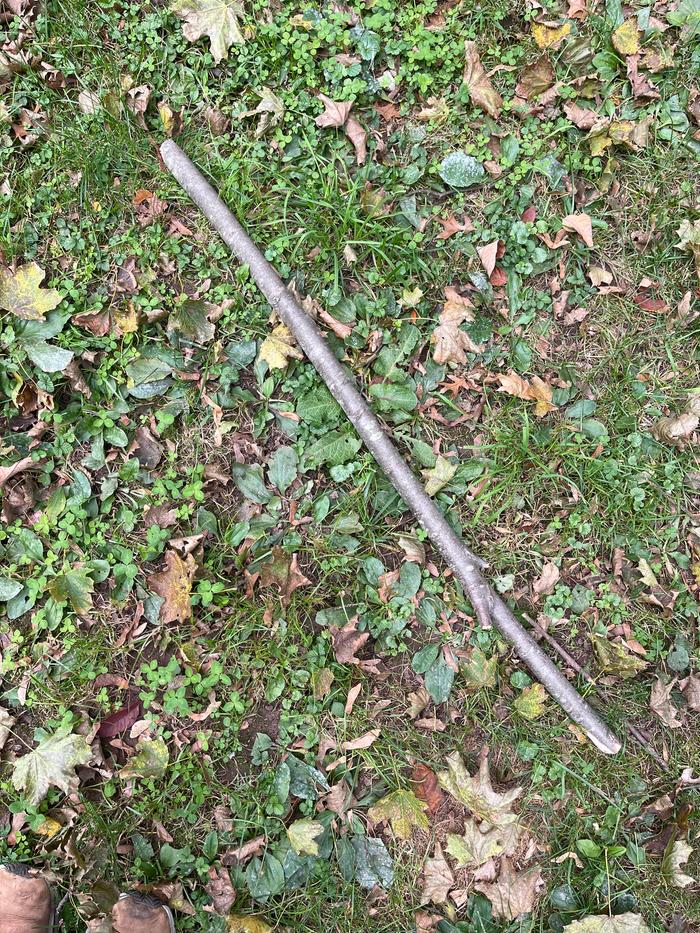
- Your chunks of wood that you are starting with
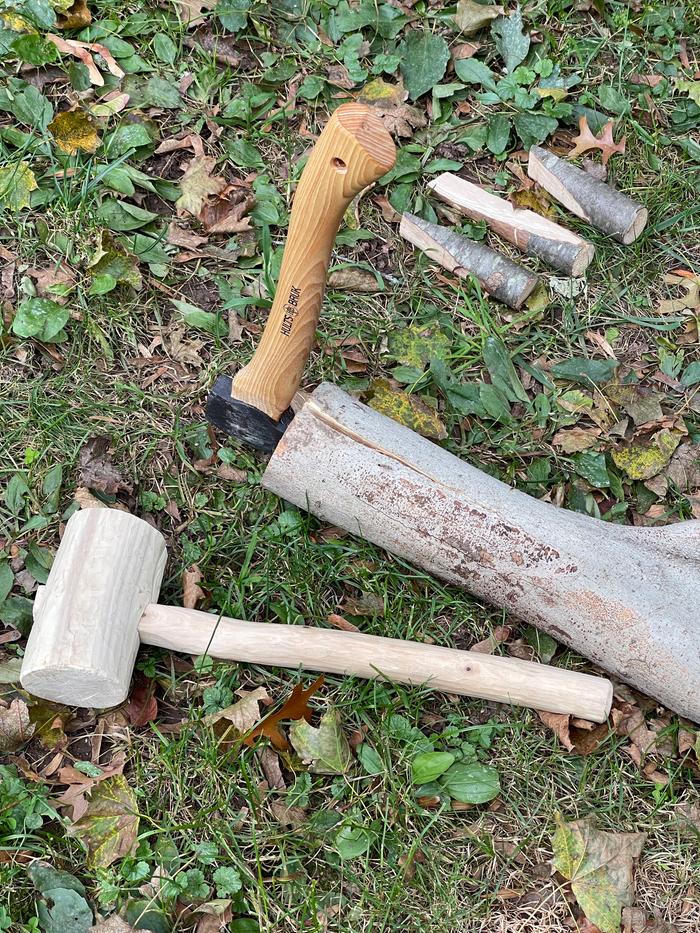
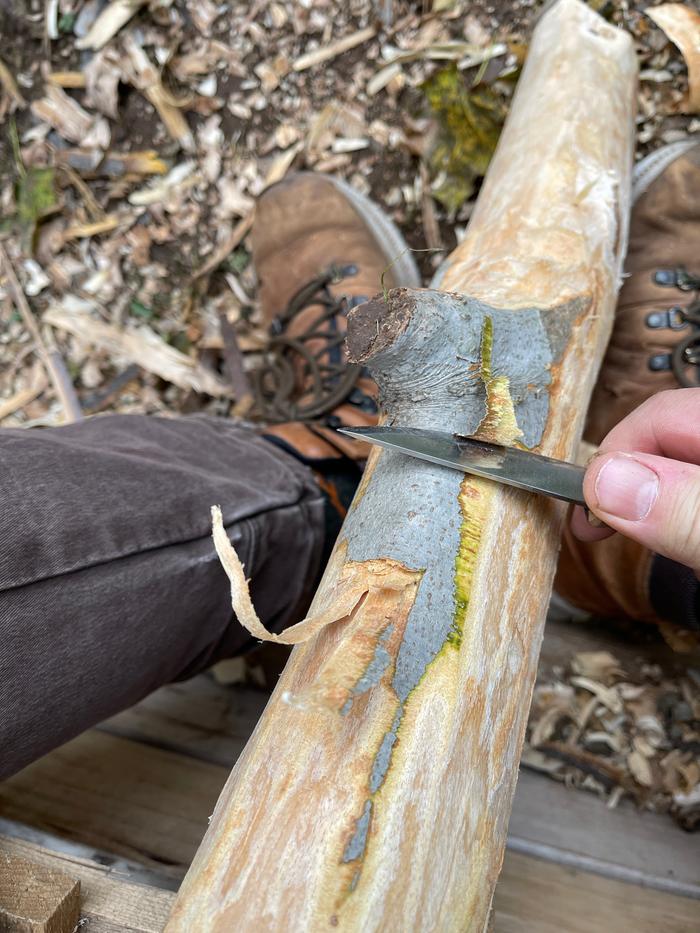
- Progress about half way through, with the hand tools you have decided to use for this
- Final product


Cargo bikes are cool

Skill verified by gir bot")

Skill verified by Opalyn Rose")

Skill verified by Mike Barkley")

Skill verified by Mike Haasl")

Skill verified by Mike Haasl")
L. Johnson approved this submission.
Note: Nicely done! The final picture had low contrast so I didn't see the installed pegs at first. But they're there.


 4
4


Being weird is easy. Making it mainstream is hard. Be brave! https://www.youtube.com/@healthygreenbrave

Skill verified by Jeremy VanGelder")

Skill verified by Alexandra Malecki")

Skill verified by Mike Haasl")

Skill verified by Jeremy VanGelder")

Skill verified by Opalyn Rose")

Skill verified by Christopher Weeks")

Skill verified by Nikki Roche")

Skill verified by Mike Haasl")

Skill verified by Opalyn Rose")

Skill verified by Nikki Roche")

Skill verified by Mike Haasl")

Skill verified by Timothy Norton")

Skill verified by Jeff Bosch")

Skill verified by Jeff Bosch")

Skill verified by Leigh Tate")

Skill verified by Alexandra Malecki")

Skill verified by Alexandra Malecki")

Skill verified by Mike Haasl")

Skill verified by Alexandra Malecki")
Paul Fookes approved this submission.
Note: I certify this BB complete. Well done Rebekah.
1
Robbie Bassen wrote:Base is from a Pine Justin cut down yesterday and lopped the dry pegs from a dead standing Pine.
Shaving the backside would have gone faster if I started with the fatter end then worked on the knots after checking.
I started on the skinny side that made a huge gap which led to more shaving for a learning lesson.


"And we urge you, brothers and sisters, warn those who are idle and disruptive, encourage the disheartened, help the weak, be patient with everyone. Make sure that nobody pays back wrong for wrong, but always strive to do what is good for each other and for everyone else."
1 Thessalonians 5:14-15

Skill verified by gir bot")

Skill verified by Opalyn Rose")

Skill verified by Opalyn Rose")
Someone approved this submission.
![[Thumbnail for coathook1.JPG]](/t/99621/a/196785/coathook1.JPG "Filename: coathook1.JPG
Description:")
![[Thumbnail for coathook2.JPG]](/t/99621/a/196786/coathook2.JPG "Filename: coathook2.JPG
Description:")
![[Thumbnail for coathook3.JPG]](/t/99621/a/196787/coathook3.JPG "Filename: coathook3.JPG
Description:")
![[Thumbnail for coathook4.JPG]](/t/99621/a/196788/coathook4.JPG "Filename: coathook4.JPG
Description:")
![[Thumbnail for coathook5.JPG]](/t/99621/a/196789/coathook5.JPG "Filename: coathook5.JPG
Description:")

Skill verified by gir bot")
Someone flagged this submission as not complete.
BBV price: 1
Note: This BB also requires an image of " - Progress about half way through, with the hand tools you have decided to use for this". I see the half way photo, but no tools. Also, I can't tell for certain, but it kind of looks like your pegs the green wood? If so this won't work because they will shrink and fall out. The pegs need to be the dry wood.
1

![[Thumbnail for chook2.JPG]](/t/99621/a/199598/chook2.JPG "Filename: chook2.JPG
Description: very green wood")


![[Thumbnail for chook10.JPG]](/t/99621/a/199606/chook10.JPG "Filename: chook10.JPG
Description:")
Mike Barkley approved this submission.
![[Thumbnail for starting-wood.jpg]](/t/99621/a/213398/starting-wood.jpg "Filename: starting-wood.jpg
Description:")
![[Thumbnail for how-I-got-the-back-flat.jpg]](/t/99621/a/213399/how-I-got-the-back-flat.jpg "Filename: how-I-got-the-back-flat.jpg
Description:")
![[Thumbnail for tools.jpg]](/t/99621/a/213400/tools.jpg "Filename: tools.jpg
Description:")
![[Thumbnail for more-tools.jpg]](/t/99621/a/213401/more-tools.jpg "Filename: more-tools.jpg
Description:")
![[Thumbnail for final-product-lying-flat.jpg]](/t/99621/a/213402/final-product-lying-flat.jpg "Filename: final-product-lying-flat.jpg
Description:")
Someone approved this submission.
1


![[Thumbnail for 20240717_130418.jpg]](/t/99621/a/244167/20240717_130418.jpg "Filename: 20240717_130418.jpg
Description:")

|
On my planet I'm considered quite beautiful. Thanks to the poetry in this tiny ad:
Gardening and natural building at a delightful pace
https://wheaton-labs.com/bootcamp
|


