Howdy, Skippers! Good day to build a compound mallet day, eh? I used a dry walnut branch for the handle, and a wet spruce trunk for the head. Wish I had hard wood for the head, but alas! Spruce will work. How long will it take to dry? When is a good time to start using it?
20240617_184351.jpg
Starting wood and tools
20240617_184401.jpg
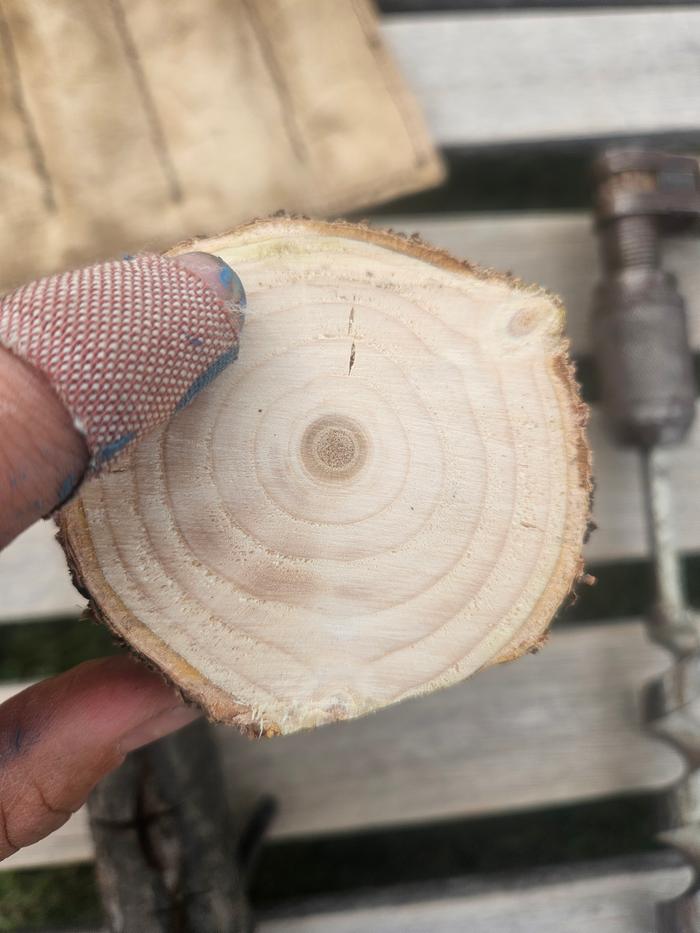
In case it's not obvious from the first angle, here is green bits still visible in the spruce head. It was felled a few weeks ago.
20240617_214048.jpg
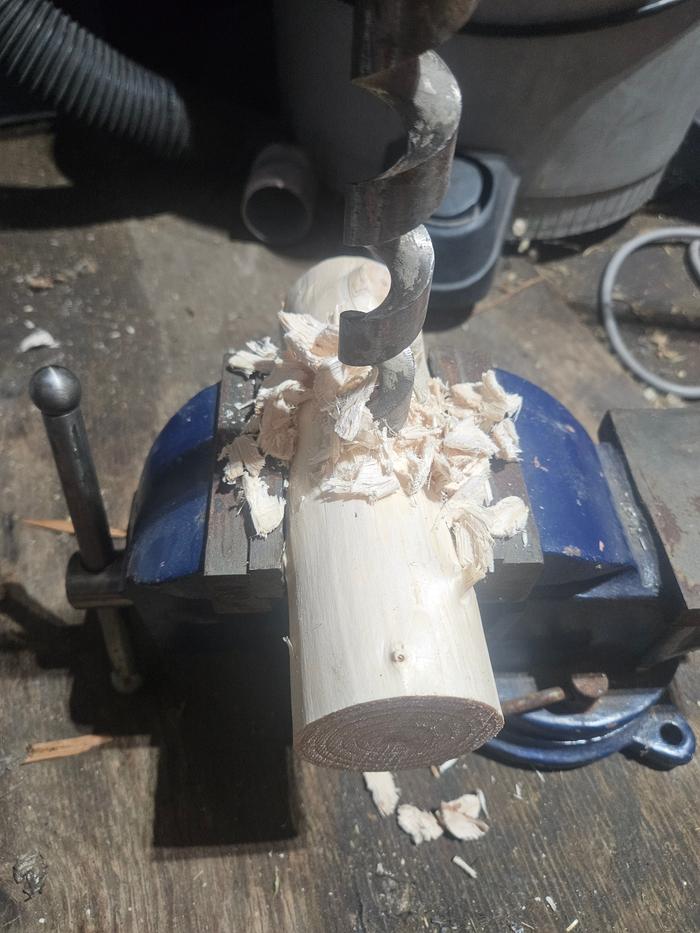
Using a hand auger. I love the flaky wood residue. My hands smell like Leyroy Jethro Gibs now. *sniff* aaaah!
This mallet was surprisingly challenging, probably because I started late in the day.
First, I picked a log and stripped it. Then I started looking for a handle - I was all sorts of out of order but I learned a lot about woodworking. I wanted a strong mallet, so I picked knotty wood. And then I (over 2 hours) put it together. . . And it broke. So I threw a fit. Walked away, got some dinner, then talked to someone who suggested instead of starting over, we pound out the broken handle and start a new handle. Unfortunately, I didn't get a picture at this point! So my before handle is different than my after handle. But I did replace the handle and it works much better! My intention is to give this to my son - which is why the handle is a little small for my hands.
20240715_145600.jpg
The beginning of my mallet head, first handle, and the auger.
20240715_153805.jpg
The rest of the tools I used, and the mallet head cut down.
I really enjoyed making a compound mallet; it was surprisingly easy once you have the correct tools!
Attachment 1 - Your chunks of wood that you are starting with (one is clearly green and the other dry)
Attachment 2 - Progress about half way through, with the hand tools you have decided to use for this
Attachment 3 - Final product held in your hand showing that your thumb and first finger can touch (any fatter than that and your hand will get very tired using it)
I'm pursuing SKIP to inherit property, check it out for yourself: SKIP book or maybe you're my Otis/Otessa match?
I love that Rocket Mass Heaters are Carbon-Nuetral. In Erica's and Ernies Art of Fire Presentation, Erica explains the chemistry of how that's possible!
I attended Helen's Garden Master Course in January 2022 and give the lectures 10/10 acorns! Fortunately for you, you can also see the Garden Master recordings but unfortunately you'll miss out on the fruit Helen brought to sample.
Using two pieces of wood- one pine piece green for mallet head and one older larch branch for the handle- I made a compound mallet at Wheaton Labs for the SKIP program. I look forward to making this again at home and smashing things up! Yeah!!
Made the head of this mallet out of a dogwood limb that was broken by a another tree falling on it, wood is still green with a couple weak sprouts. I was hoping pruning it off with a clean cut will help it heal over but sadly on closer inspection I think the tree is on its way out. Next I cut out a segment to be the mallet head and took the bark off at the shaving horse and chamfered the faces. I have some billets of wood stored away for making handles that are all well seasoned by this point, I selected a pretty much ready to go piece of what I think is hickory. Bored the hole with a scotch-eyed auger and then made it into an oval to fit the handle with a small array of gouges. Once the handle was driven into the head I cut it flush with the hatchet and reshape the head to take off some of the twist. I rubbed old lard over the faces to slow down uneven drying in hopes of reducing checking. Made another one piece mallet with the rest of the limb. I really like dogwood for these sorts of things, it's dense and heavy but with a tight smooth grain that resists wear. Good for more refined uses too but is much harder to work once dried.
2025-02-14_202658.jpg
sawing
2025-02-14_202726.jpg
shaving
2025-02-14_00001.jpg
finding a dried handle blank
2025-02-14_00002.jpg
boring through, clamping with my feet (when the feed screw just pokes through stop and finish the hole from that side to limit tear out)
2025-02-14_00003.jpg
the hole is whole
2025-02-14_00004.jpg
gouges for expanding the hole to fit the handle
2025-02-14_202911.jpg
handle is very tight as is, cut flush, faces covered with lard