• Post Reply Bookmark Topic Watch Topic
  • New Topic
permaculture forums growies critters building homesteading energy monies kitchen purity ungarbage community wilderness fiber arts art permaculture artisans regional education skip experiences global resources cider press projects digital market permies.com pie forums private forums all forums
this forum made possible by our volunteer staff, including ...
master stewards:
  • Nancy Reading
  • Carla Burke
  • r ranson
  • John F Dean
  • paul wheaton
  • Pearl Sutton
stewards:
  • Jay Angler
  • Liv Smith
  • Leigh Tate
master gardeners:
  • Christopher Weeks
  • Timothy Norton
gardeners:
  • thomas rubino
  • Jeremy VanGelder
  • Maieshe Ljin
  • Likes 2
  • Mark post as helpful
  • send pies
    Number of slices to send:
    Optional 'thank-you' note:
  • Quote
  • Report post to moderator
This is a badge bit (BB) that is part of the PEP curriculum.  Completing this BB is part of getting the sand badge in Metal Working.

After a while, tools that you whack with a hammer can get mushroomed.  Did you know that innocent looking mushroom could be dangerous?  Let's fix it!

Here's a pretty cool guy fixing a number of tools with a number of methods:


To complete this BB, the minimum requirements is to fix a mushroomed striking surface on tools like:
  - Chisel
  - Splitting wedge
  - Hammer
  - Punch

To document your completion of the BB, provide the photos or video (<2 min) of the following:
  - The mushroomed head
  - The repair in progress
  - The fixed tool
  - A description of how you repaired it
COMMENTS:
 
Erik Pehoviack
Posts: 38
Location: Hemingford Nebraska
21
3
transportation hugelkultur forest garden earthworks building solar
  • Likes 4
  • Mark post as helpful
  • send pies
    Number of slices to send:
    Optional 'thank-you' note:
  • Quote
  • Report post to moderator
Approved submission
This post is a quick how to on sharpening and fixing mushroomed chisels to obtain 1/2 point for "Dress up a mushroomed chisel or splitting wedge - ½ point"

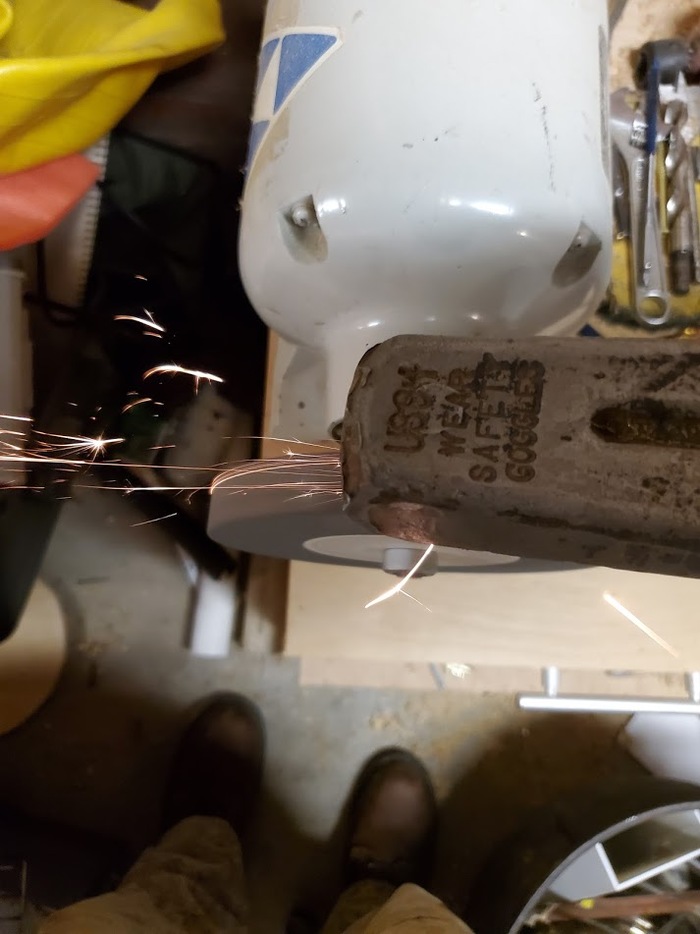
I selected a chisel and the appropriate safety gear. I'll be using a pedestal grinder for this process.


The chisel, safety glasses, and earmuffs to complete this project.

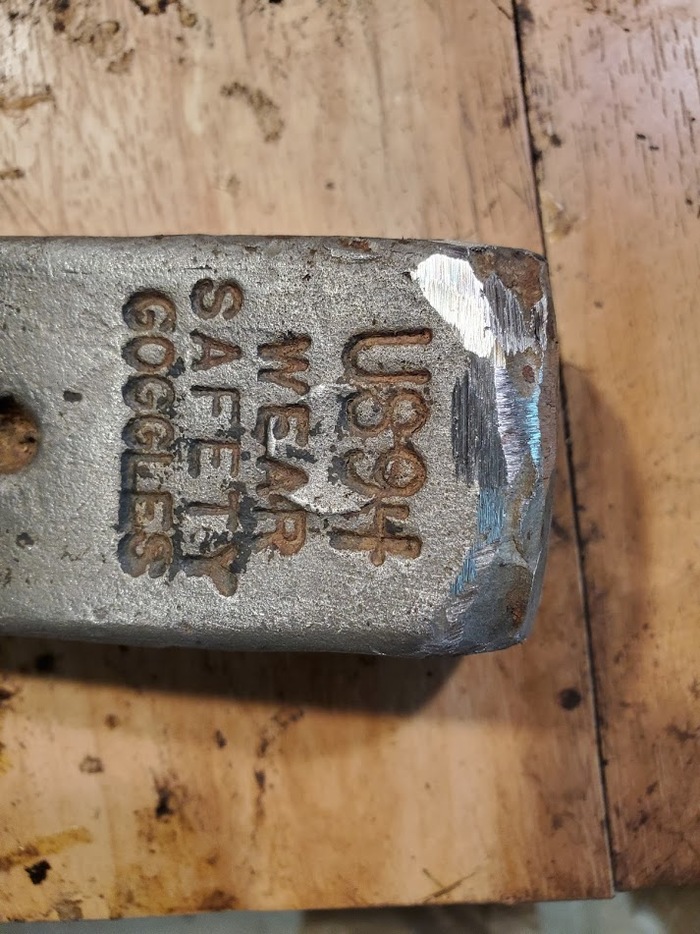
First I fixed the butt end. A mushroomed chisel can wreak havoc on gloves not to mention bare skin.


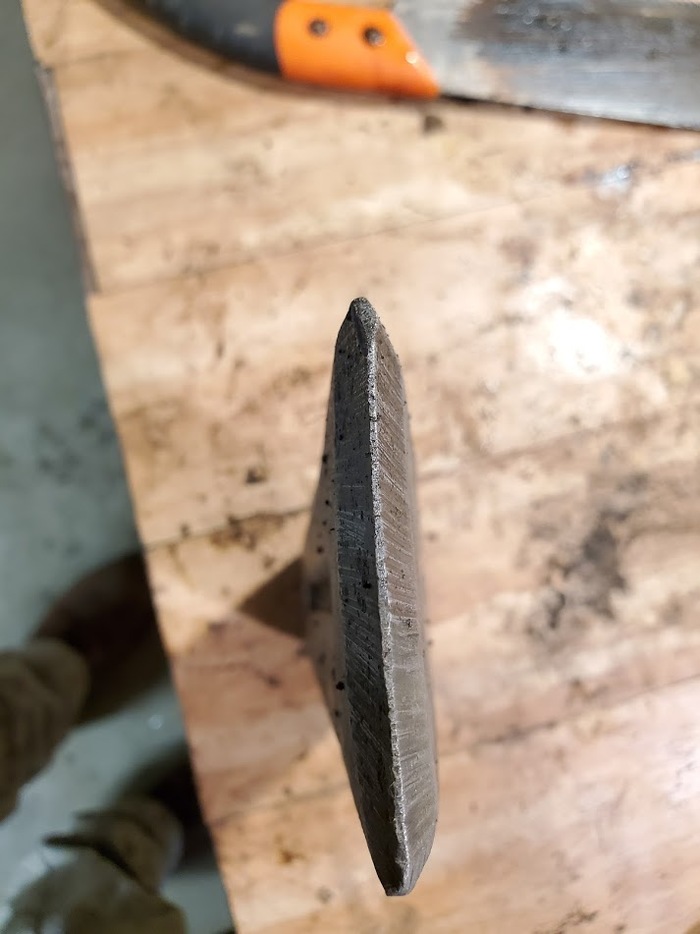
Then I flattened the tip of the chisel. It had many grooves from chiseling into bolts.


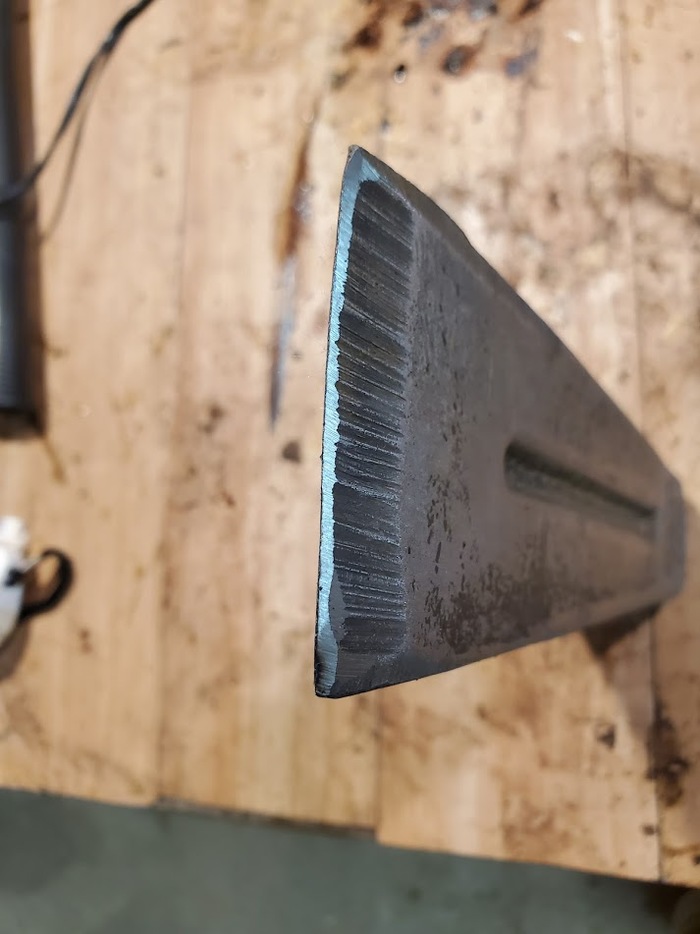
I alternated between grinding the cutting angle and dressing the sides as evidenced in the next two photos.


Complete chisel. This appears to be an old air hammer chisel someone's been using by hand, but at least now it's a bit more prepared for work.


Finished chisel ready for use. The full post can be seen on our blog. Permarecycling
Staff note (Mike Haasl) :

I certify this BB complete!

Staff note (Mike Haasl) :

Erik applied for the Metalworking badge which has now been granted!

 
Erik Pehoviack
Posts: 38
Location: Hemingford Nebraska
21
3
transportation hugelkultur forest garden earthworks building solar
  • Mark post as helpful
  • send pies
    Number of slices to send:
    Optional 'thank-you' note:
  • Quote
  • Report post to moderator
That works great, wasn't quite sure where to post. Thanks a bunch!
 
Mike Haasl
steward
Posts: 15505
Location: Northern WI (zone 4)
4846
7
hunting trees books food preservation solar woodworking
  • Mark post as helpful
  • send pies
    Number of slices to send:
    Optional 'thank-you' note:
  • Quote
  • Report post to moderator
My pleasure!  Nothing like having a BB done to get me going on typing up the BB.  Some day we'll have pages made for all the BBs so folks can get going on the Straw level items as well...
 
Chris Holcombe
pollinator
Posts: 384
Location: Zone 8b Portland
73
3
forest garden fungi food preservation
  • Likes 3
  • Mark post as helpful
  • send pies
    Number of slices to send:
    Optional 'thank-you' note:
  • Quote
  • Report post to moderator
Approved submission
I cleaned up my splitting wedge today. I didn’t realize this was a potentially dangerous situation until I read this post. It wasn’t too badly mushroomed but I documented the cleanup anyways :-)
47975CCE-288E-41D7-A219-17CF60F35D4A.jpeg
My splitting wedge
My splitting wedge
8B5F11F4-3372-4458-BC4C-F486C4AEBDCD.jpeg
Angle grinder to clean it up
FD36B908-C56E-483A-824D-21E35638D257.jpeg
[Thumbnail for FD36B908-C56E-483A-824D-21E35638D257.jpeg]
BF56D0E3-A069-4436-AB8C-487A969F4F64.jpeg
[Thumbnail for BF56D0E3-A069-4436-AB8C-487A969F4F64.jpeg]
C20ADD77-EA95-44A6-A05B-CEBA764505E5.jpeg
[Thumbnail for C20ADD77-EA95-44A6-A05B-CEBA764505E5.jpeg]
CC2AFE93-F302-469C-89E7-238EDF3EEBC8.jpeg
[Thumbnail for CC2AFE93-F302-469C-89E7-238EDF3EEBC8.jpeg]
Staff note (Mike Haasl) :

I certify this BB complete!  Along with your new Metalworking Air badge

 
Randy Fox
Posts: 19
Location: Joint Base MDL, New Jersey
14
forest garden gear tiny house building woodworking ungarbage
  • Likes 4
  • Mark post as helpful
  • send pies
    Number of slices to send:
    Optional 'thank-you' note:
  • Quote
  • Report post to moderator
Approved submission
I noticed my chisel scraper head was starting to mushroom.  

To fix this issue, I first locked the chisel in a vice, then used a pneumatic angle grinder to quickly remove the deformities.

To finish up i used a file to remove the agressive tool marks left by the grinder.
20200807_152855.jpg
[Thumbnail for 20200807_152855.jpg]
20200807_152934.jpg
[Thumbnail for 20200807_152934.jpg]
20200807_153056.jpg
[Thumbnail for 20200807_153056.jpg]
Staff note (Mike Barkley) :

I certify this BB is complete. You earned what we call an air badge for metalworking too. Welcome to permies!

 
Rob Lineberger
gardener
Posts: 814
Location: Durham, NC
338
hugelkultur gear urban cooking building writing woodworking
  • Likes 3
  • Mark post as helpful
  • send pies
    Number of slices to send:
    Optional 'thank-you' note:
  • Quote
  • Report post to moderator
Approved submission
I deflated the mushroom on my splitting wedge.  I vinegared it, steel-wooled it, then used the bench grinder to sharpen it and deflate the mushroom.  Then I oiled it with linseed oil.

Here is the mushroom head.  


I cleaned it up some:


Used a bench grinder on it:


Here is the de-mushroomed head:


It wasn't specified in this BB but I also sharpened the wedge.  Here is the before:


and after:


Staff note (Mike Haasl) :

I certify this BB complete!

 
David Huang
gardener
Posts: 1322
741
8
hugelkultur monies foraging trees composting toilet cooking bike solar wood heat rocket stoves ungarbage
  • Likes 2
  • Mark post as helpful
  • send pies
    Number of slices to send:
    Optional 'thank-you' note:
  • Quote
  • Report post to moderator
Approved submission
I decided it was about time I fixed up some of the chasing tools I use the most and thus mushroom the heads over on the most.  Since it's also a metalworking BB let me apply for this one too.  :)  Oh, I guess for this BB I really only have to do one, but I figured since my tools are small I'll do several.  It's a quick job.  I'm not trying to apply for the BB multiple times here just to be clear.

DSC05551.JPG
This is a shot of the tools I'll be fixing up showing their mushroomed heads.
DSC05553.JPG
I'll be using my big belt sander to do the work.
DSC05555.JPG
Here is a photo of the tools after grinding off the mushroomed parts and fixing up the ends.
Staff note (jordan barton) :

I hereby certify this badge bit complete!

 
James Alun
gardener
Posts: 466
Location: The North
227
cat purity gear tiny house books bike fiber arts bee solar woodworking ungarbage
  • Likes 3
  • Mark post as helpful
  • send pies
    Number of slices to send:
    Optional 'thank-you' note:
  • Quote
  • Report post to moderator
Approved submission
So here's my bolster chisel.

I started by using the angle ginder to slice of the curled sections but when I saw the holes I decided to cut about 10mm off the end.

Bench grinder and disc sander to finish.
IMG_20210304_141117_1.jpg
Nicely Mushroomed Head
IMG_20210304_141902_5.jpg
Half cut off
Half cut off
IMG_20210304_142029_3.jpg
All cut off
All cut off
IMG_20210304_142412_0.jpg
Nasty looking holes
Nasty looking holes
IMG_20210304_142758_1.jpg
Ready for use
Ready for use
Staff note (gir bot) :

Mike Haasl approved this submission.

 
Opalyn Rose
gardener
Posts: 1569
Location: Washington State
985
6
forest garden trees rabbit earthworks composting toilet fiber arts sheep wood heat woodworking rocket stoves homestead
  • Likes 2
  • Mark post as helpful
  • send pies
    Number of slices to send:
    Optional 'thank-you' note:
  • Quote
  • Report post to moderator
Approved submission
Here is my submission for the Metalworking - Sand - Dress a Mushroomed Chisel BB.

I sharpened and dressed two cold chisels.  Both were dull and rusty.  One had a slightly mushroomed striking surface (and is only shown in the first photo) and the second had a significantly mushroomed striking surface.  I used an angle grinder with a wire wheel to remove the rust and a bench grinder to reshape the striking end and to sharpen them.  I finished with a quick kiss on each edge on the large stationary belt sander then a light coat of linseed oil as they are stored outside in an area protected from rain but not humidity.

To document the completion of the BB, I have provided the following:
 - A picture of the mushroomed head
 - The tool you're fixing it with
 - The fixed tool
1.JPG
two rusty, dull, mushroomed chisels
6.JPG
close up of significantly mushroomed chisel
7.JPG
using bench grinder to remove mushroom
9.jpg
finishing with stationary belt sander
8.JPG
all cleaned up and oiled
Staff note (gir bot) :

Mike Haasl approved this submission.

 
R Parian
gardener
Posts: 325
Location: NW Washington - Zone 8b (15 to 20 °F / -9.4 to -6.7 °C)
270
2
cattle goat foraging trees earthworks cooking building solar sheep wood heat
  • Likes 2
  • Mark post as helpful
  • send pies
    Number of slices to send:
    Optional 'thank-you' note:
  • Quote
  • Report post to moderator
Approved submission
I dressed up the mushroomed heads of two chisels using an angle grinder.
20210315_181006.jpg
Mushroomed heads.
Mushroomed heads.
20210315_181150.jpg
Tools used.
Tools used.
20210315_182202.jpg
Fixed heads.
Fixed heads.
Staff note (gir bot) :

Mike Haasl approved this submission.

 
Luke Mitchell
gardener
Posts: 580
Location: Pembrokeshire, UK
434
2
dog forest garden gear fungi foraging trees building medical herbs woodworking homestead
  • Likes 1
  • Mark post as helpful
  • send pies
    Number of slices to send:
    Optional 'thank-you' note:
  • Quote
  • Report post to moderator
Approved submission
I took some time this afternoon to dress a mushroomed masonry chisel. This is something I do quite often to axes (which previous owners have treated badly!) but I never think to take photographs.
mushroom.jpg
The chisel, mushroomy!
tools.jpg
I used a file
I used a file
in-vice.jpg
Held the tool in my trust Record vise
done.jpg
Done!
Done!
done-top.jpg
I put a slight bevel on the edges and top
Staff note (gir bot) :

Mike Haasl approved this submission.

 
Brandon Gladefield
Posts: 114
Location: VIC, Australia
78
kids gear cooking building solar homestead
  • Likes 2
  • Mark post as helpful
  • send pies
    Number of slices to send:
    Optional 'thank-you' note:
  • Quote
  • Report post to moderator
Approved submission
This gets the occasional whacking when there's bricks that need removing so it gets mushroomed pretty quick

Used a hand Grinder and cutting disk as well as a sanding disk to get the tip back only a little since it's more for brute strength than finesse.
20220212_154210.jpg
Mushroom
Mushroom
20220212_154213.jpg
Chisel in question
Chisel in question
20220212_154344.jpg
Lights, camera, action
20220212_155041.jpg
Done
Done
Staff note (gir bot) :

Mike Haasl approved this submission.

 
Raphaël Blais
pollinator
Posts: 273
Location: Gaspesie, Quebec, Canada, zone3a at the bottom of a valley
170
3
forest garden rabbit books chicken composting toilet food preservation bike building wood heat homestead composting
  • Likes 2
  • Mark post as helpful
  • send pies
    Number of slices to send:
    Optional 'thank-you' note:
  • Quote
  • Report post to moderator
Approved submission
Found an old mushroomed chisel who need love. I used a power tool with metal brush and disk to clean the rust and dress up the head. Next job, sharpening.
20220728_064323.jpg
The mushroomed head
The mushroomed head
20220728_074510.jpg
The repair in progress
20220728_073817.jpg
The fixed tool
The fixed tool
Staff note (gir bot) :

Mike Haasl approved this submission.

 
Jae Gruenke
Posts: 85
28
  • Likes 2
  • Mark post as helpful
  • send pies
    Number of slices to send:
    Optional 'thank-you' note:
  • Quote
  • Report post to moderator
Approved submission
Here is my submission for this badge bit. I did it at SKIP camp last summer, lots of mushroomed chisels needing attention. I used an angle grinder to do the job. I'm attaching pictures of:

 - The mushroomed head
 - The angle grinder I used
 - The partially reshaped head
 - The fixed chisel
mushroomed-chisel.jpg
[Thumbnail for mushroomed-chisel.jpg]
equipment-I-used.jpg
[Thumbnail for equipment-I-used.jpg]
partially-complete-repair.jpg
[Thumbnail for partially-complete-repair.jpg]
finished.jpg
[Thumbnail for finished.jpg]
Staff note (gir bot) :

Ash Jackson approved this submission.

 
Matthew Woods
Posts: 29
Location: Miami Valley, Ohio
5
  • Likes 2
  • Mark post as helpful
  • send pies
    Number of slices to send:
    Optional 'thank-you' note:
  • Quote
  • Report post to moderator
Approved submission
I cleaned up Opalyn’s splitting wedge and put an edge on it to boot!  Opalyn said she didn’t care about having a fixed angle from the side to the top so, I focused on giving it a surface comfortable to bare hands. I started with a cutting wheel on an angle grinder. This removed moved most of the deviant metal with minimal effort. I then switched to a 125 grinding wheel to grade the surfaces and remove burrs. I used the same grinding wheel to set the new edge before finishing off any unwanted burrs and ledges with a flat file.
IMG_7534.jpeg
Well worn tool with a mushroomed head.
IMG_7537.jpeg
Performing rough cuts
IMG_7541.jpeg
Cutting work complete
IMG_7545.jpeg
Ground off all the high spots
IMG_7547.jpeg
Filed smooth
Filed smooth
IMG_7544.jpeg
Why not improve the edge while I’m at it?
Staff note (gir bot) :

Jeremy VanGelder approved this submission.

 
Clay McGowen
pollinator
Posts: 298
Location: Boise, ID
155
5
hugelkultur trees chicken wofati food preservation cooking building medical herbs rocket stoves homestead
  • Mark post as helpful
  • send pies
    Number of slices to send:
    Optional 'thank-you' note:
  • Quote
  • Report post to moderator
Approved submission
To those celebrating - happy Thanksgiving!
Today I’m thankful for Paul Wheaton, Permies.com, and extra thankful for all the volunteers who certify badge bits <3

Today I fixed this splitting wedge. I used a cutoff wheel to slice the majority of the mushroom. From there, I switched to the grinding wheel to chamfer and roll the sharp corners over.
All in all, a quick Thanksgiving Day bb
IMG_2143.jpeg
Shroomish
Shroomish
IMG_2144.jpeg
Another angle
Another angle
IMG_2145.jpeg
Slicing a section
Slicing a section
IMG_2146.jpeg
Action shot
Action shot
IMG_2152.jpeg
Finished
Finished
IMG_2154.jpeg
Oh yeah!
Oh yeah!
IMG_2150.jpeg
Dull
Dull
IMG_2151.jpeg
Not dull!
Not dull!
Staff note (gir bot) :

James Alun approved this submission.

 
Rebekah Harmon
Apprentice Rocket Scientist
Posts: 853
Location: 4a, high mountain dessert
410
3
kids foraging rabbit fiber arts medical herbs bee
  • Likes 1
  • Mark post as helpful
  • send pies
    Number of slices to send:
    Optional 'thank-you' note:
  • Quote
  • Report post to moderator
Approved submission
This hatchet is used to crack kindling. Because we have knotty pine, we often need to use it as a splitting wedge as the hatchet gets stuck. It's gets hammered in sometimes. It's mushroomed on the back end and the cutting edge needs some grinding, too. It's dead.

All I did was use a bench grinder, layer after layer, changing the angle guard as I needed to.
20241225_130912.jpg
Mushroomed tool
Mushroomed tool
20241225_144722.jpg
Up close mushroom
Up close mushroom
20241225_143940.jpg
Using a bench grinder
20241225_150916.jpg
The mushroom cleaned up
20241225_130856.jpg
The dead cutting blade edge before!
20241225_150854.jpg
Re-edged cutting side
20241225_150957.jpg
Other side of tool, mushroom gone here too
Staff note (gir bot) :

Someone approved this submission.

 
Just let me do the talking. Ahem ... so ... you see ... we have this tiny ad...
Switching from electric heat to a rocket mass heater reduces your carbon footprint as much as parking 7 cars
http://woodheat.net
reply
    Bookmark Topic Watch Topic
  • New Topic