• Post Reply Bookmark Topic Watch Topic
  • New Topic
permaculture forums growies critters building homesteading energy monies kitchen purity ungarbage community wilderness fiber arts art permaculture artisans regional education skip experiences global resources cider press projects digital market permies.com pie forums private forums all forums
this forum made possible by our volunteer staff, including ...
master stewards:
  • Nancy Reading
  • Carla Burke
  • r ranson
  • John F Dean
  • paul wheaton
  • Pearl Sutton
stewards:
  • Jay Angler
  • Liv Smith
  • Leigh Tate
master gardeners:
  • Christopher Weeks
  • Timothy Norton
gardeners:
  • thomas rubino
  • Jeremy VanGelder
  • Maieshe Ljin

PEP Badge: Oddball

BB oddball - sand badge
 
gardener
Posts: 1569
Location: Washington State
985
6
forest garden trees rabbit earthworks composting toilet fiber arts sheep wood heat woodworking rocket stoves homestead
  • Likes 2
  • Mark post as helpful
  • send pies
    Number of slices to send:
    Optional 'thank-you' note:
  • Quote
  • Report post to moderator
Approved submission
Here is my submission for Oddball Points.

While visiting my sister in January, I decided to replace the screen door pneumatic closure mechanism.  The old unit had been bent and the screen door drags on the porch so does not close well.  The new unit closes much better.

To document the completion of the BB, I have provided the following:
 -  photos before, during, and after
IMG_0044.JPG
before with new hardware/mechanism in packaging
IMG_0045.JPG
looking down on bent door closer
IMG_0046.JPG
new unit partially installed - old in my hand
IMG_0047.JPG
old unit extended to show bent arm
IMG_0048.JPG
new unit installed - finished
Staff note (gir bot) :

Paul Fookes approved this submission.
Note: I certify this BB complete FOR 1 point. Well done Opalyn

 
Opalyn Rose
gardener
Posts: 1569
Location: Washington State
985
6
forest garden trees rabbit earthworks composting toilet fiber arts sheep wood heat woodworking rocket stoves homestead
  • Likes 1
  • Mark post as helpful
  • send pies
    Number of slices to send:
    Optional 'thank-you' note:
  • Quote
  • Report post to moderator
Approved submission
Here is my submission for Oddball Points.

Grey and Caleb spent Friday afternoon putting the finishing touches on the foundation of the Solarium.  While they worked on the south side, I worked on both the east and west entry areas.  I set several steps into the gravel and filled in with small crushed rock.  I also placed stones on the ledge (against the building) to cover the plastic.  I completed about 4' in front of each door.

To document the completion of the BB, I have provided the following:
 -  photos before, during, and after
10.JPG
east side before Friday's work
11.JPG
placing stones to extend the cement entry
13.JPG
placing stones on the drystack foundation
15.JPG
filling in with gravel
16.JPG
finished - nice wide entry
20.JPG
west side before
west side before
22.JPG
west side after
west side after
Staff note (gir bot) :

Paul Fookes approved this submission.
Note: I certify this BB complete for 3 points. Well done Opalyn

 
pollinator
Posts: 1495
855
2
trees bike woodworking
  • Likes 6
  • Mark post as helpful
  • send pies
    Number of slices to send:
    Optional 'thank-you' note:
  • Quote
  • Report post to moderator
Approved submission
There isn’t a dimensional lumber badge for build a saw horse. There is one in the greenwood section which will have to wait for another day . . . When I have a couple of acres of woodland.

I need a couple of saw horses for my renovation project. They are incredibly useful and will help when I need to paint the 10 ft high walls. I’ll also use them outside for supporting the dozen or so doors I need to strip.

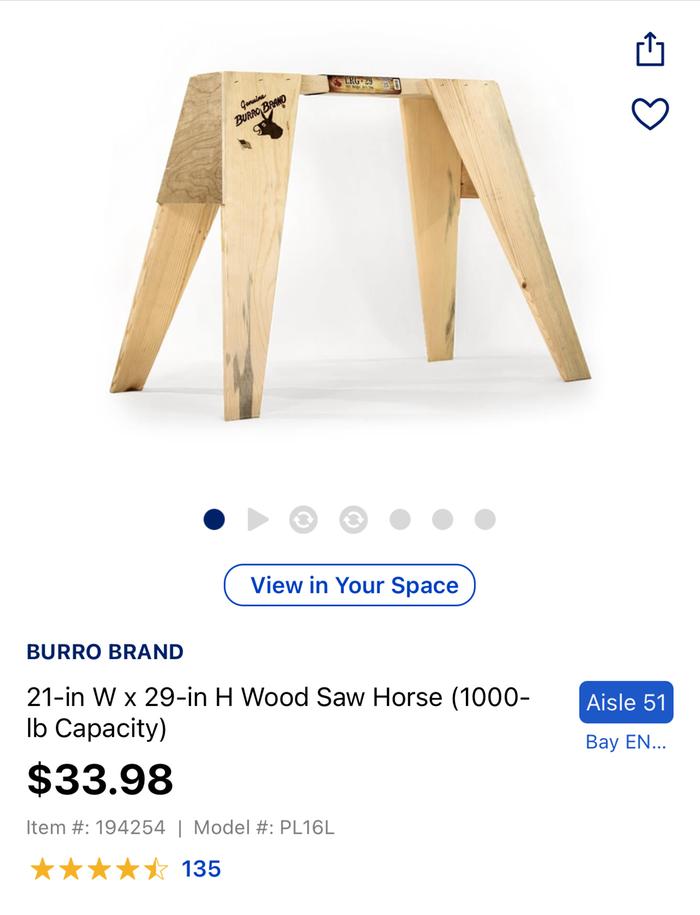
I didn’t want to buy plastic or metal ones and the wooden ones in the box store were a joke. They claim to hold 1000lbs . . . I reckon they could, once. They also had a ply panels and held together with staples. So I looked up and found a quick and easy plan that used 2 by 4’s. The cost of 9 8ft studs was almost exactly the same cost as pair of the premade horses.


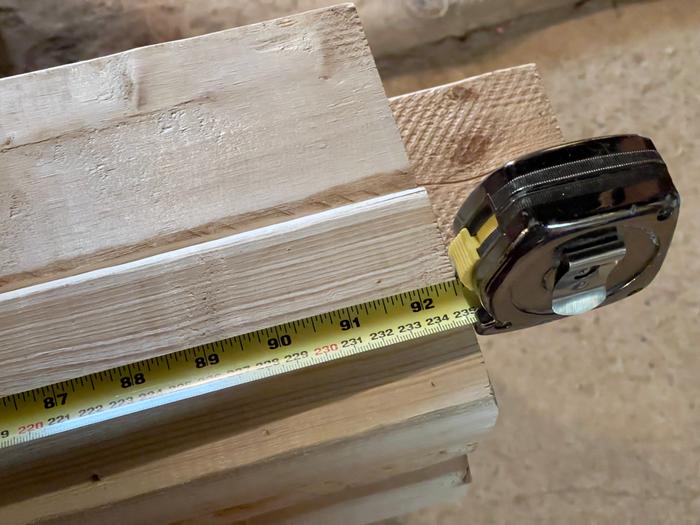
I thought I had done my homework. I knew that 2 x 4’s are actually 1.5 x 3.5. I checked for warp, bow, twist, damage, etc. rejecting about 75% of the ones I checked. In fairness, this stuff is normally used for stud walls and never on show. Alas I was later to discover, 8ft no longer means 8ft and rather than having 96 inches to work with, I only had 92.5 inches. . . Pfffttt.


So I adapted my plans.

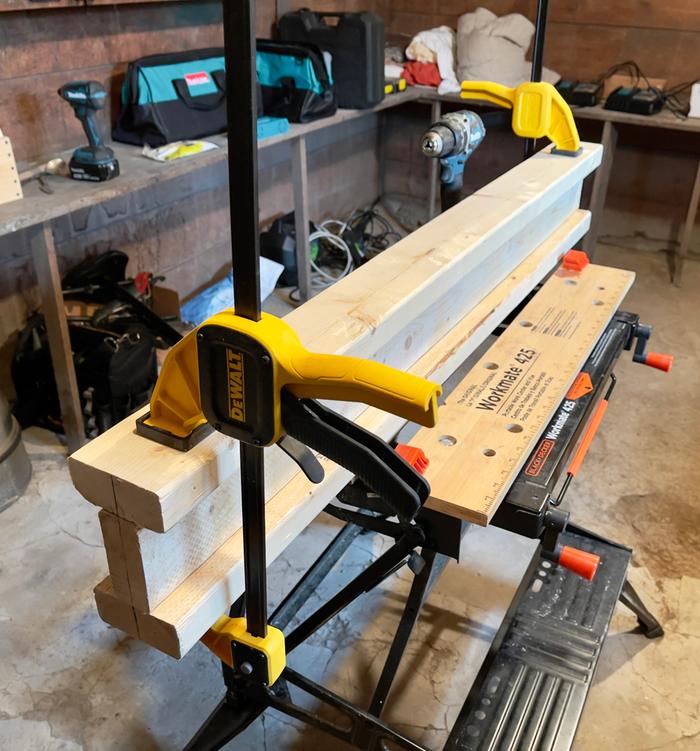
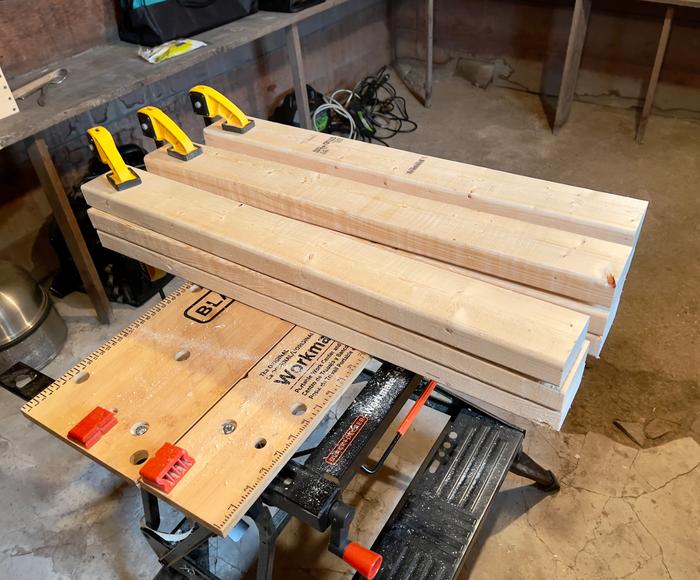
I took three studs, measured to the middle and then cut one inch to the side. I was going to make saw horses that stacked, so one was going to be 2 inches shorter than the other. I took the six pieces and made I beams using 2 1/2 decking screws I had left over from a previous project. The plan I was working to suggested decking screws as they are quick, not requiring pre-drilling. I think this is a scam. The wood still splits and it means after ten years you’ll have to rip up your decking and buy more screws . . . So I predrilled all my holes using a bit with a countersinker.


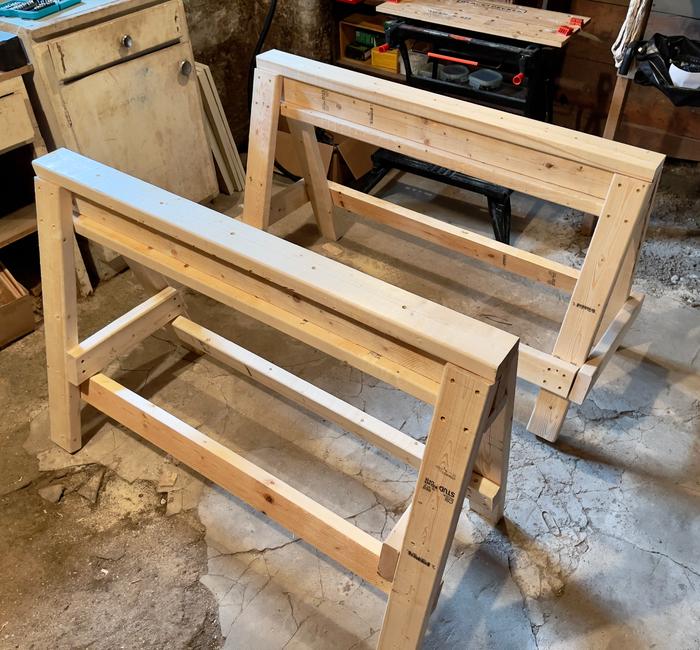
I beam clamped in place and ready for drill / screws.


I beams finished

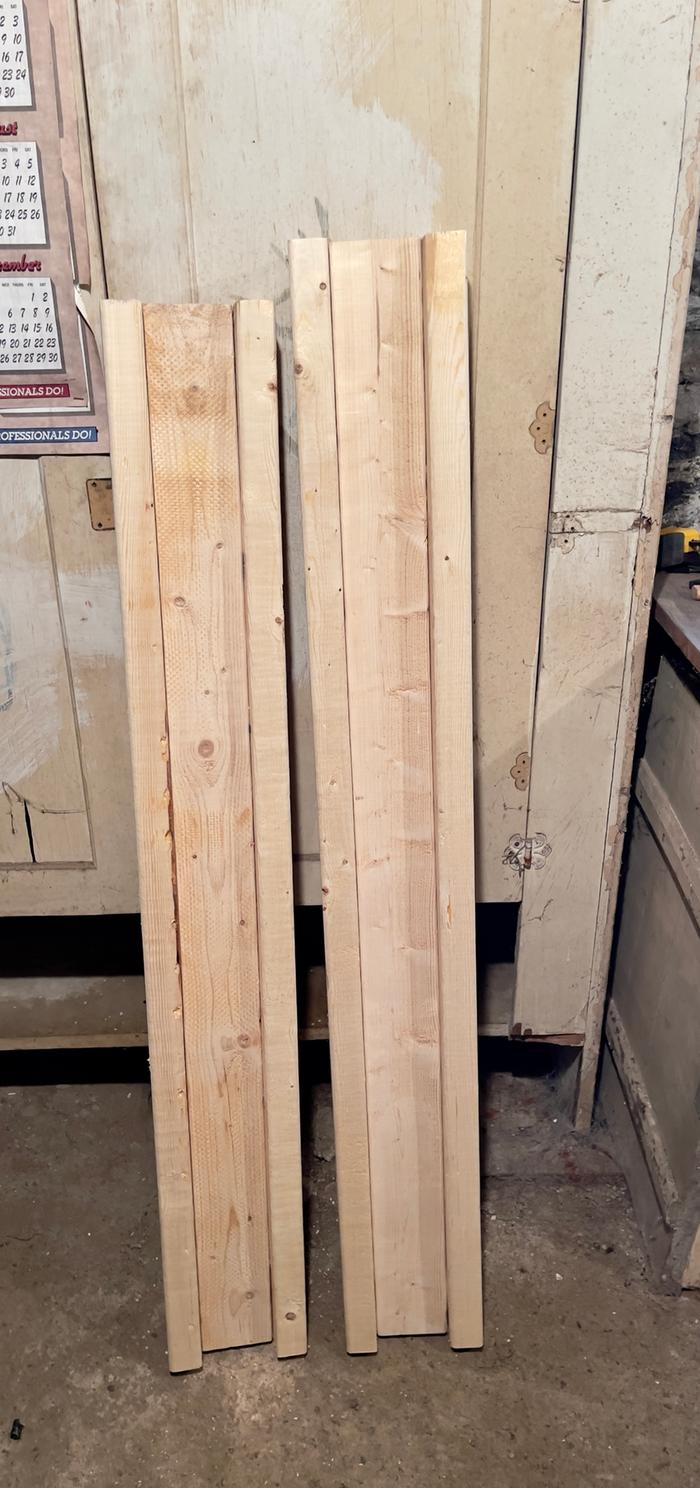
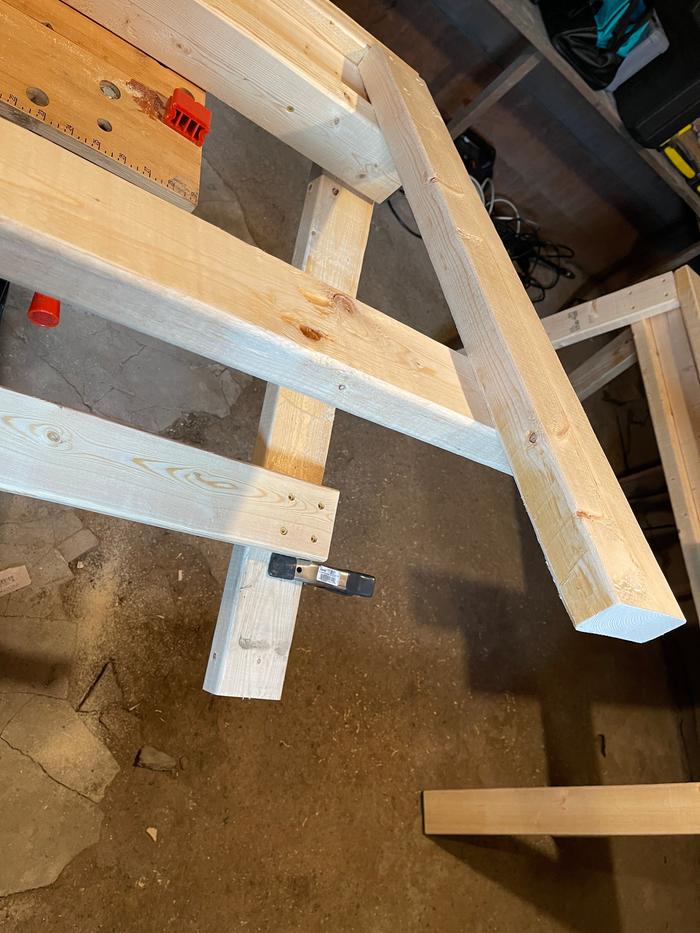
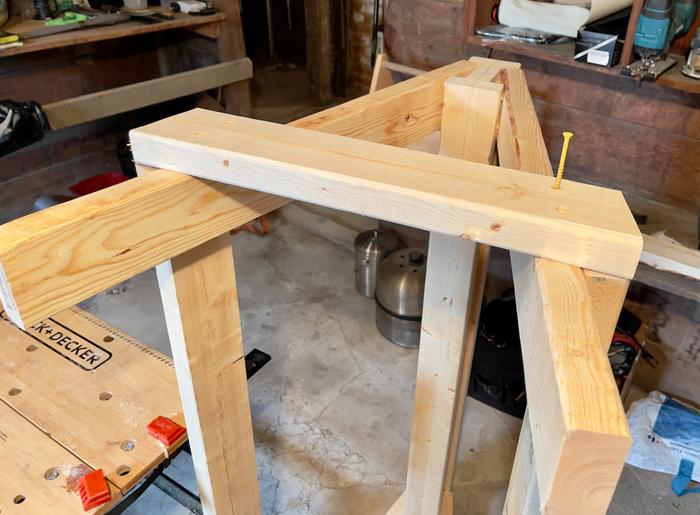
Next up, I cut eight 31 inch legs, and then drilled four holes in each to attach to the I beams.


Legs cut


Holes drilled.


Legs attached.

This is not fine carpentry! It’s functional construction grade chippy work.

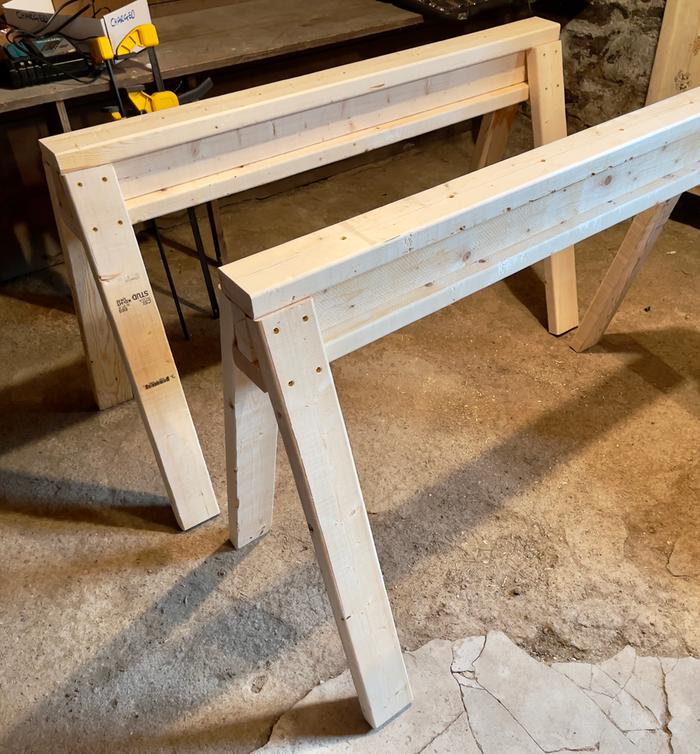
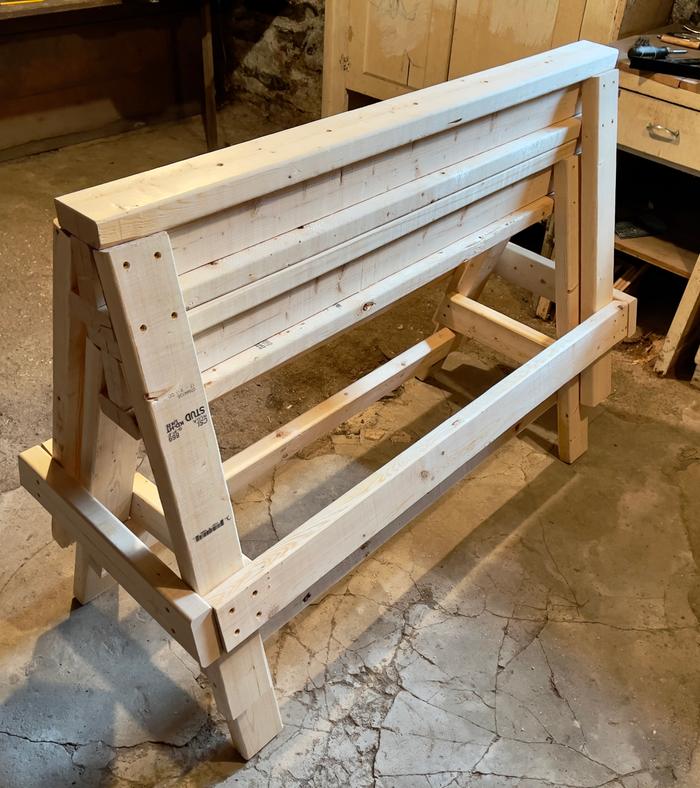
The shorter horse bracing was fixed to the inside and the longer horse bracing fixed to the outside, so they could stack.


This is the shorter horse


This is the longer horse

Job done


Two horses just under 4ft wide and the same height as my workmate


Stacked

So the only cost difference was my time and the decking screws. I used more wood than the shop bought ones, however I think these will last a lot longer and I’ll feel far happier using them as they’re very sturdy. They’re not too heavy and I can easily move the pair around. The plan I started working from thought this should take an hour. It took me roughly four including going out and buying the materials. I also used four predrilled and countersunk screws for every joint rather than two.
Staff note (gir bot) :

Mike Barkley approved this submission.
Note: Certified for 3 oddball points. Nice job!

 
pollinator
Posts: 258
Location: Pacific Northwest
111
8
forest garden fungi wofati cooking solar homestead
  • Likes 5
  • Mark post as helpful
  • send pies
    Number of slices to send:
    Optional 'thank-you' note:
  • Quote
  • Report post to moderator
Approved submission
I believe I've got enought points for my sand badge

Railroad Spike Sign
Timber Tool Repair
Staff note (gir bot) :

Mike Haasl approved this submission.
Note: Congratulations on your first Sand badge!

Staff note (Paul Fookes) :

Congratulations Kyle.  Job well done.  I particularly loved the railway spike sign.  Great reuse of what would otherwise be scrap.

 
Opalyn Rose
gardener
Posts: 1569
Location: Washington State
985
6
forest garden trees rabbit earthworks composting toilet fiber arts sheep wood heat woodworking rocket stoves homestead
  • Likes 1
  • Mark post as helpful
  • send pies
    Number of slices to send:
    Optional 'thank-you' note:
  • Quote
  • Report post to moderator
Approved submission
Here is my submission for Oddball Points.

Since BB20 is a Free Event offered by Wheaton Labs, materials and supplies can be limited.  One of the Boots wanted a firewood rack near the Bun Warmer so I needed some lumber.  The suggestion was for it to be salvaged from the back deck of Allerton Abbey that had been removed last summer.  I gathered some tools and several driver bits for the battery-operated hand drills and went to the Lab.  I extracted 10 boards from the deck - 2x6x10"s - for use in building the new Firewood Rack.

To document the completion of the BB, I have provided the following:
 -  photos before, during, and after
1.JPG
The Deck with Tools
The Deck with Tools
2.JPG
Two Boards Removed
Two Boards Removed
3.JPG
10 Boards Removed
10 Boards Removed
4.JPG
Transferred to Truck for Relocation to the Berm Shed Firewood Rack
Staff note (gir bot) :

Paul Fookes approved this submission.
Note: I certify this BB complete FOR 1 point. Well done Opalyn

 
Posts: 68
Location: Northeast Indiana (zone 6a)
73
home care urban food preservation fiber arts medical herbs homestead
  • Likes 1
  • Mark post as helpful
  • send pies
    Number of slices to send:
    Optional 'thank-you' note:
  • Quote
  • Report post to moderator

Inge Leonora-den Ouden wrote:Jay, I used sisal (that's sold as twine or rope) for crocheting such scrubbies. Did you try that (with the melted cheese)? It's a plant fiber, made of a tropical plant, some kind of Agave.


I never considered using twine instead of yarn. That's a brilliant idea!
 
pollinator
Posts: 100
97
  • Likes 3
  • Mark post as helpful
  • send pies
    Number of slices to send:
    Optional 'thank-you' note:
  • Quote
  • Report post to moderator
Approved submission
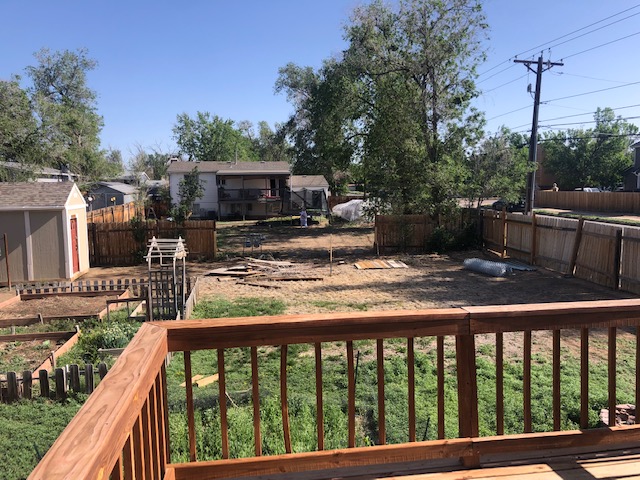
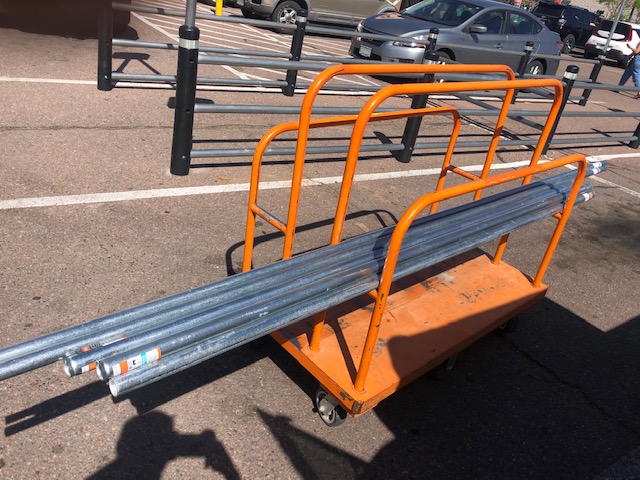
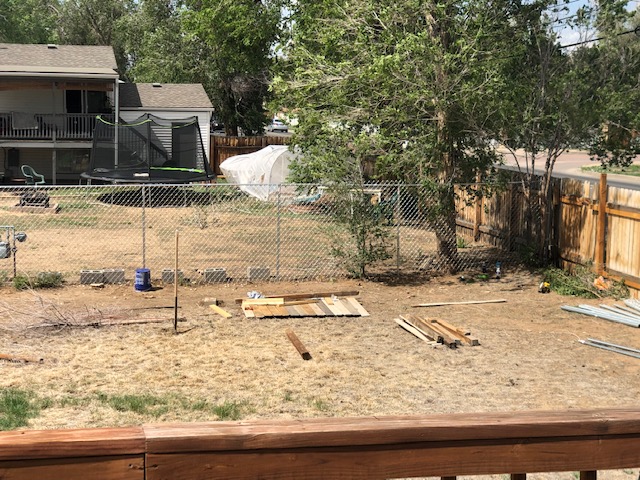
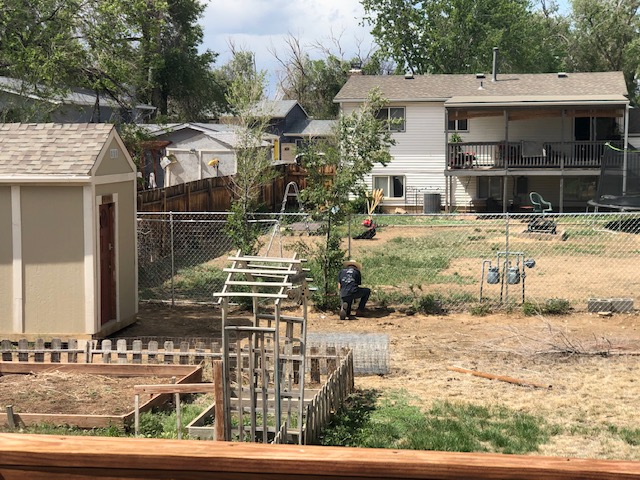
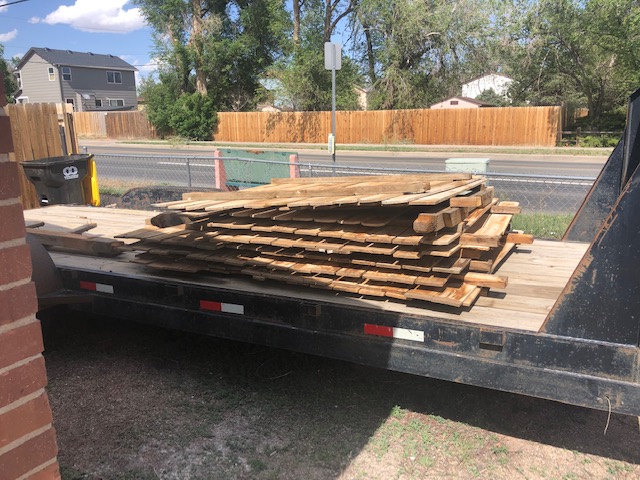
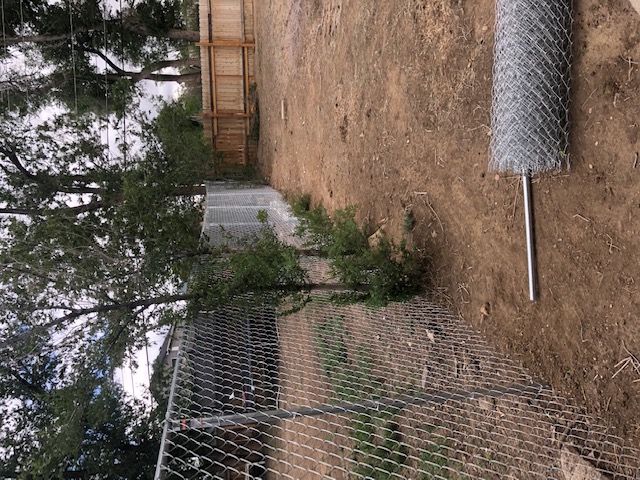
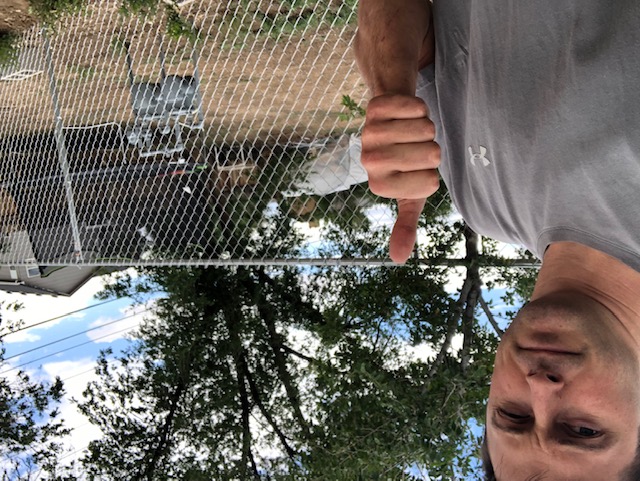
My project to submit is the tear down and replacement of my wooden fence. As you can see from the pictures, a major section was blown down during a windstorm and the rest of the fence was soon to follow. I tore down and disposed of the fence, 64 feet in total. I put in a metal, chain link fence. My reasoning behind this is that the devastating Colorado winds wouldn't have the surface area to blow on, therefore eliminating wind damage (unless a tree limb breaks and crushes the fence) to the fence. The construction went in 2 phases: 1) tearing down the fence and digging up the existing concrete in the ground, this took around 8 hours, the ground here is incredibly hard and I was not prepared for how tiring this was going to be, I am an in shape person but wow 2) Pouring new concrete and installing the new fence . This took around 10 hours. Working by myself and never actually installing one before, there were lots of re-dos and corrections in order to get it looking decent.

Side note, please forgive the picture quality, my girlfriend took some of the pics not knowing I needed them for SKIP, so I tried to edit them as best as possible.
IMG_4093.jpg
Initial damage to the fence, wide shot
IMG_4103.PNG
I tried to zoom in and show the damaged area
IMG_4094.jpg
Buying poles and materials
IMG_4098.jpg
Construction underway
IMG_4099.jpg
Me trying to get the tree and fence to cooperate
IMG_4100.jpg
A pic of some of the fence before disposal
IMG_4104.PNG
A better picture of my backside
IMG_4106.jpg
Completed fence, still have some fencing leftover, into storage it goes
IMG_4107.jpg
As you can see from my face, my patience was wearing thin, but the job is done.
Staff note (gir bot) :

Someone approved this submission.
Note: There was a fair bit of certifier consternation on this.  The Otis factor is good but the PEX factor is quite low.  Certified for 6 oddball points.

 
James Rhodes
pollinator
Posts: 100
97
  • Likes 2
  • Mark post as helpful
  • send pies
    Number of slices to send:
    Optional 'thank-you' note:
  • Quote
  • Report post to moderator
Approved submission
I believe I earned my sand badge in oddball!

https://permies.com/wiki/270/97787/pep-oddball/PEP-Badge-Oddball#1423765
Staff note (gir bot) :

Someone approved this submission.

 
gardener
Posts: 580
Location: Pembrokeshire, UK
434
2
dog forest garden gear fungi foraging trees building medical herbs woodworking homestead
  • Likes 4
  • Mark post as helpful
  • send pies
    Number of slices to send:
    Optional 'thank-you' note:
  • Quote
  • Report post to moderator
We bought an old standard/floor lamp from a sale recently. The lamp was turned from a few pieces of oak and is probably close to 80 years old. Sadly, the wiring was rather unsafe as there was no earth on the brass lampholder (the bit which holds the bulb) which was also the on-off switch. This meant that any short would give you a nasty shock if you tried to switch the lamp. The existing wiring was an ugly, two-core twisted pair with brittle insulation.

I stripped out the old wiring and have recycled the copper. I then removed the lampholder and replaced it with a modern equivalent, one that includes an earth terminal. I replaced the wiring with some antique-style three-core which is much prettier (I think) and safer, plus it fits the aesthetic of the lamp. I re-used the existing plug as it felt better quality than a modern one I had lying around. Everything was secured using insulating heat-shrink tubing and tested with a meter before plugging it in.

Finally, I added a foot switch. This is less in-keeping with the age of the lamp but it is very convenient.

Whilst I was doing this, my partner had stripped off the old lampshade (which was shedding plasticky material and was a disgusting nicotine-yellow) and begun to sew a replacement using some unbleached cotton we had lying around. This job took *forever* and I'm thankful that she has the skill and patience to do it.

I've attached an after shot showing the completed shade and re-wired lamp.

All in all, the rewiring took about 45 minutes. It's not the first one that I've done - but standard lamps are fiddlier than table lamps! The only real snag is that I forgot to replace the fuse in the plug. Do'h!

Video of testing, before the shade was installed.

wiring.jpg
[Thumbnail for wiring.jpg]
unearthed-lampholder.jpg
[Thumbnail for unearthed-lampholder.jpg]
old-unsafe-wire.jpg
[Thumbnail for old-unsafe-wire.jpg]
original-plug.jpg
[Thumbnail for original-plug.jpg]
new-earthed-lampholder-base.jpg
[Thumbnail for new-earthed-lampholder-base.jpg]
earth-installed.jpg
[Thumbnail for earth-installed.jpg]
live-neutral-installed.jpg
[Thumbnail for live-neutral-installed.jpg]
assembling-lampholder.jpg
[Thumbnail for assembling-lampholder.jpg]
new-three-core-wiring.jpg
[Thumbnail for new-three-core-wiring.jpg]
wiring-plug.jpg
[Thumbnail for wiring-plug.jpg]
assembled.jpg
[Thumbnail for assembled.jpg]
final.jpg
[Thumbnail for final.jpg]
Staff note (gir bot) :

Mike Barkley approved this submission.
Note: Certified for 1 oddball point. Beautiful lamp. Nice save!

Staff note (gir bot) :

Mike Haasl flagged this submission as not complete.
BBV price: 1
Note: Sorry, but this is an existing BB in the Electricity Badge so it should be posted there. https://permies.com/wiki/112695/pep-electricity/PEP-BB-electricity-sand-lamp

 
A sane person to an insane society must appear insane. - Vonnegut
2024 Permaculture Adventure Bundle
https://permies.com/w/bundle
reply
    Bookmark Topic Watch Topic
  • New Topic